【Smart Mode】【Flowchart Mode】How to Set up Bright Data Zone | Web Scraping Tool | ScrapeStorm
Abstract:This article will show how to set up Bright Data Zone. No Programming Needed. Visual Operation. ScrapeStormFree Download
1. Sign up
Open the official website and click “Start Free Trial” to sign up.

Enter the information to create a new account.
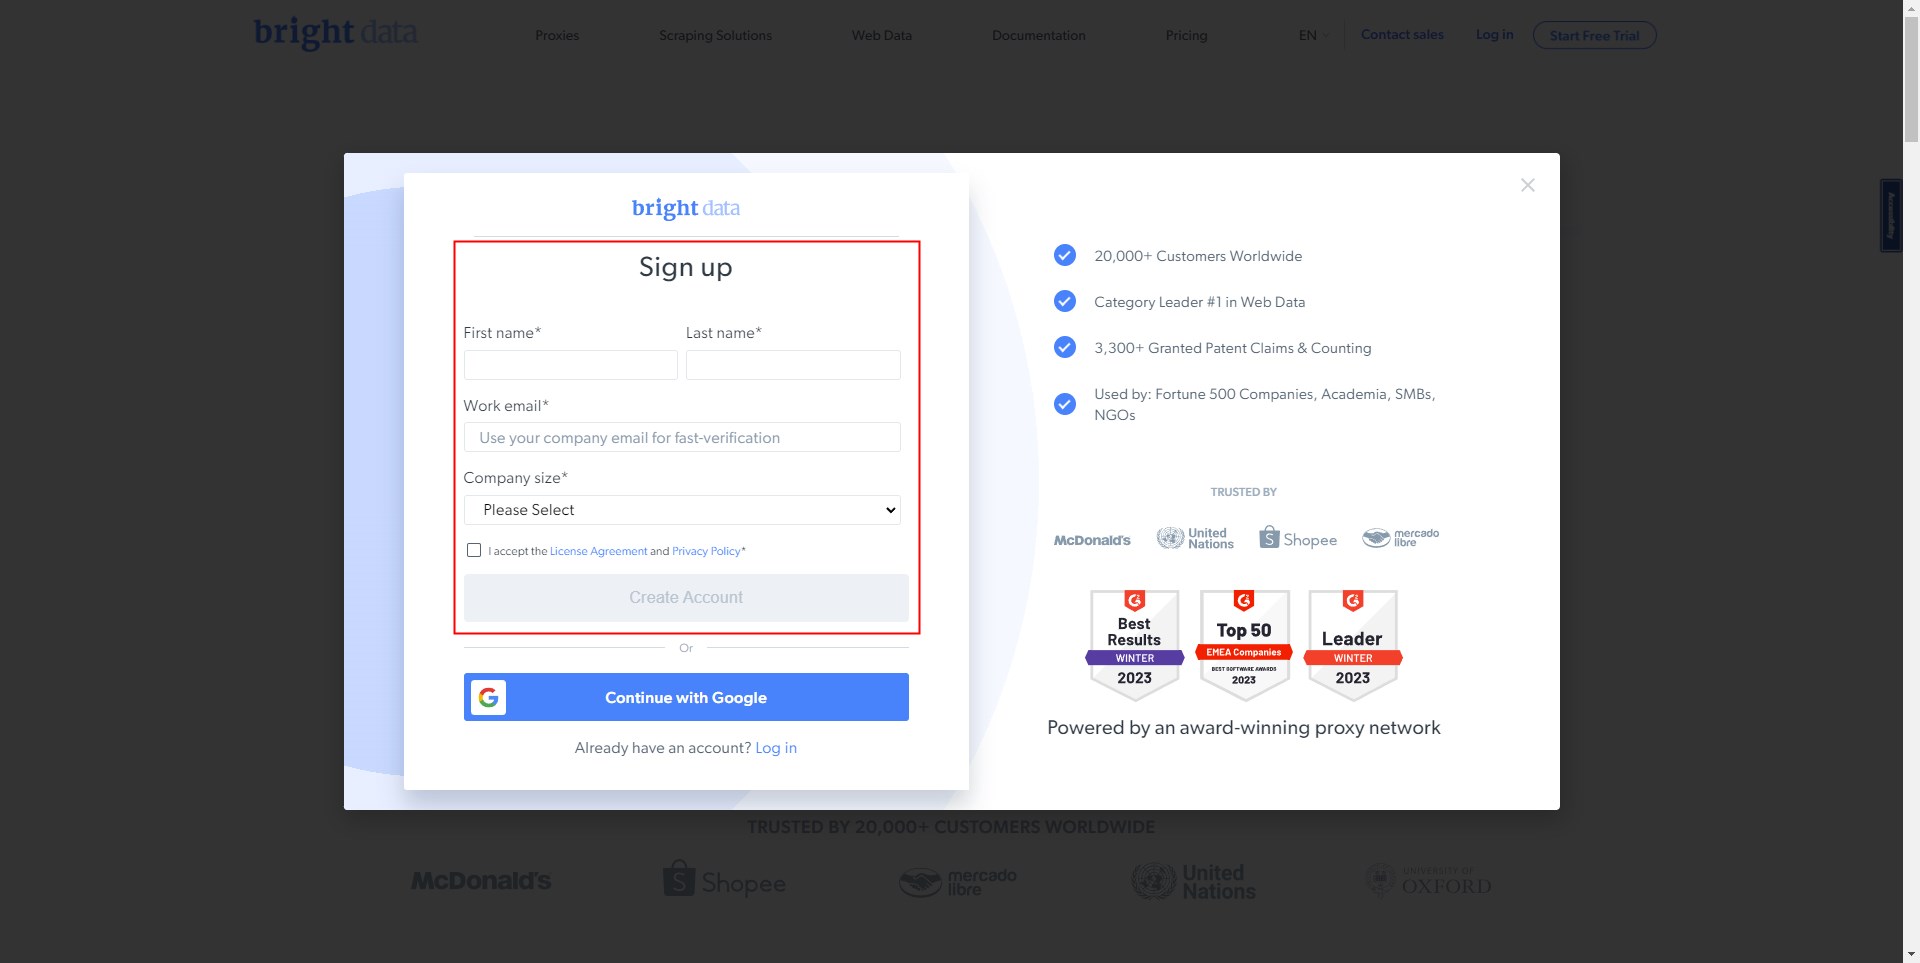
After setting your password, the account creation is complete.

2. Activate account
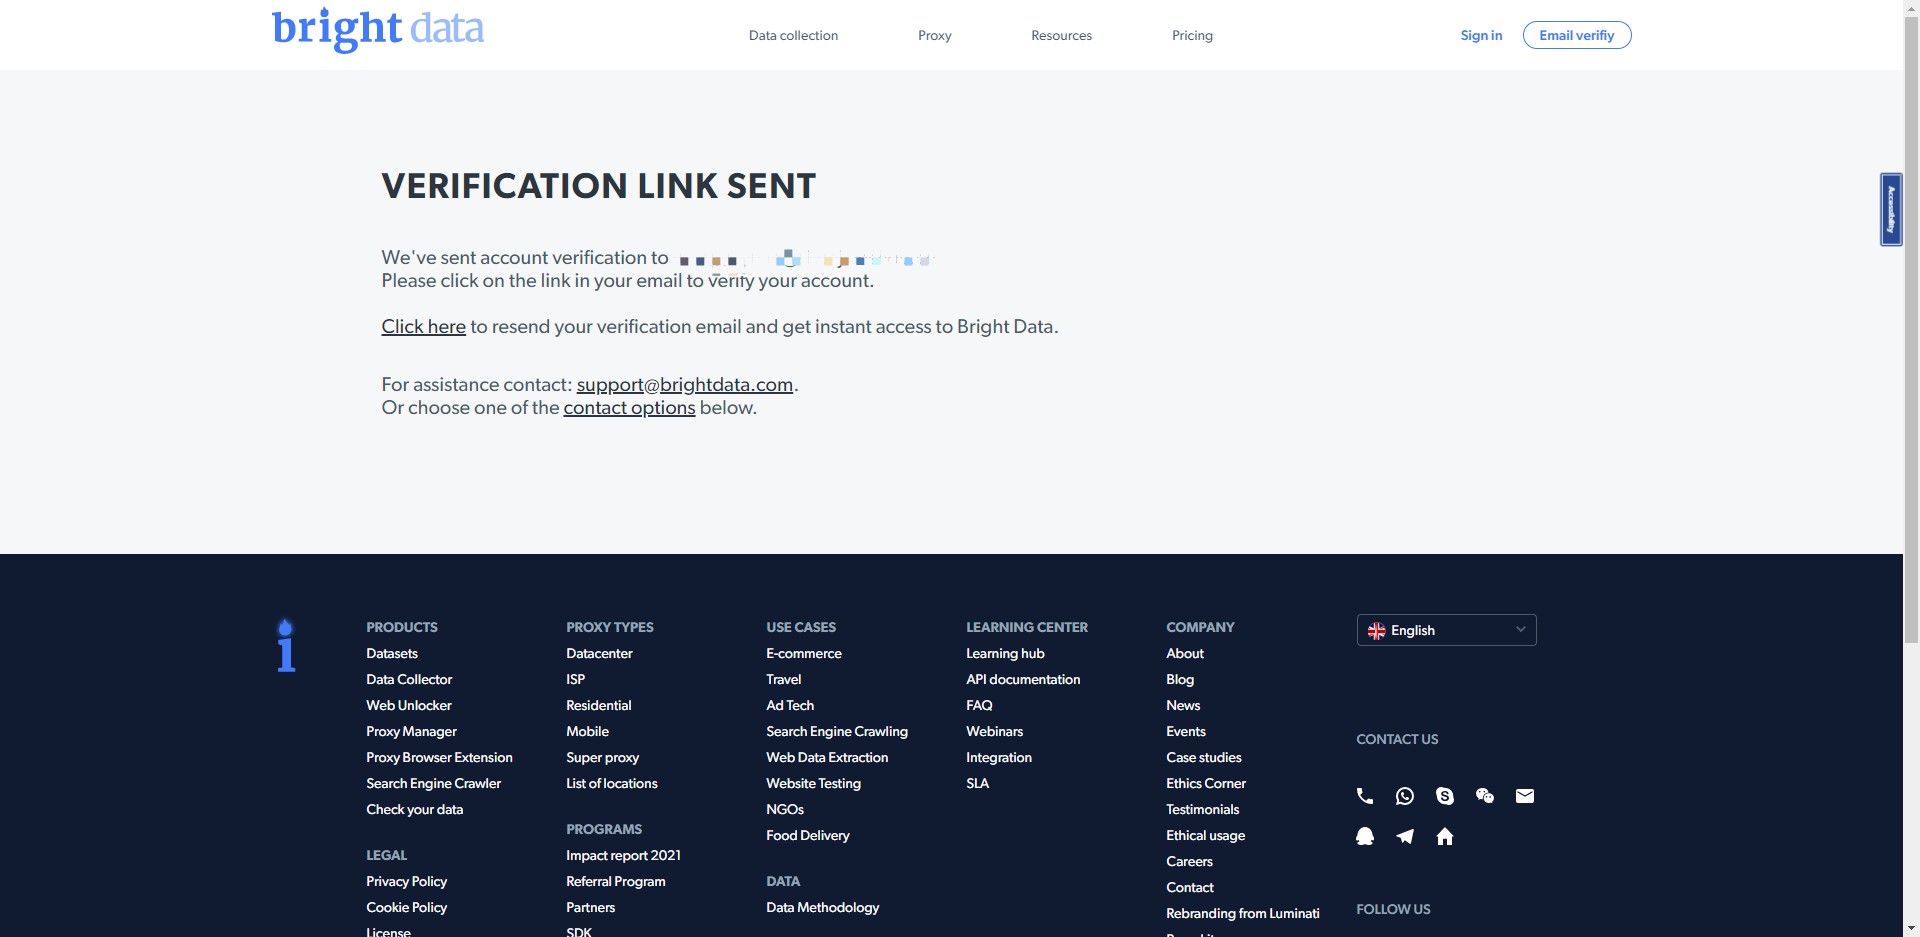
After the account is created successfully, Bright Data will send a verification link to your email.
Please click on the link in your email to verify your account.
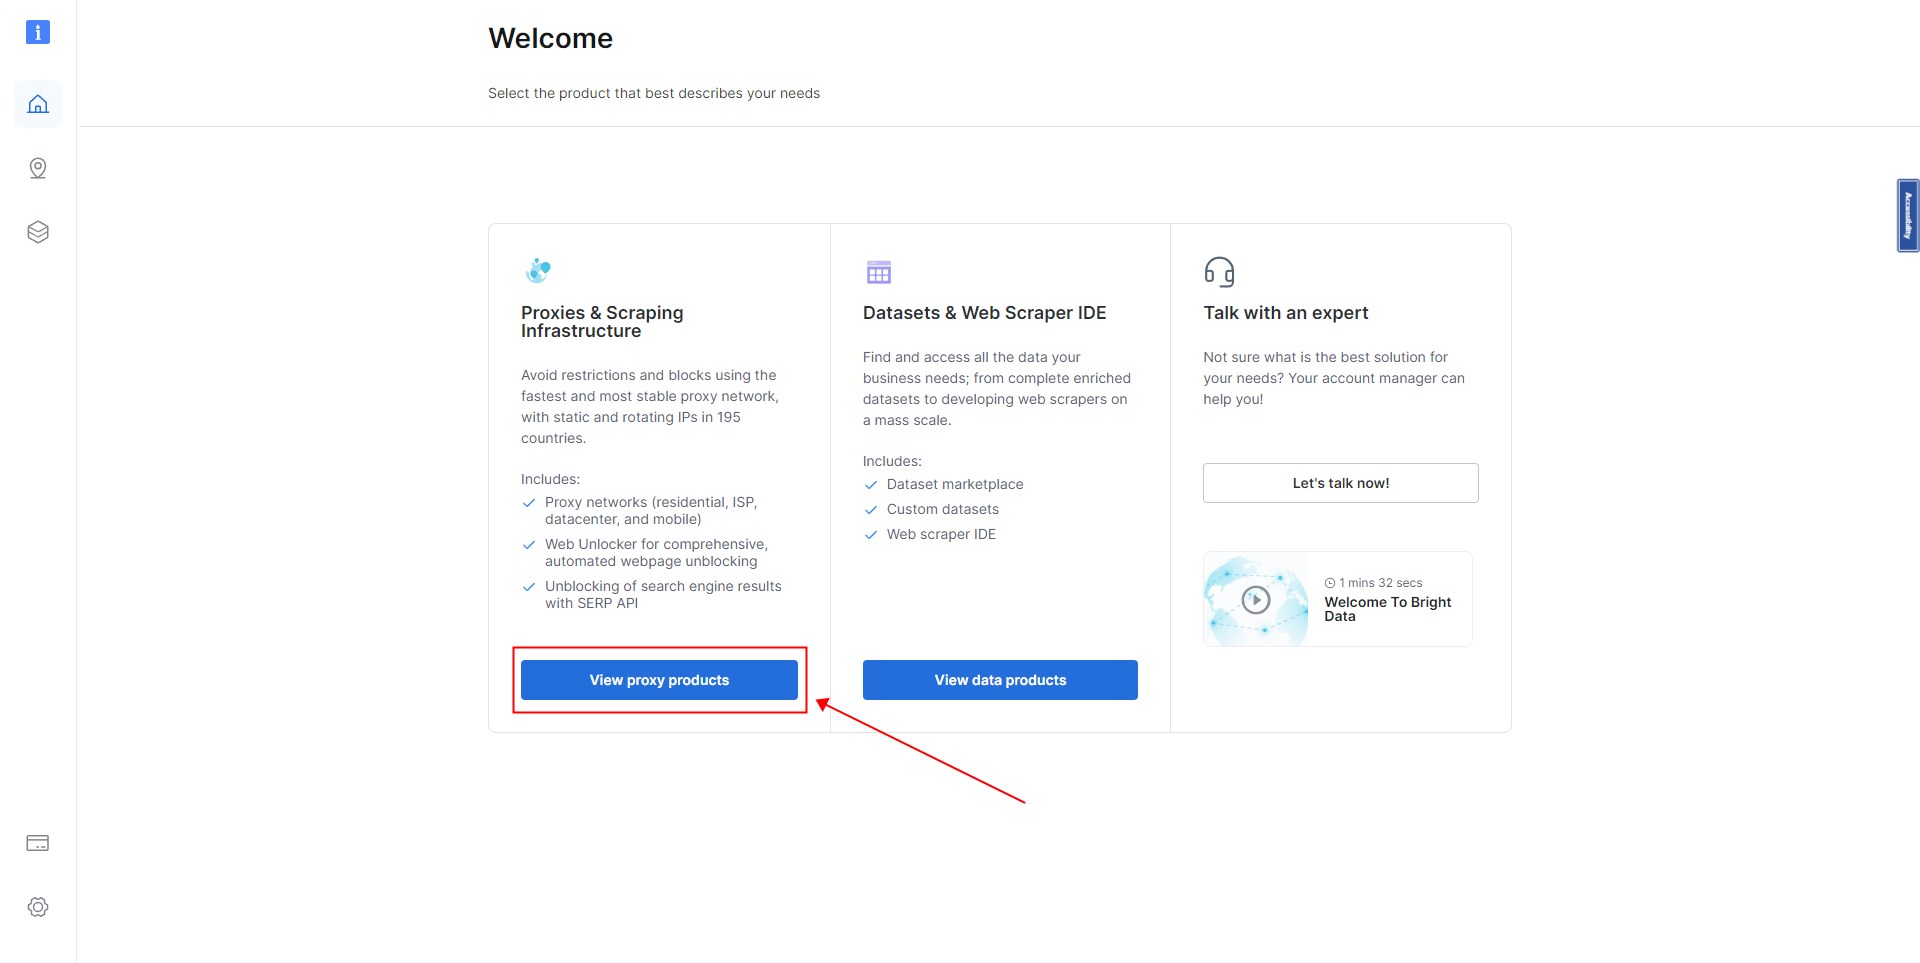
Then enter the homepage and select “View proxy products”.
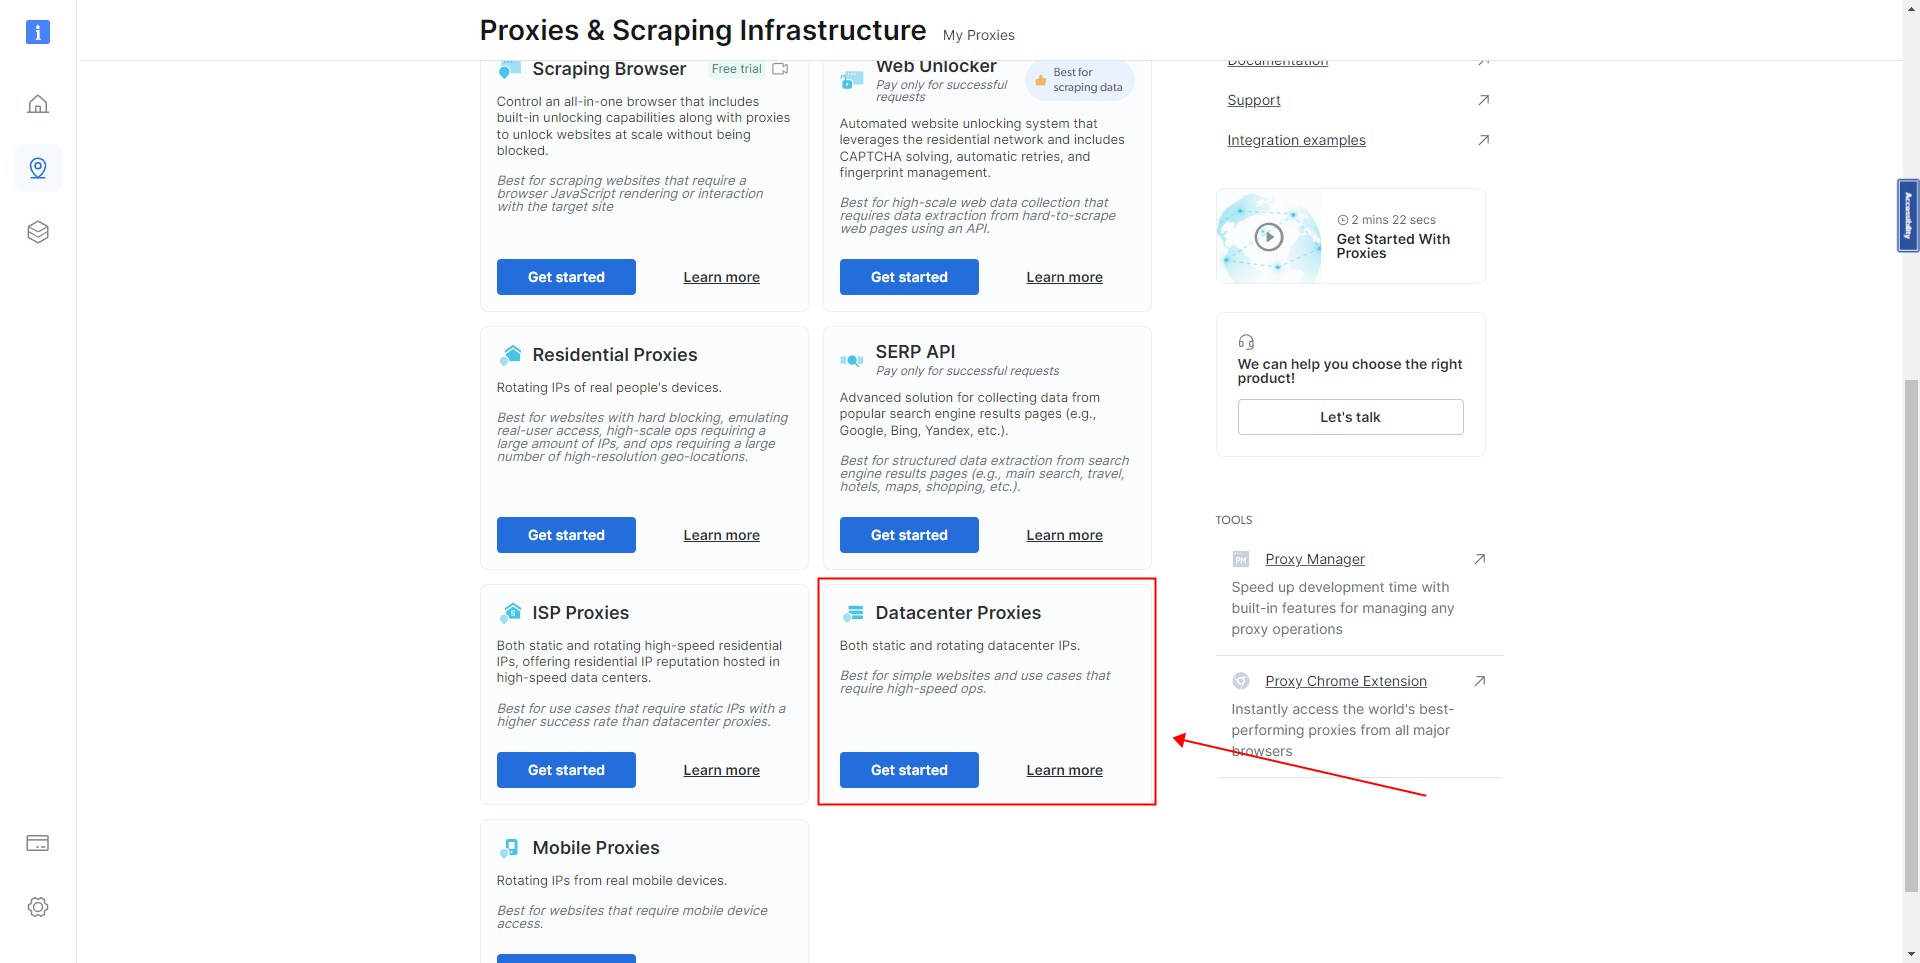
Select “Datacenter Proxies” and click “Get started”.
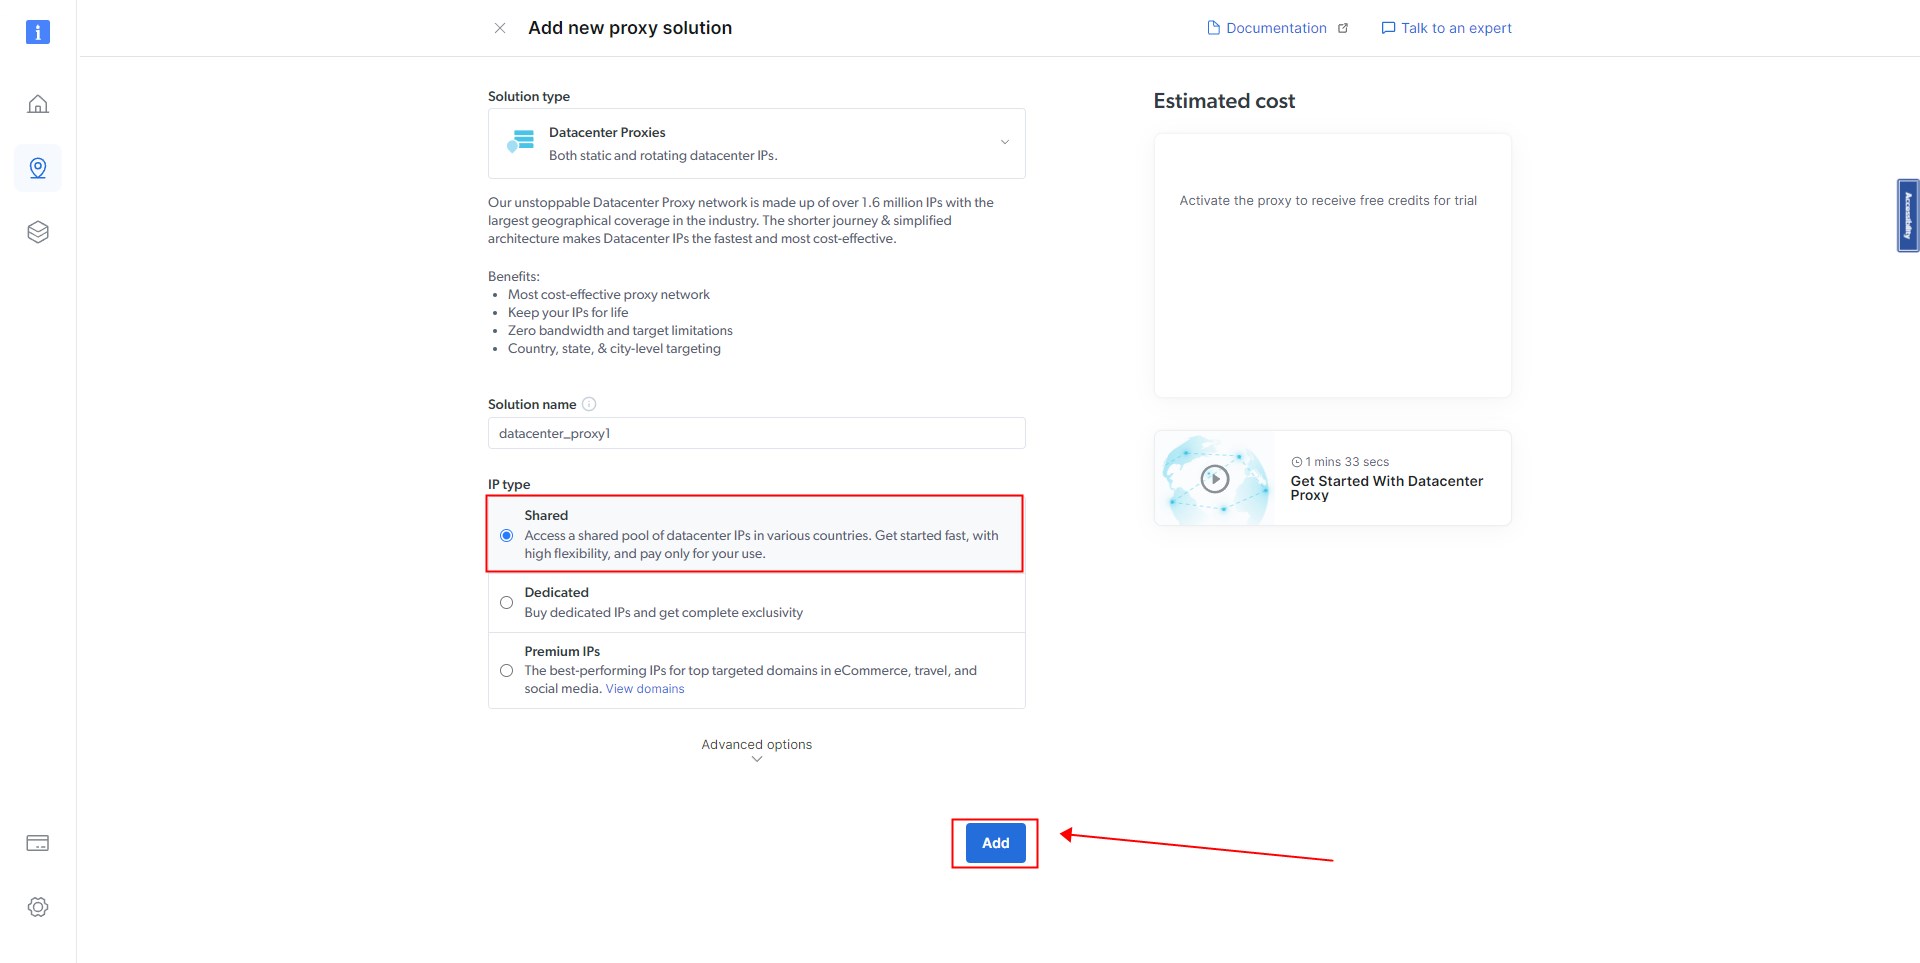
Set IP type you need and then click “Add”.
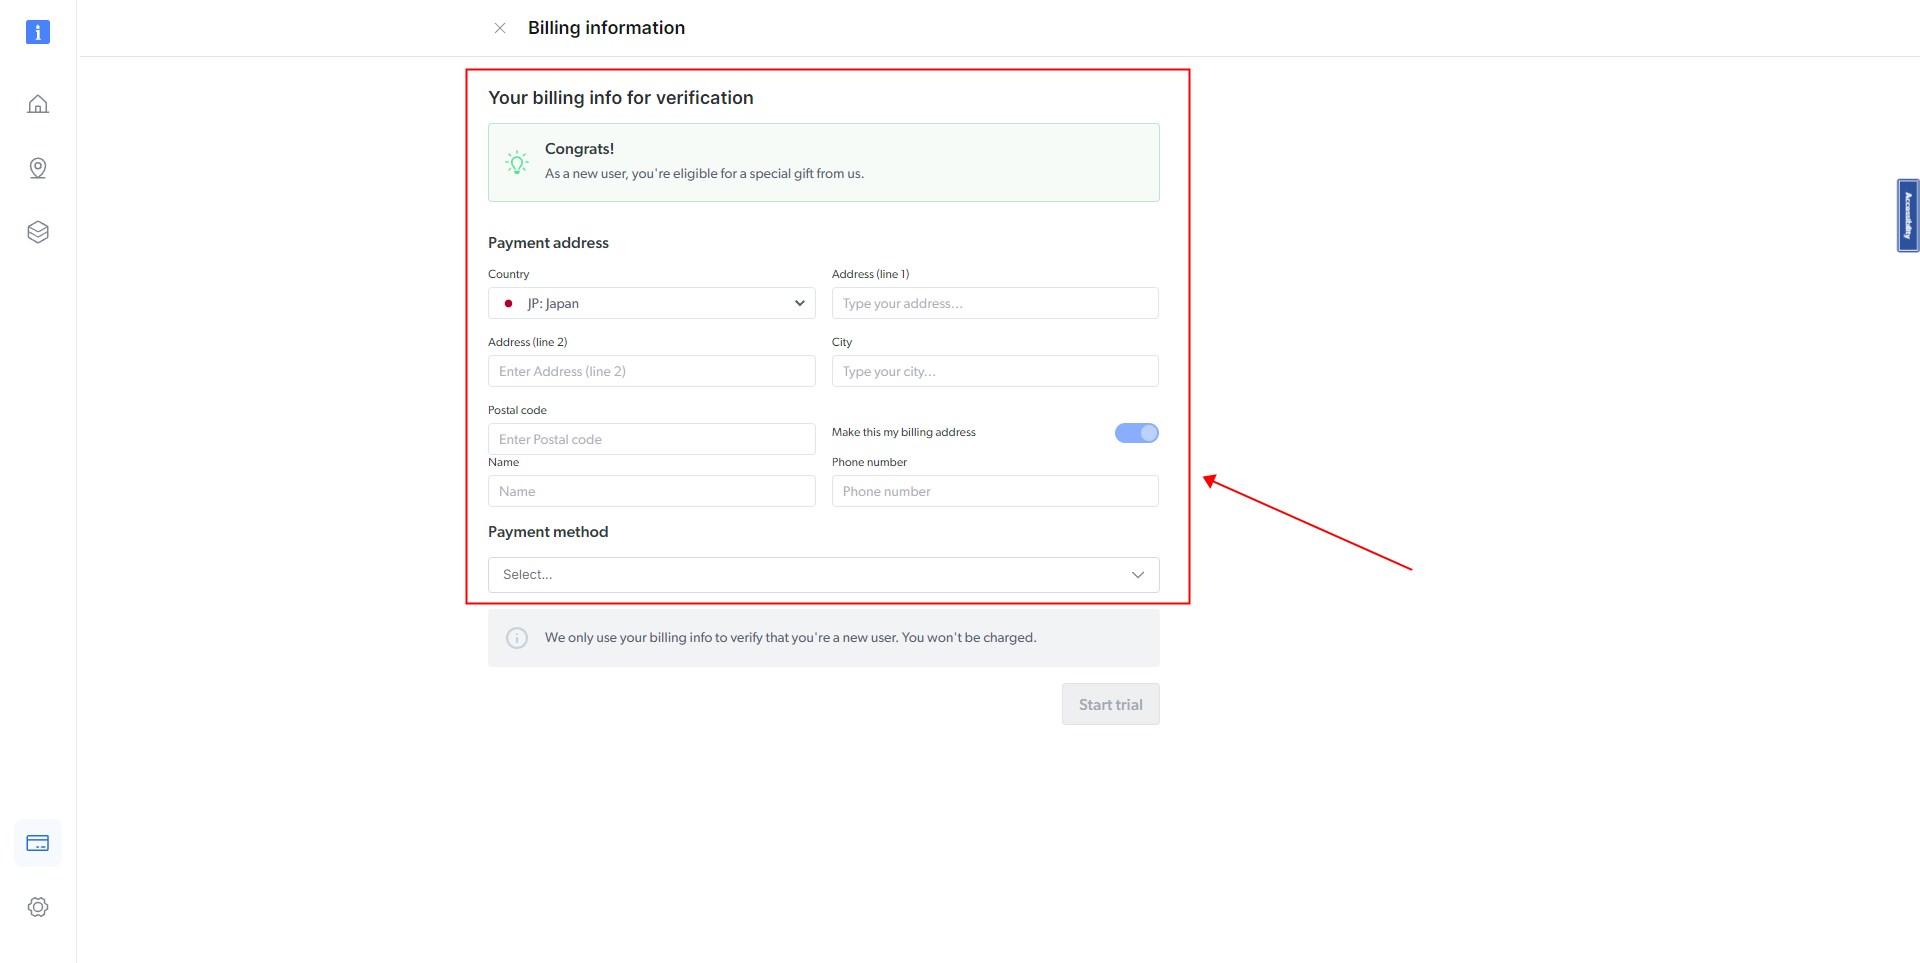
Recharge on the Billing interface, you have to pay to activate ips. Bright Data supports multiple payment methods. After the payment is successful, you can activate proxy.
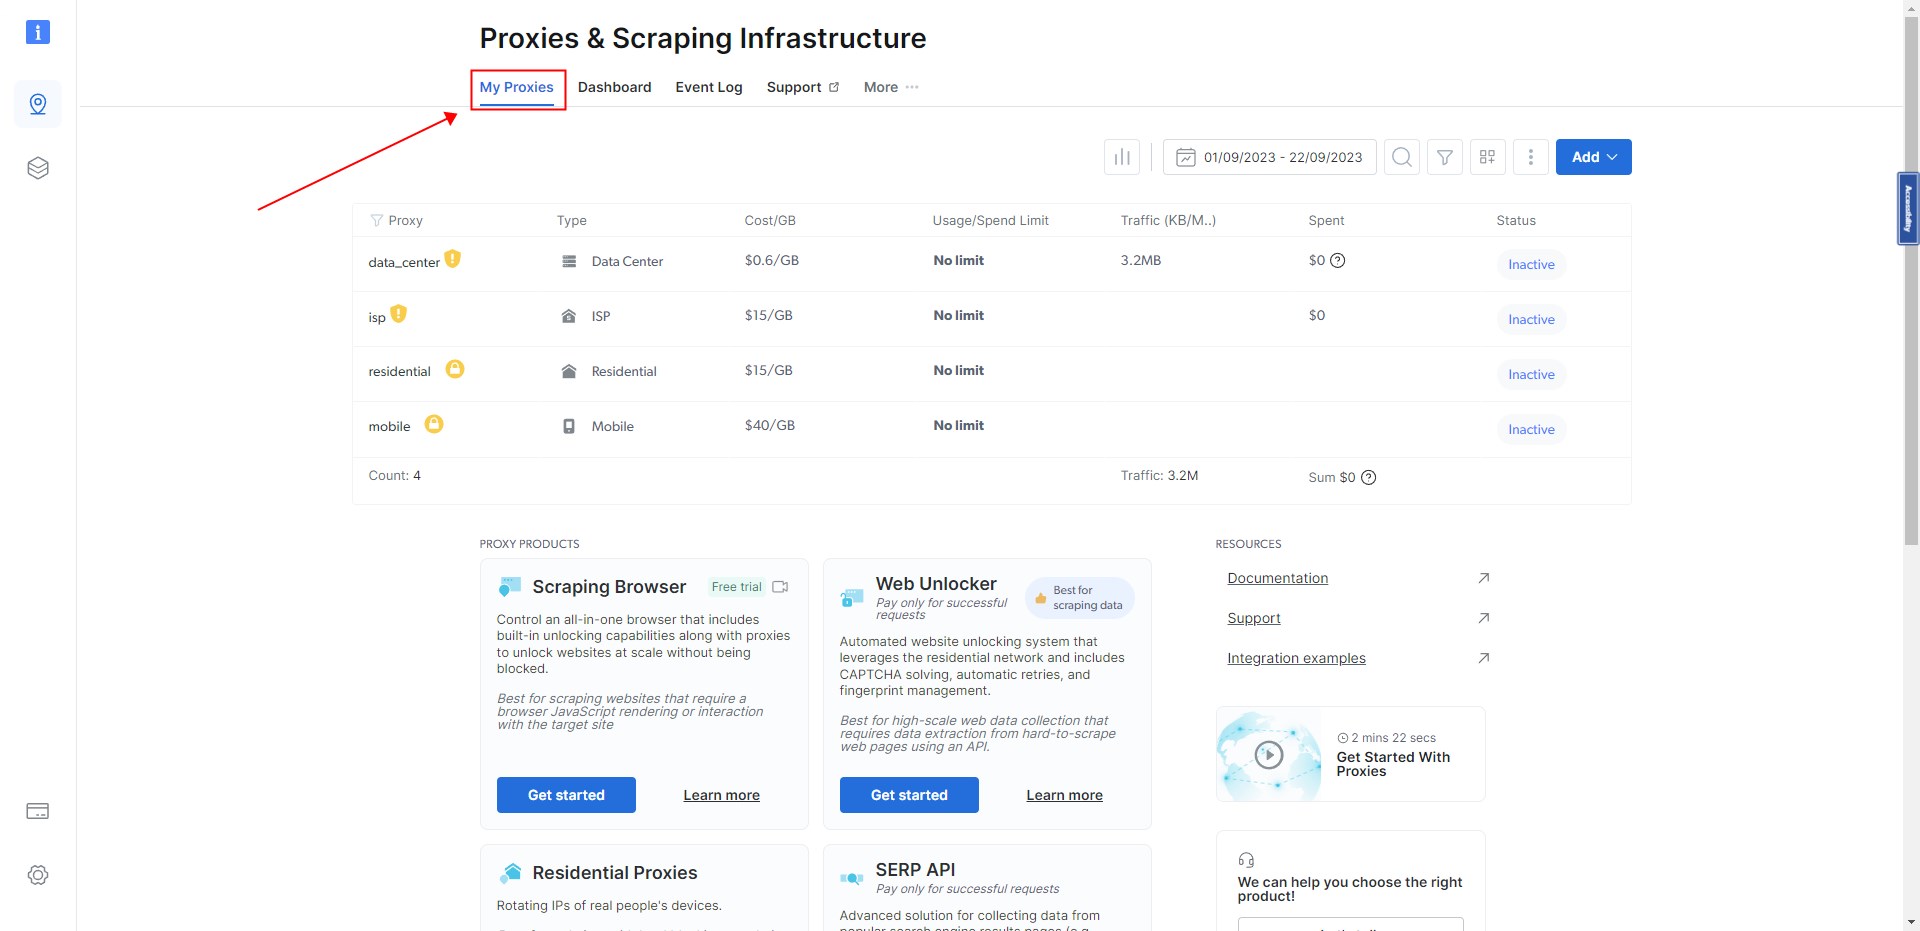
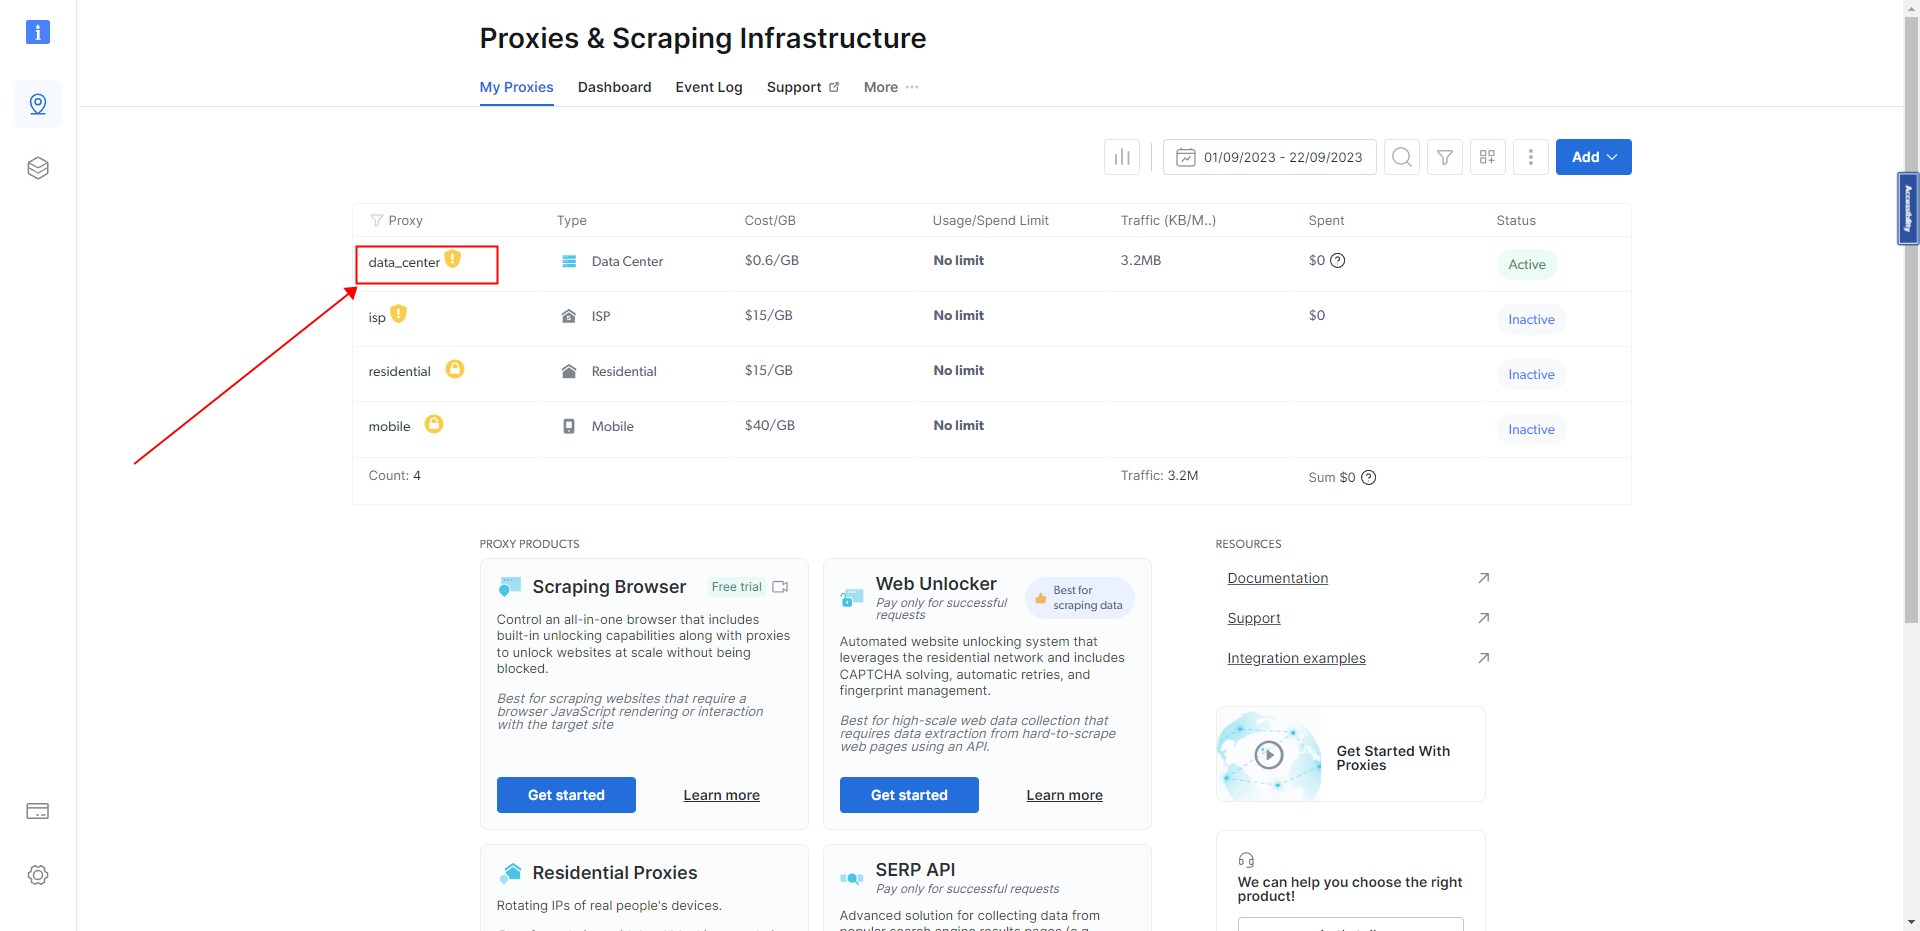
Then select “My Proxies”, there are a few zones, it is generally recommended to select “data_center”.
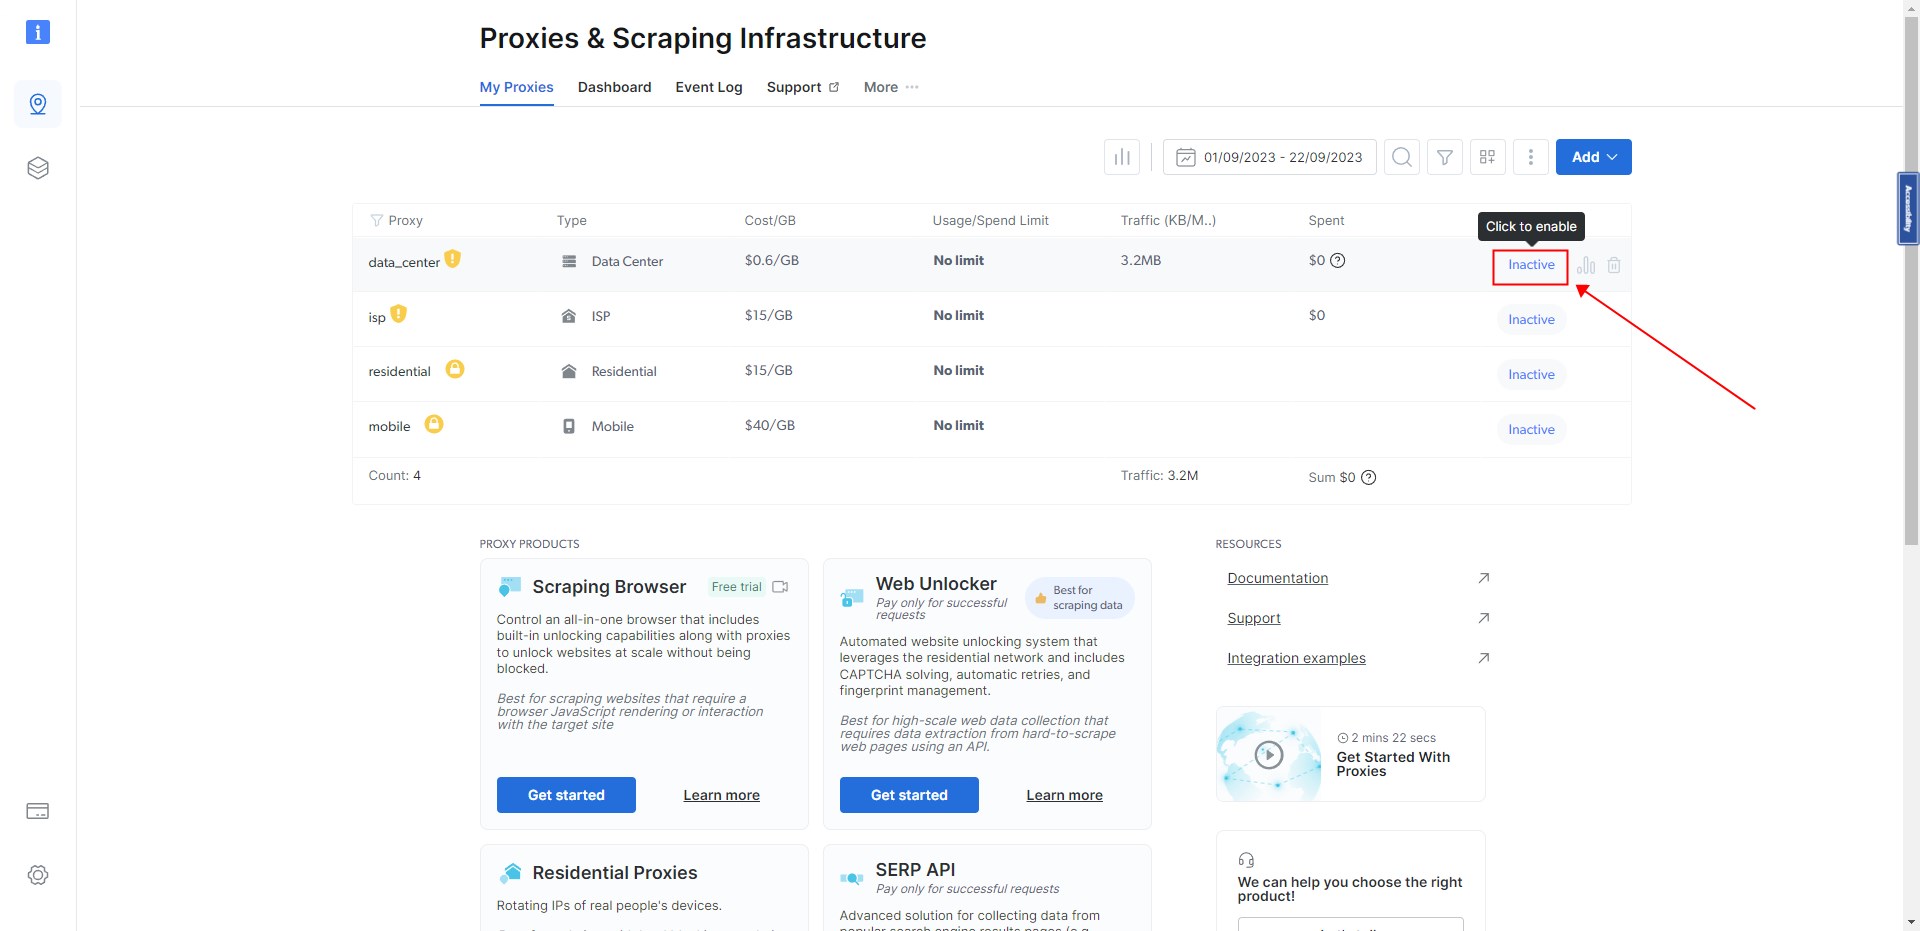
Click “Inactive” button to enable, it will change to “Active”, so that the zone has been enabled.
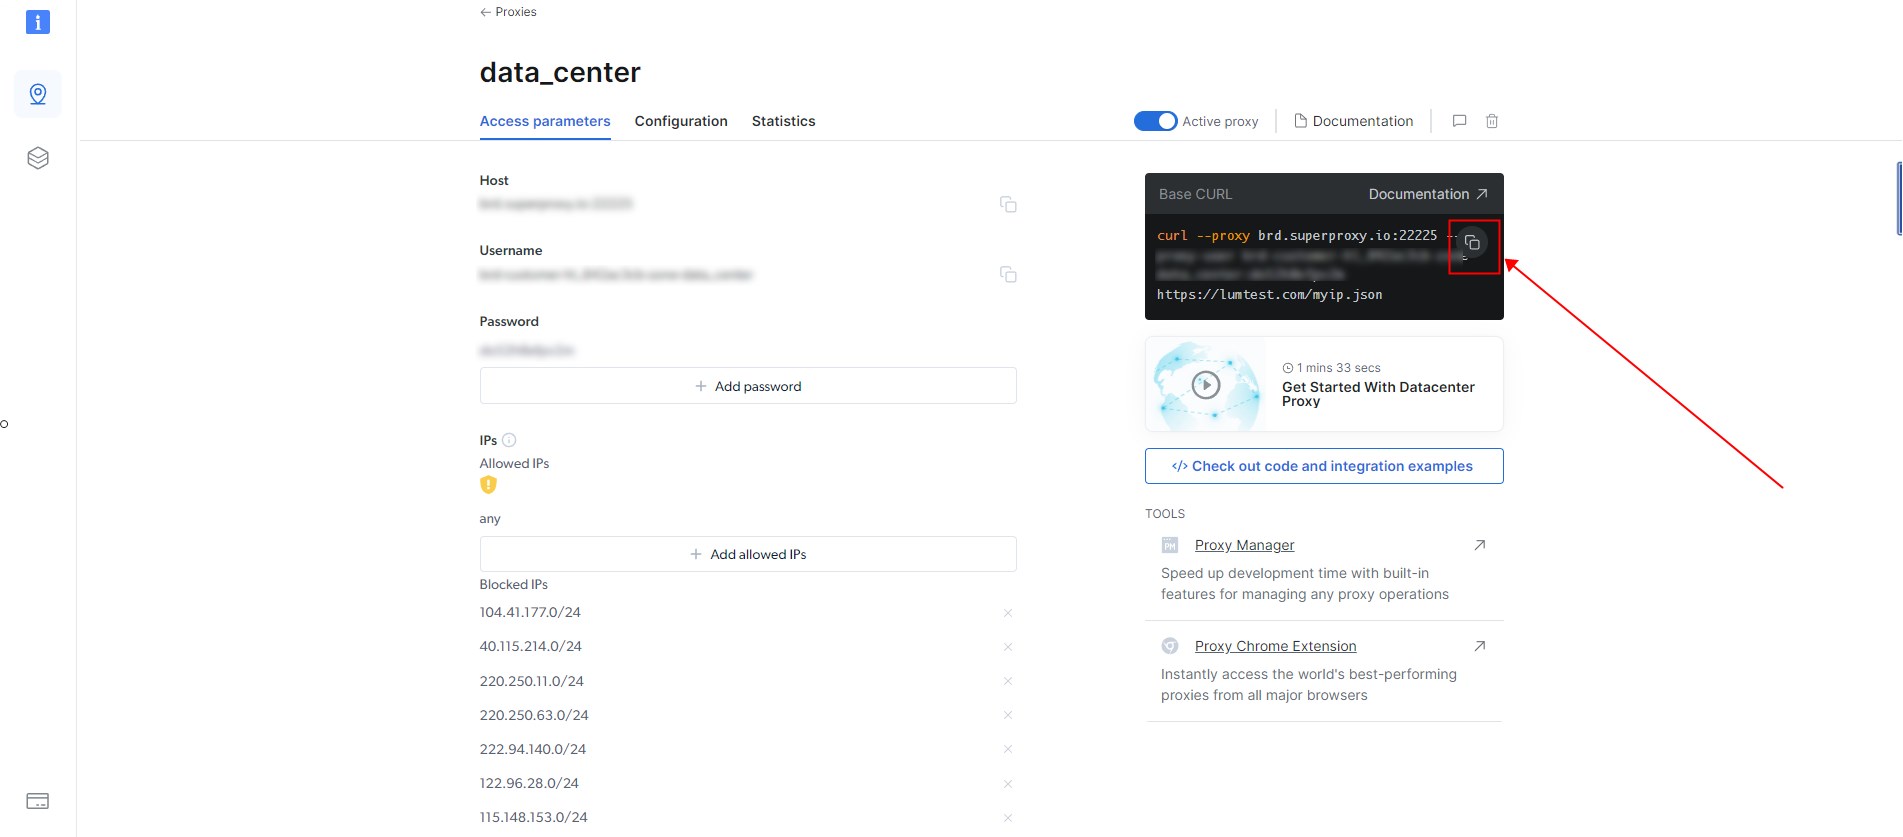
Click “data_center” to enter the settings page.
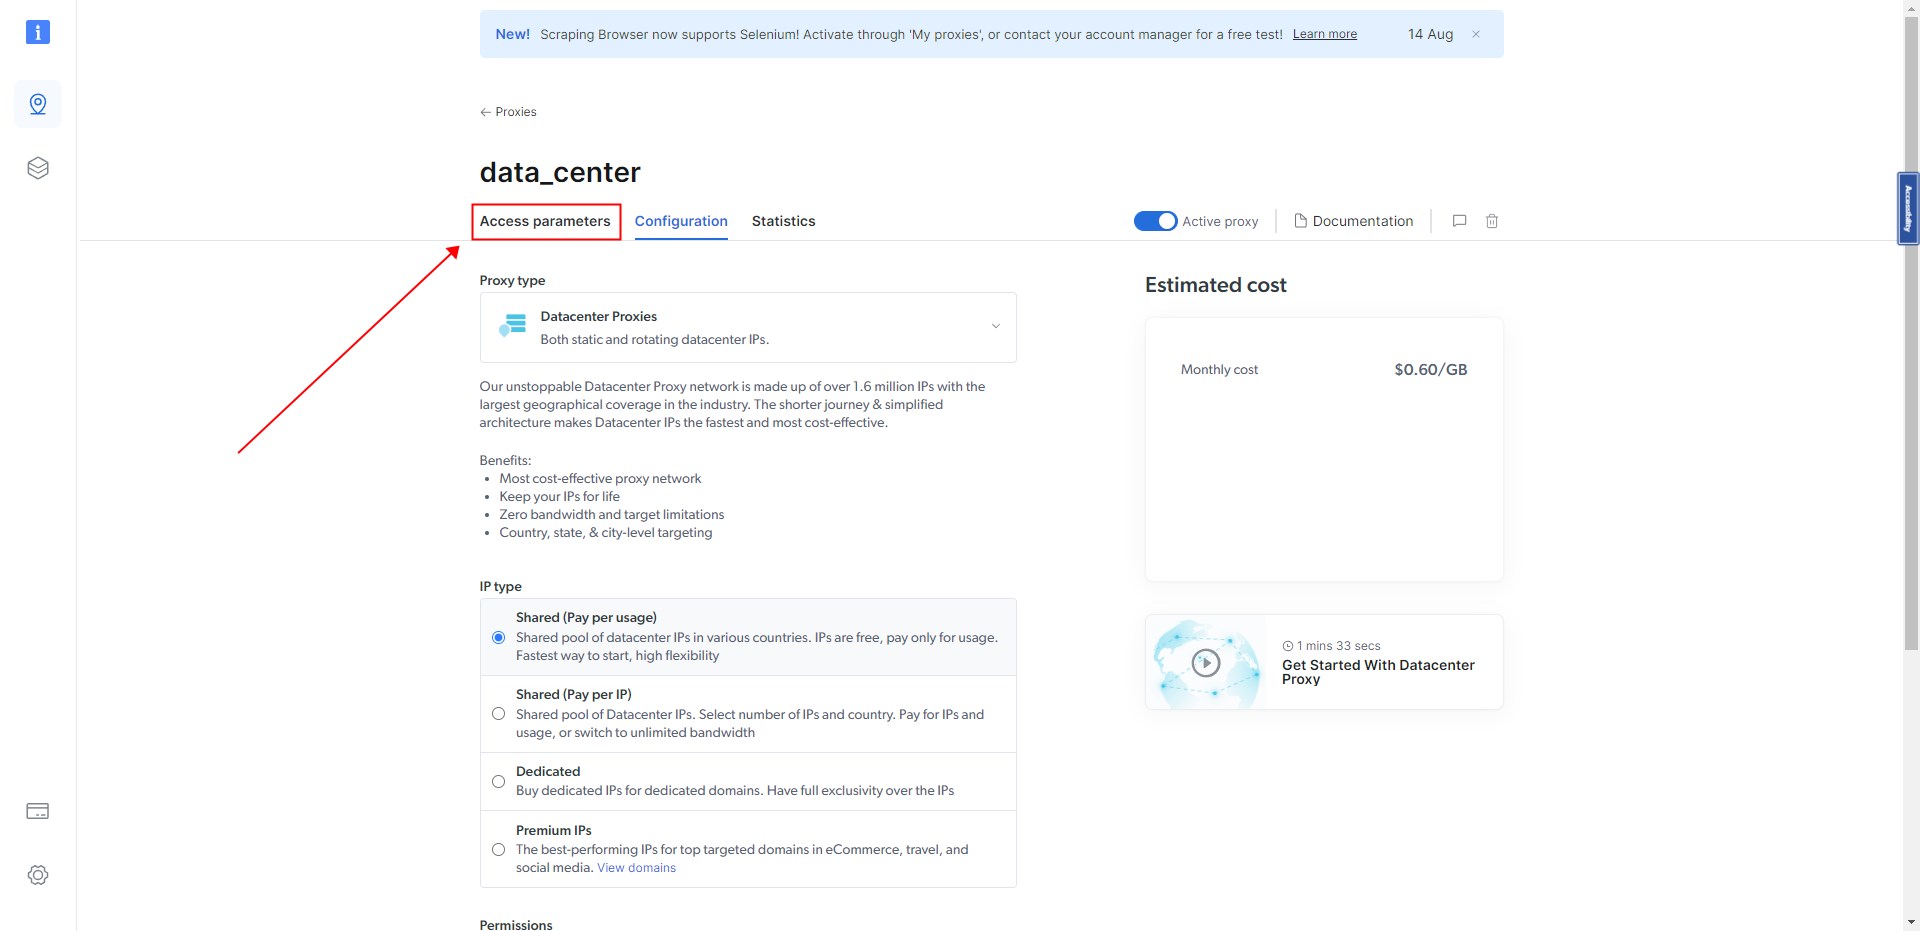
Click “Access parameters” to swtich the tab.
You can see information such as “username” and “password” on this page.
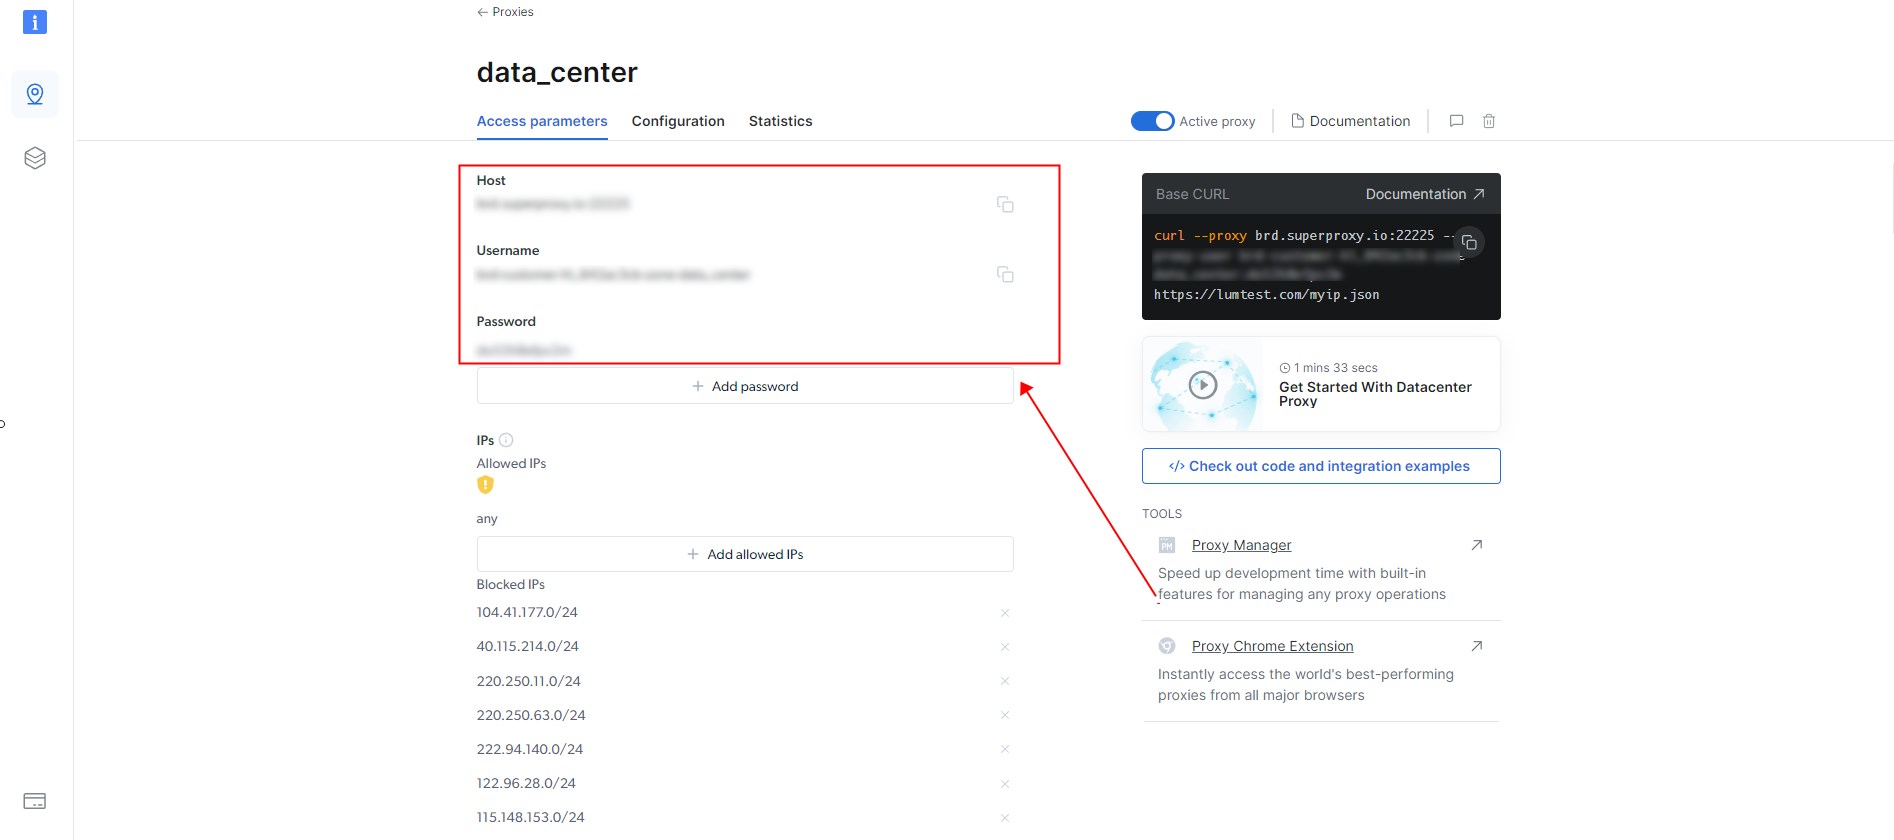
3. Set up IP Rotation
Open ScrapeStorm and set IP Rotation in Run Settings. Copy the information from the Bright Data official website and fill it in according to the format of “username” + “:” + “password”.
e.g., lum-customer-data_center:123456
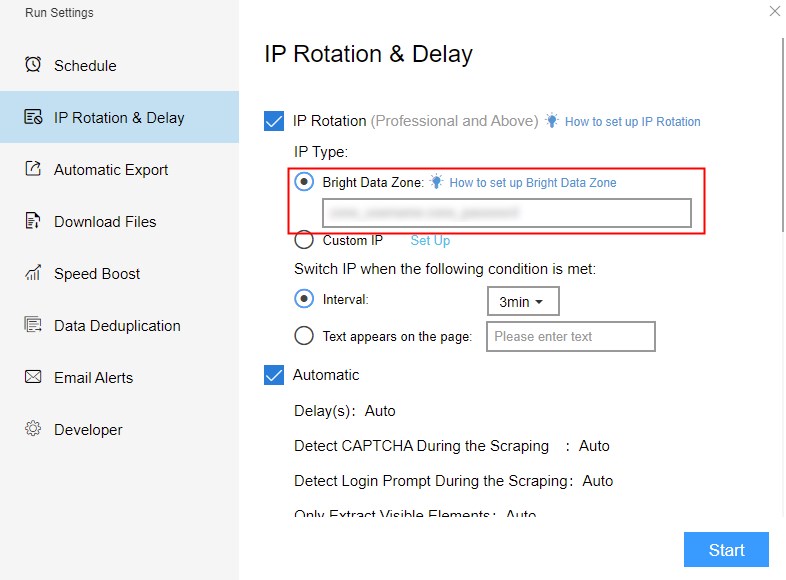
You can also directly copy this information from the website.
For more details about IP Rotation, you can refer to this tutorial: How to set IP Rotation & Delay