【Data Release】How to export data to PostgreSQL | Web Scraping Tool | ScrapeStorm
Abstract:This tutorial will show you how to export data to PostgreSQL. ScrapeStormFree Download
ScrapeStorm provides a variety of export methods. If you need to publish the scraped data to PostgreSQL, you can export it as follows.
Step 1:
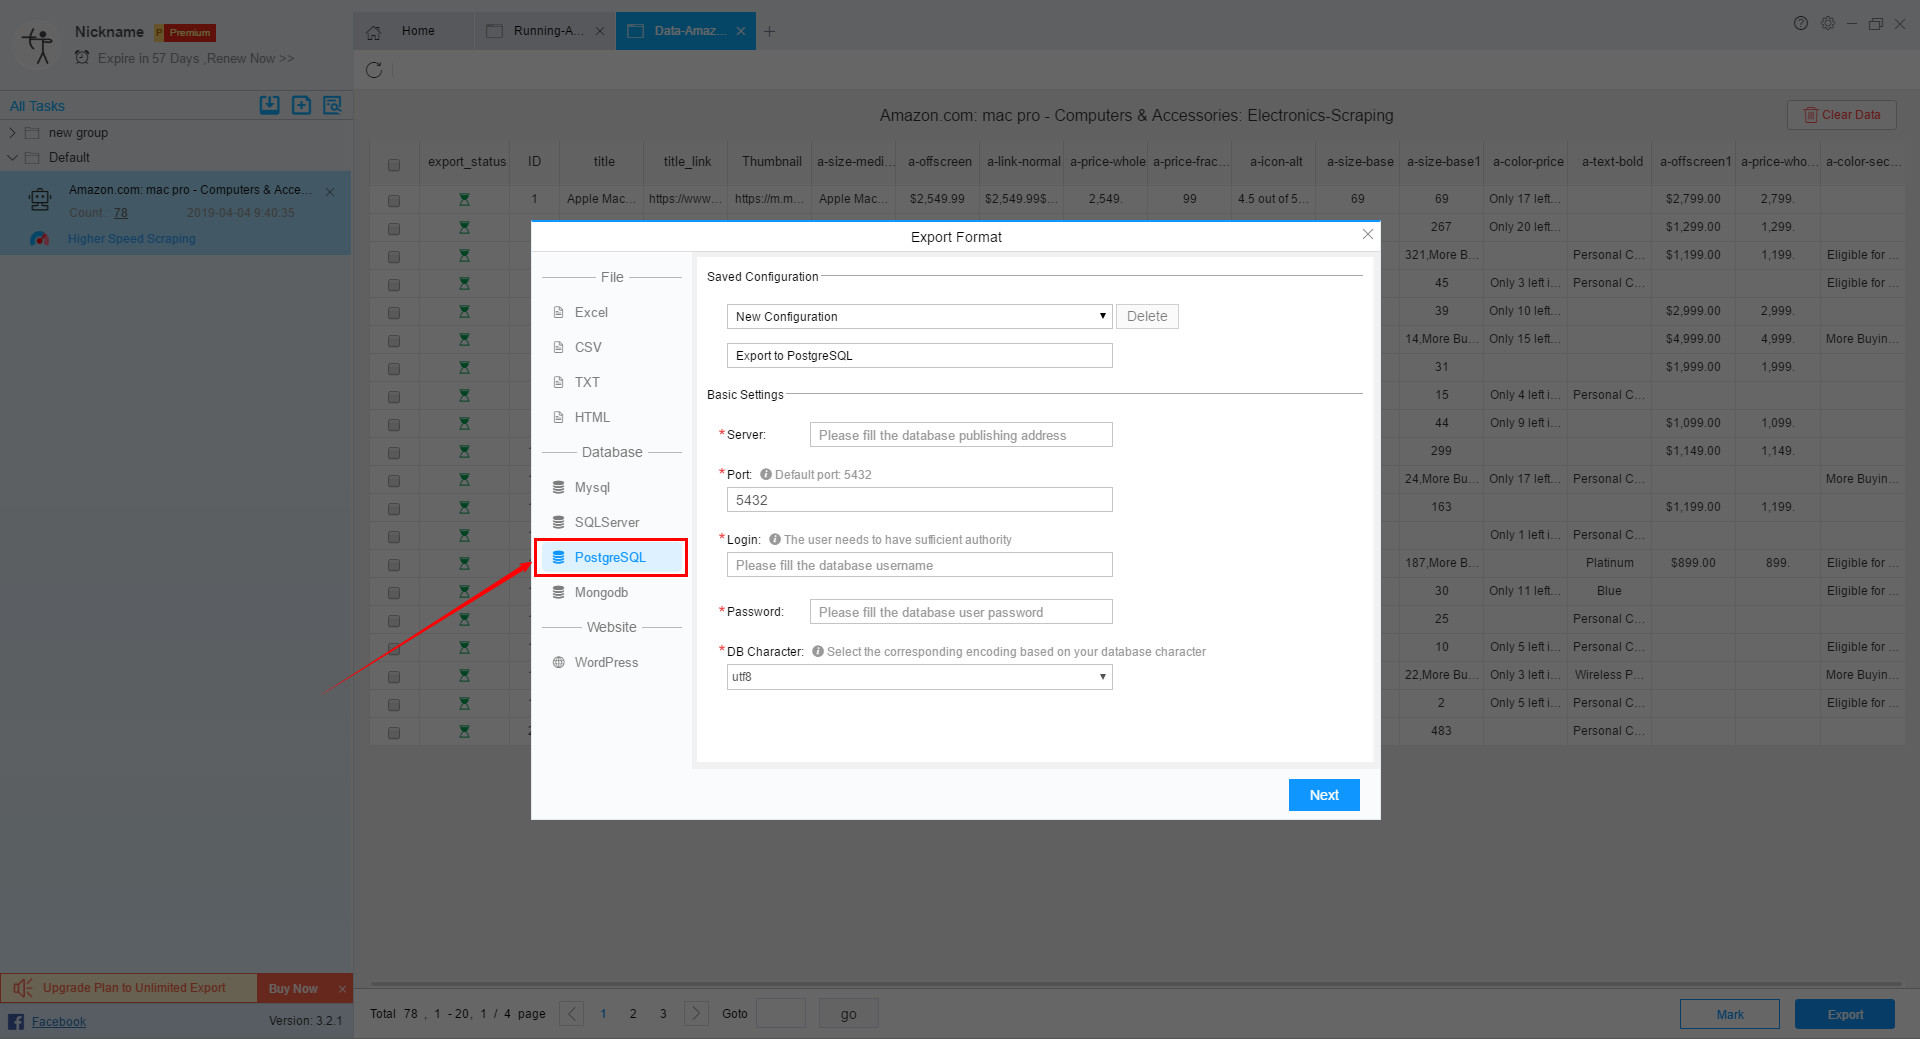
After the data is scraped, select PostgreSQL option on the export interface.
Step 2:
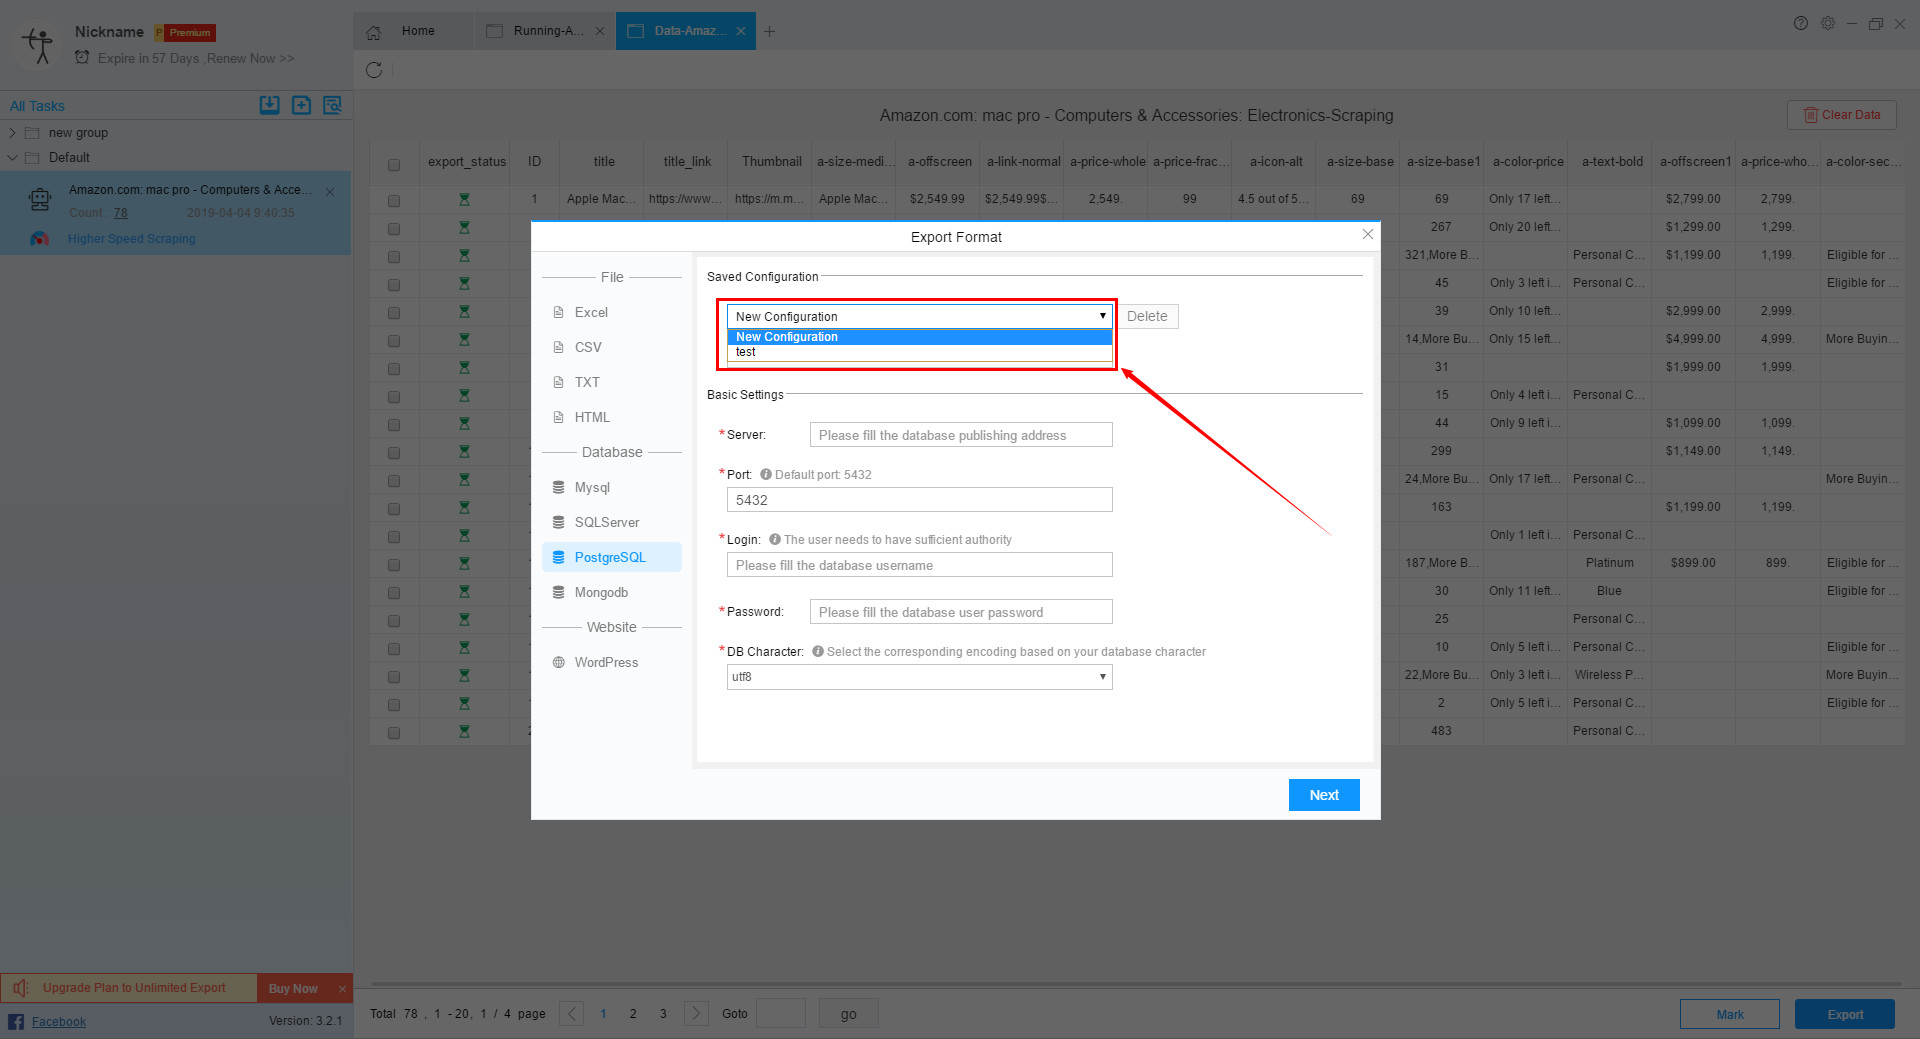
Select a database to create a new configuration or use a previously configured database.
When creating a new configuration, first select the database type, then enter the server, port, log-in name and password.
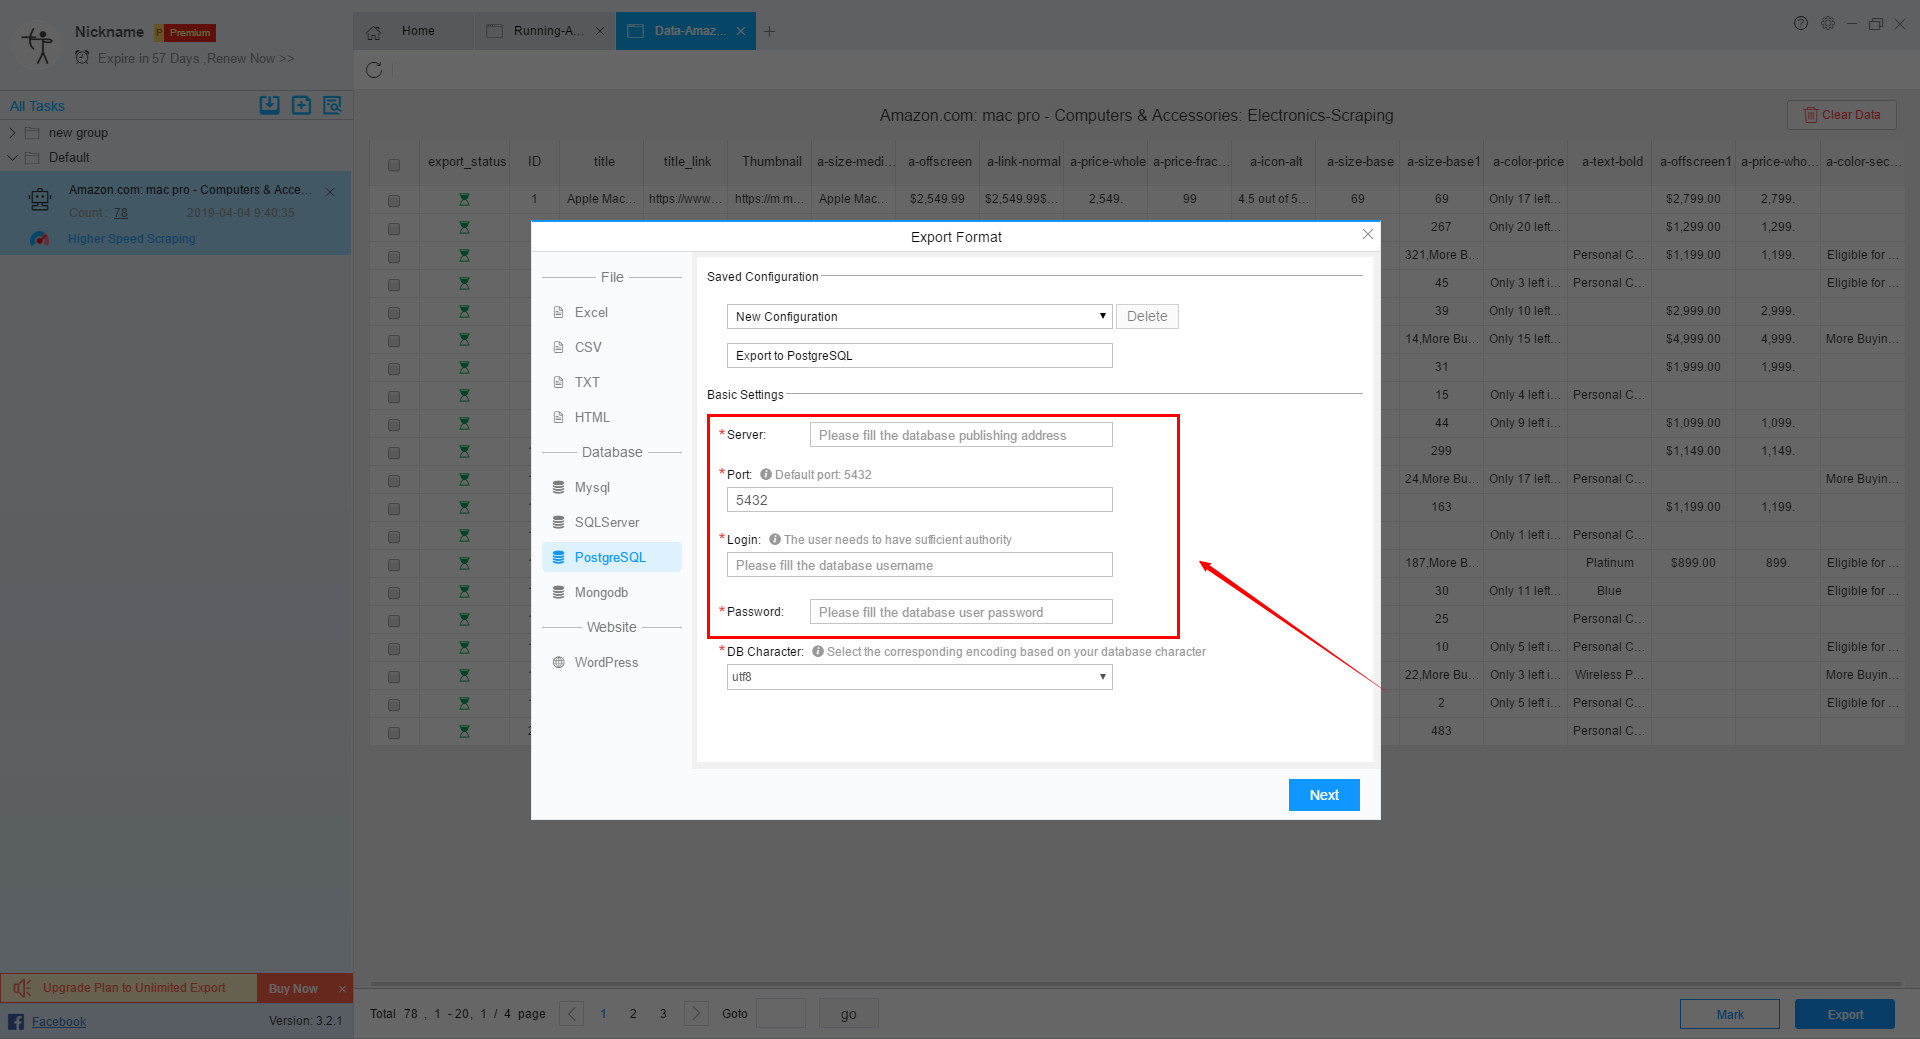
If the input is incorrect, an error will appear. At this time, you need to check whether the server, port, log-in name and password are correctly entered.
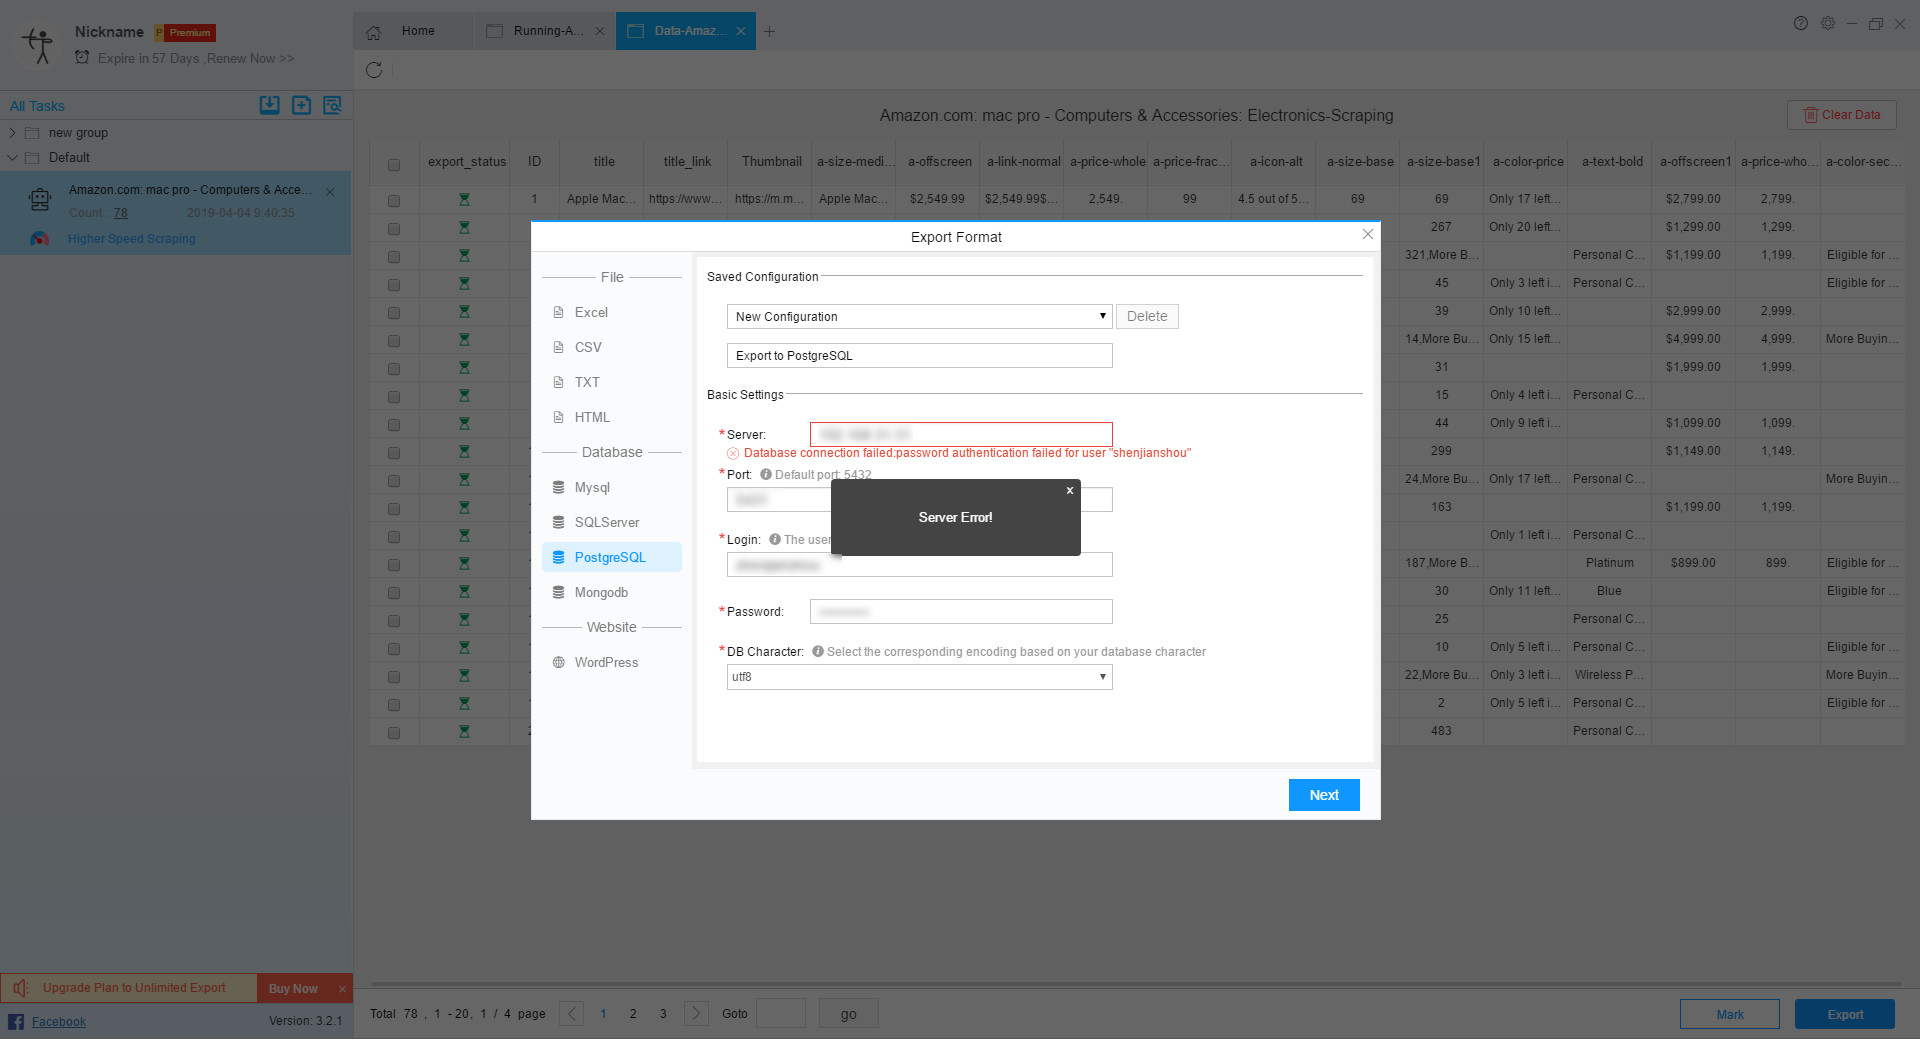
If you enter them correctly, the DB Name will appear at this time. After selecting the DB Name, the DB Table will appear accordingly.
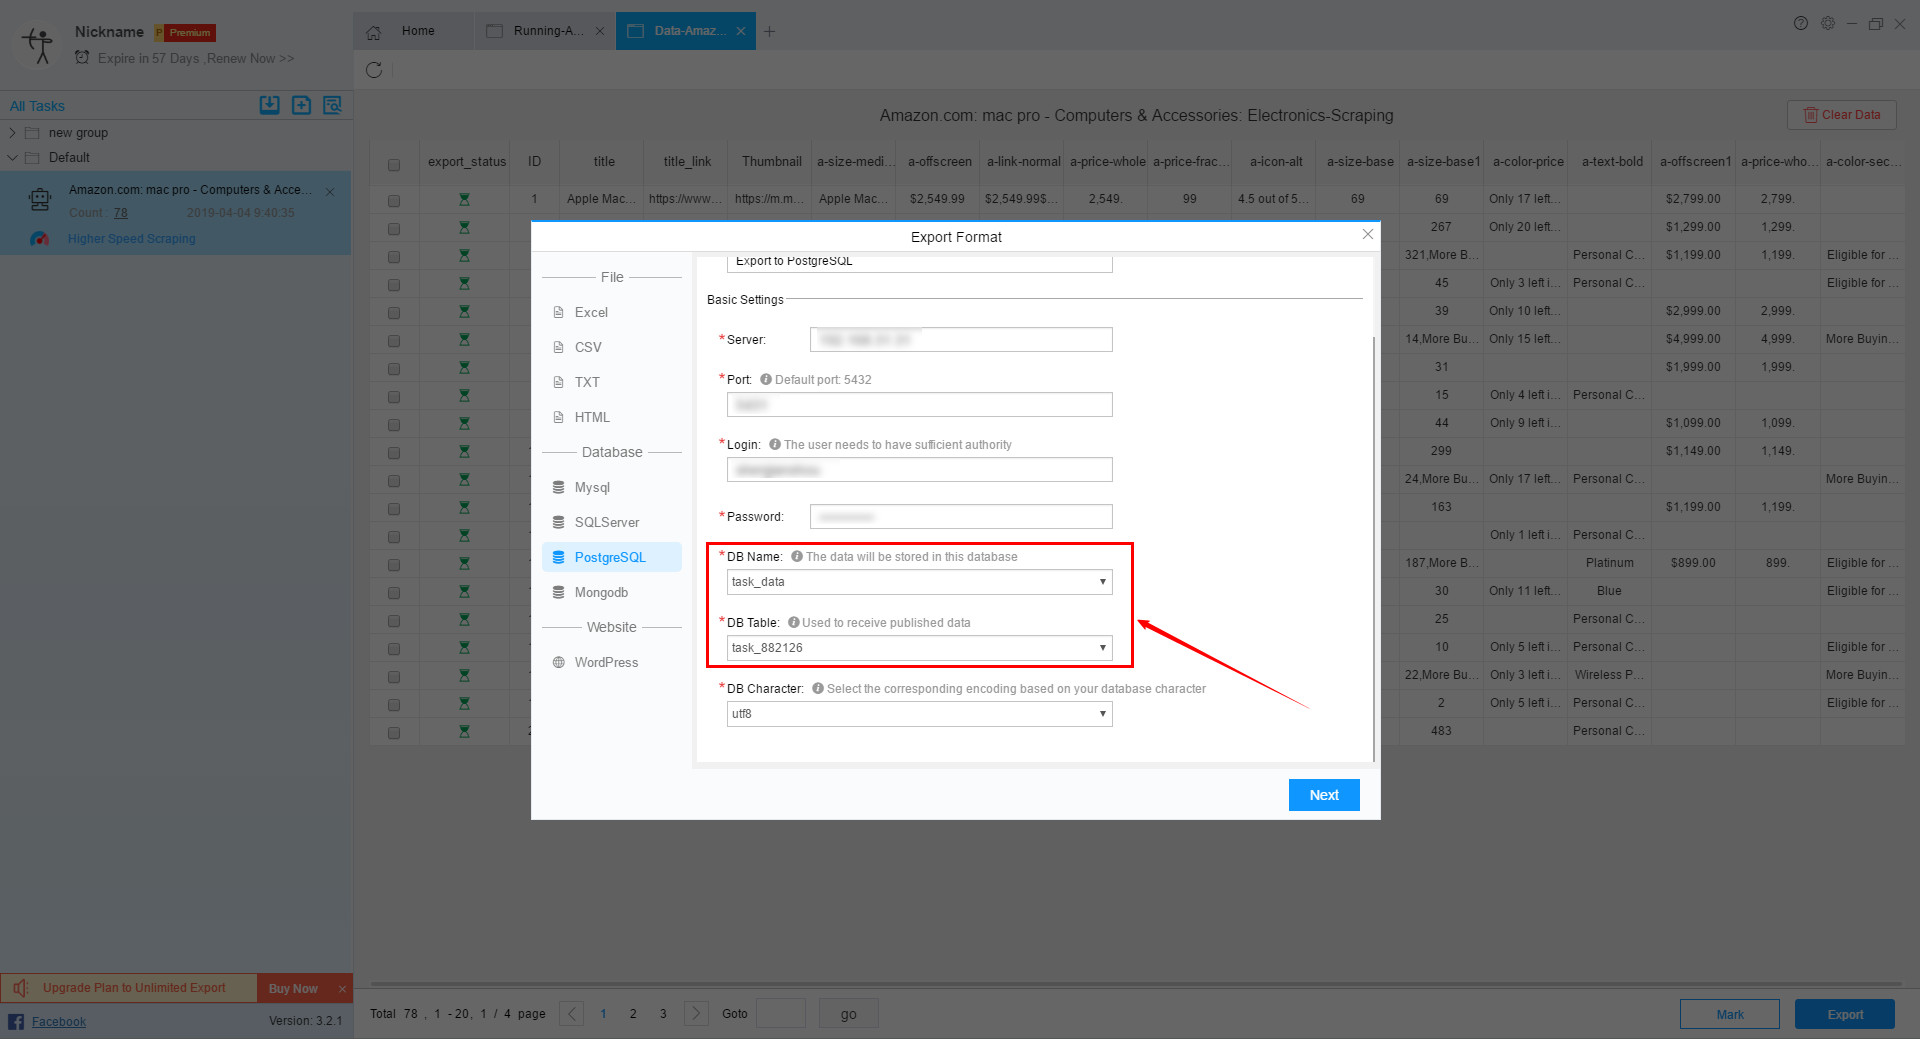
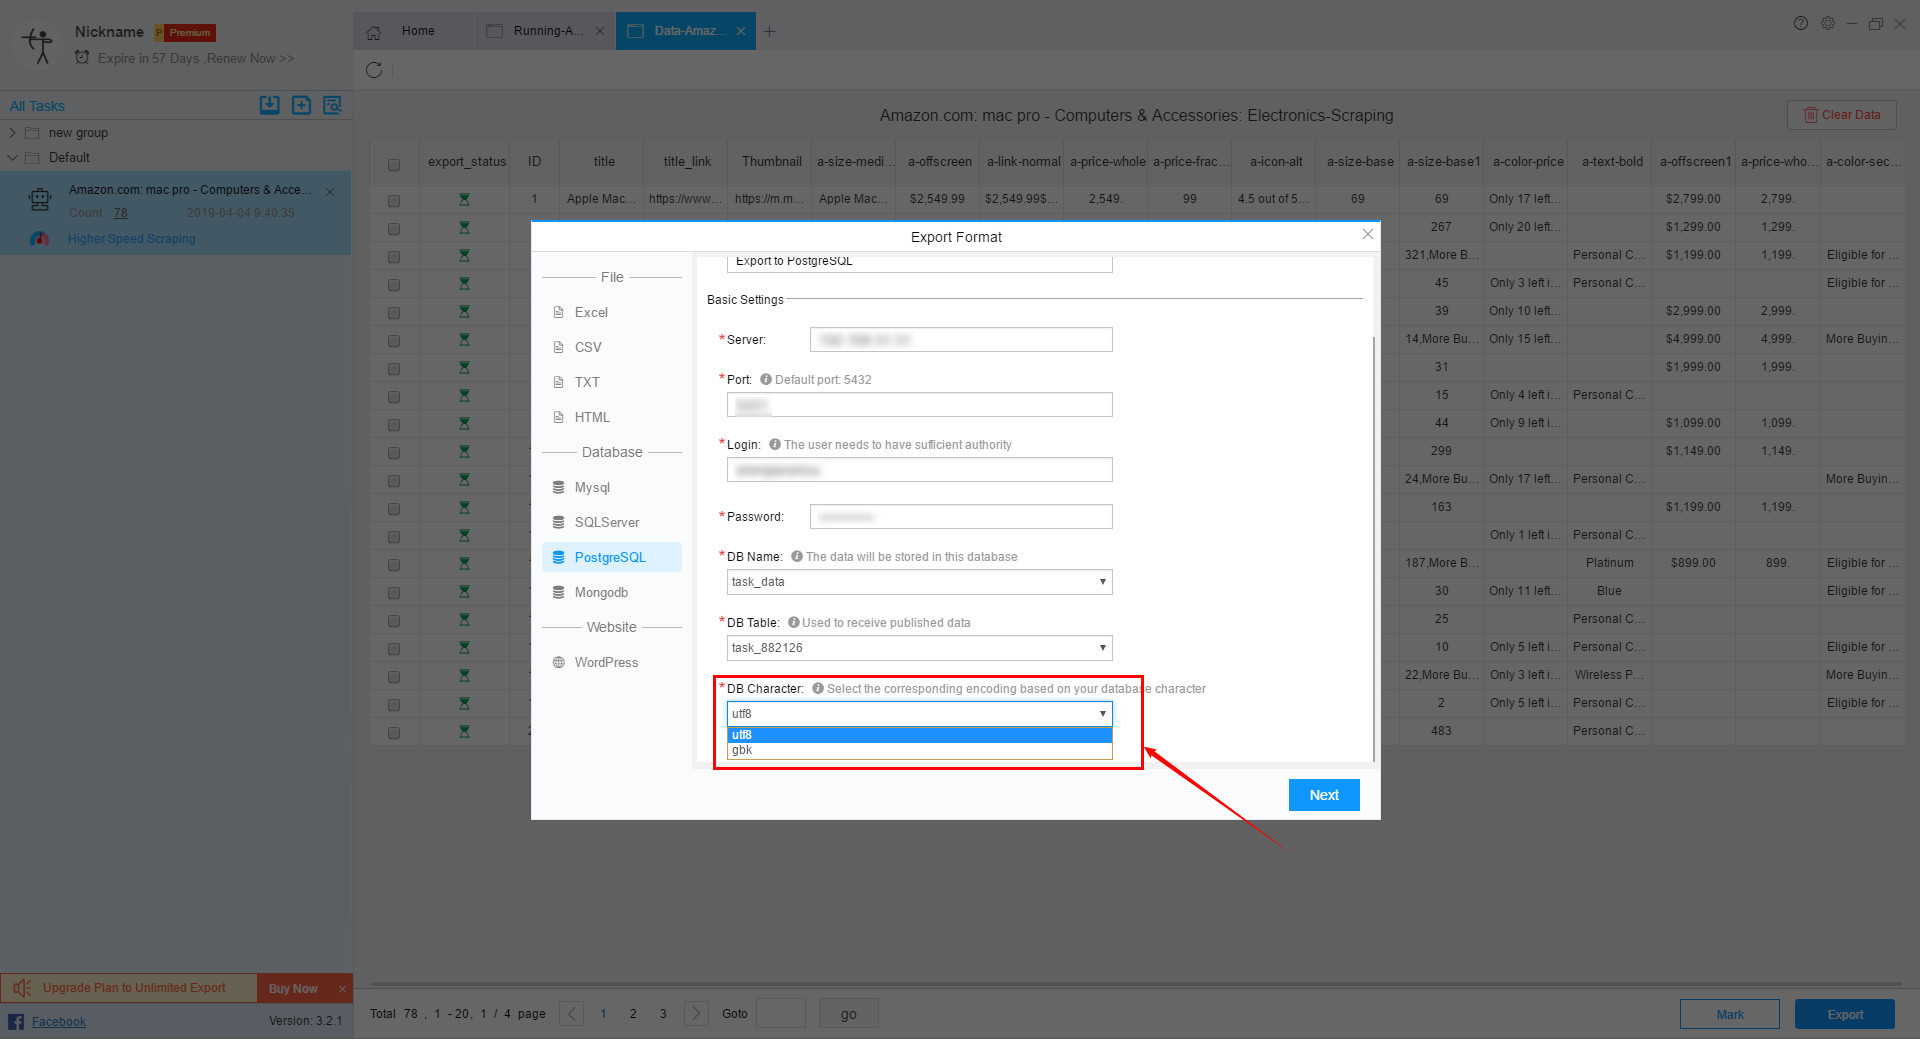
Then the user can choose the DB Character, there are two choices: utf8 and gbk.
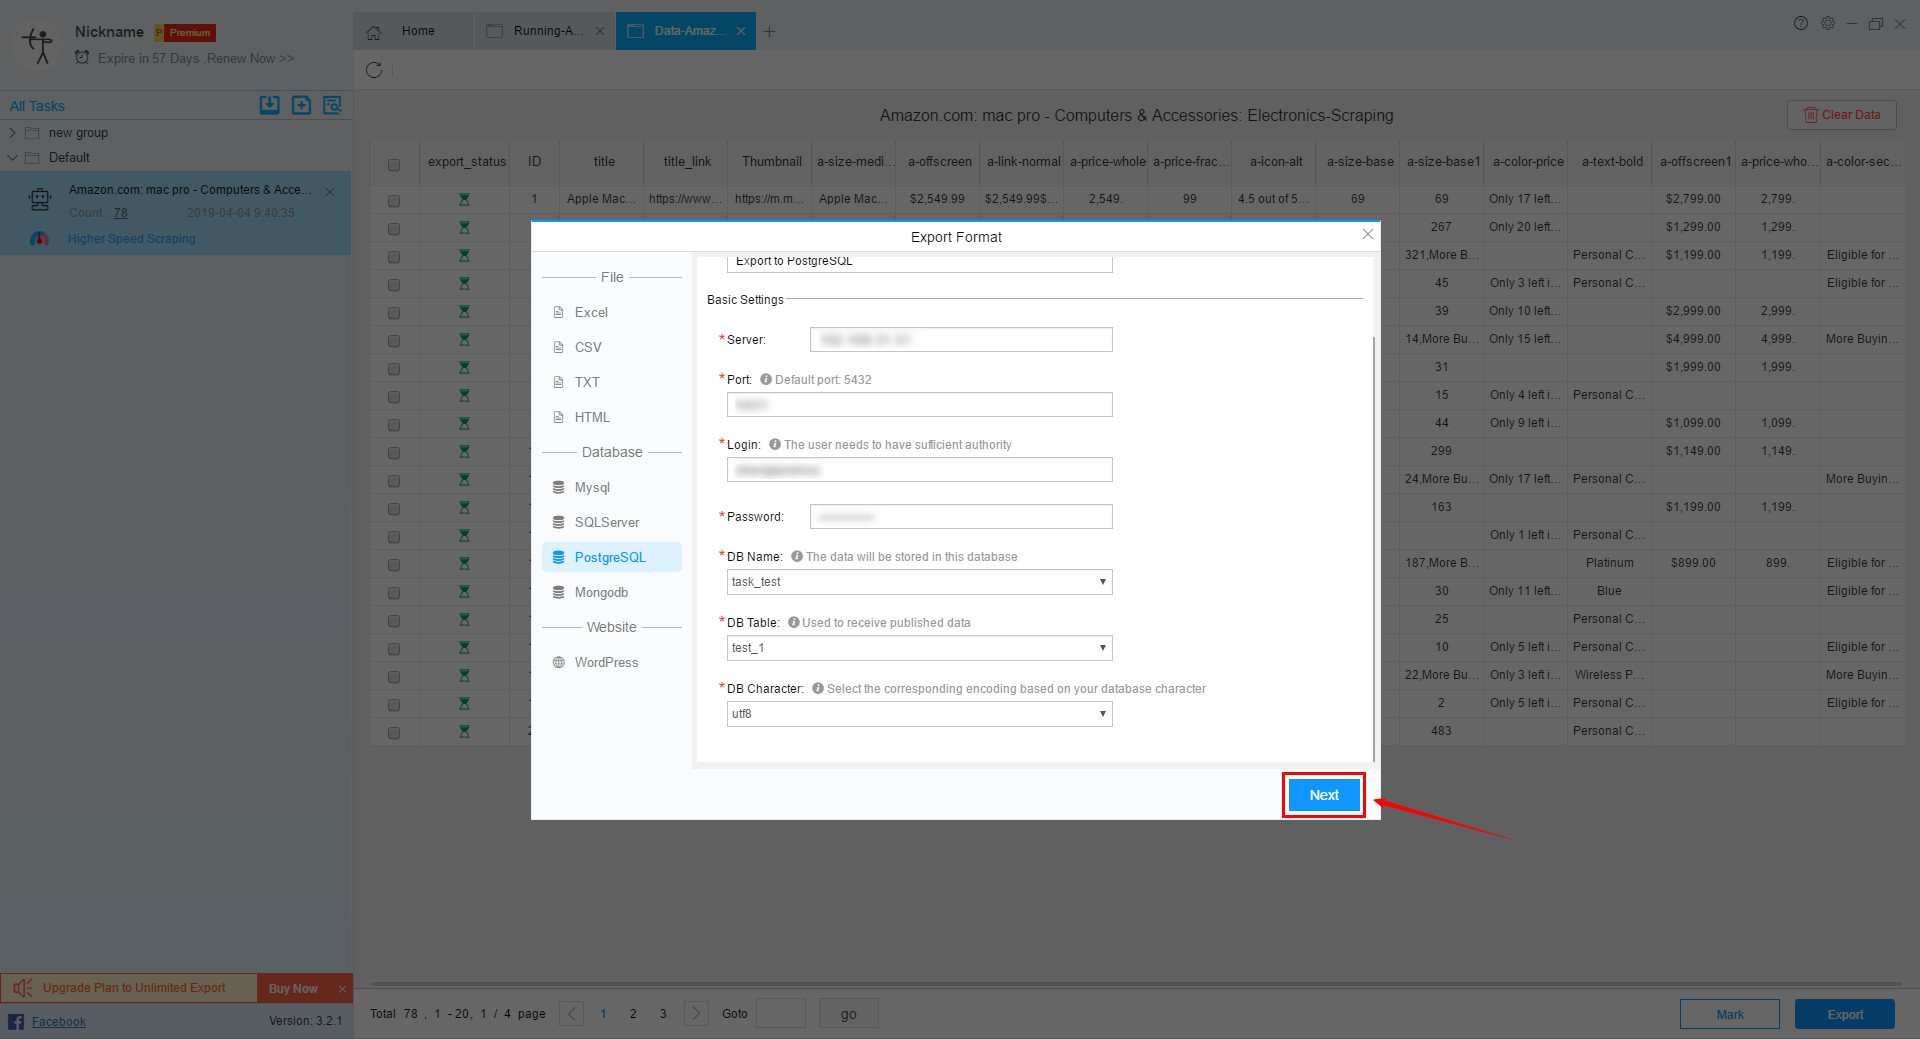
Step 3:
After all settings are complete, click the “Next” button to set the field mapping.
ⅰ. If the single data published to the database is too large, it may cause the publishing to fail. In this case, you can adjust the parameters such as the size and connection time of the database buffer.
ⅱ. To ensure that the data can be released normally, please check if your database field type can store the data of the corresponding field (the default is text type).
ⅲ. The data target field is unique, and the duplicate setting field cannot release data normally.
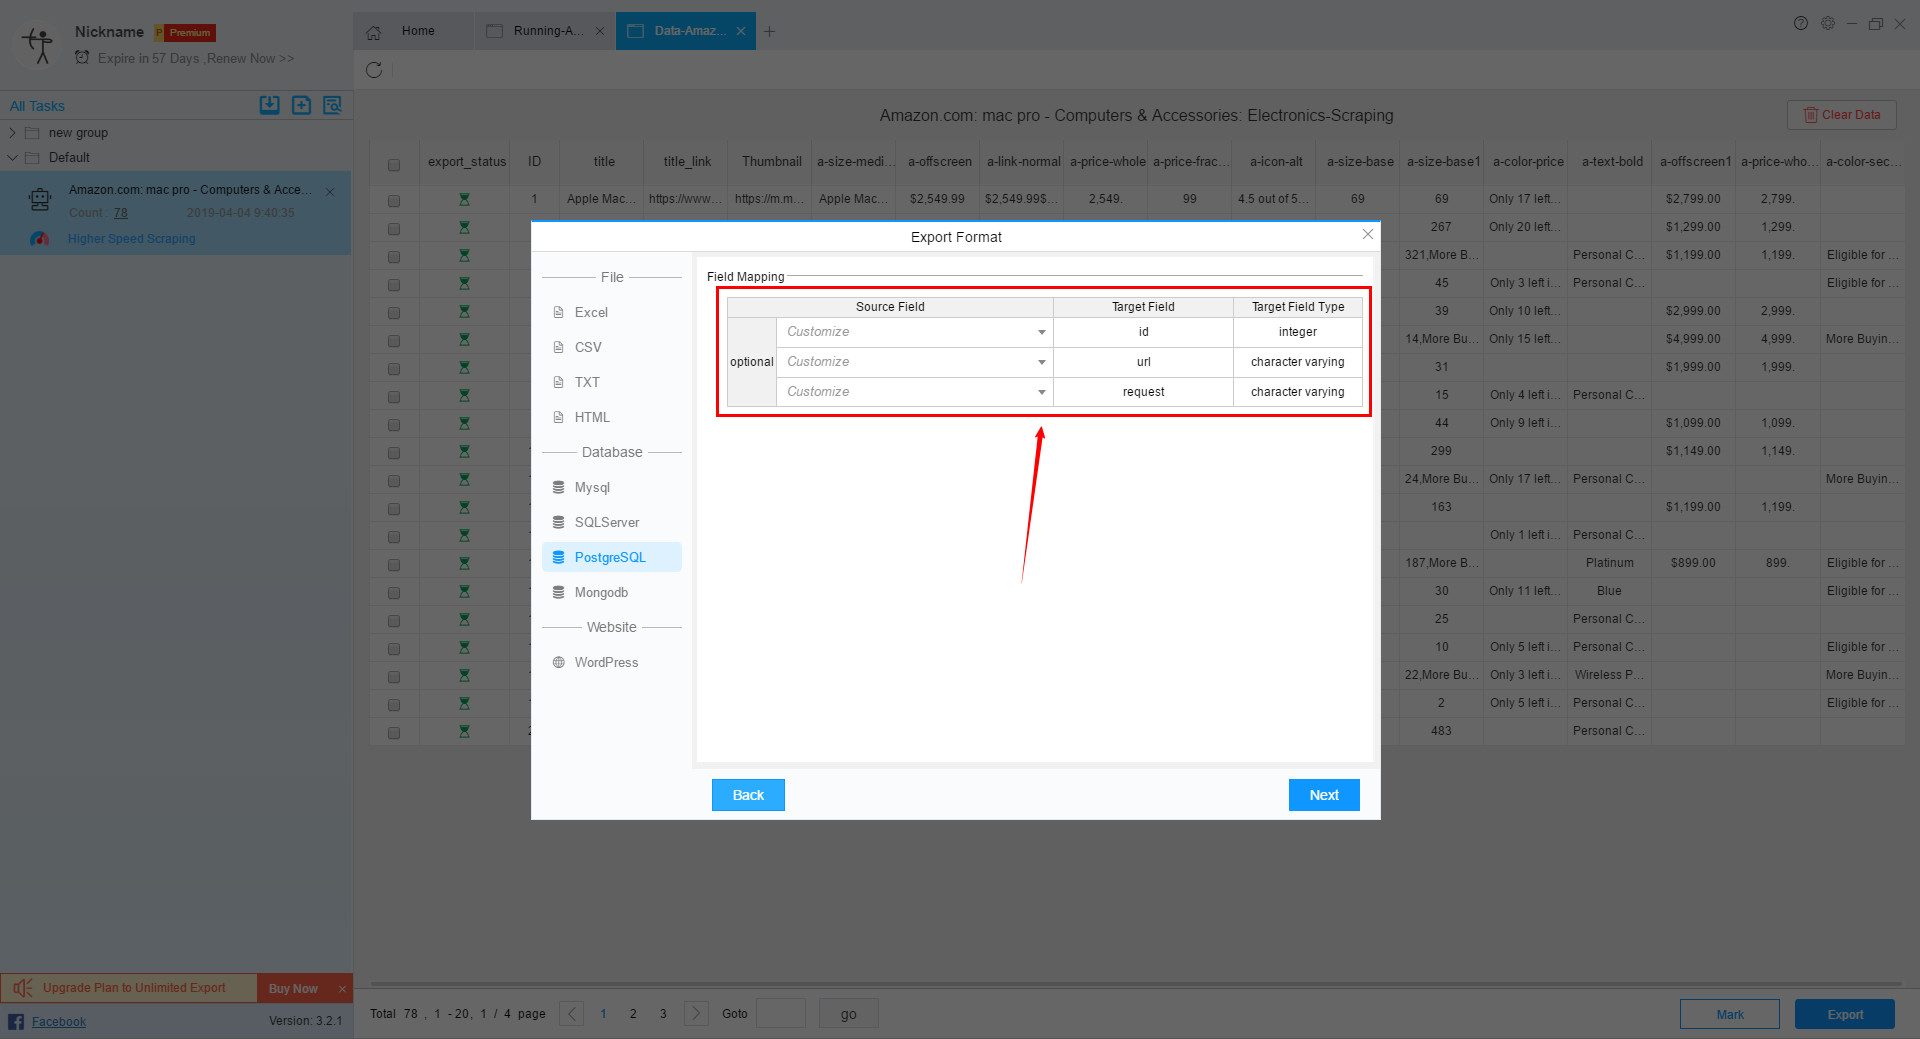
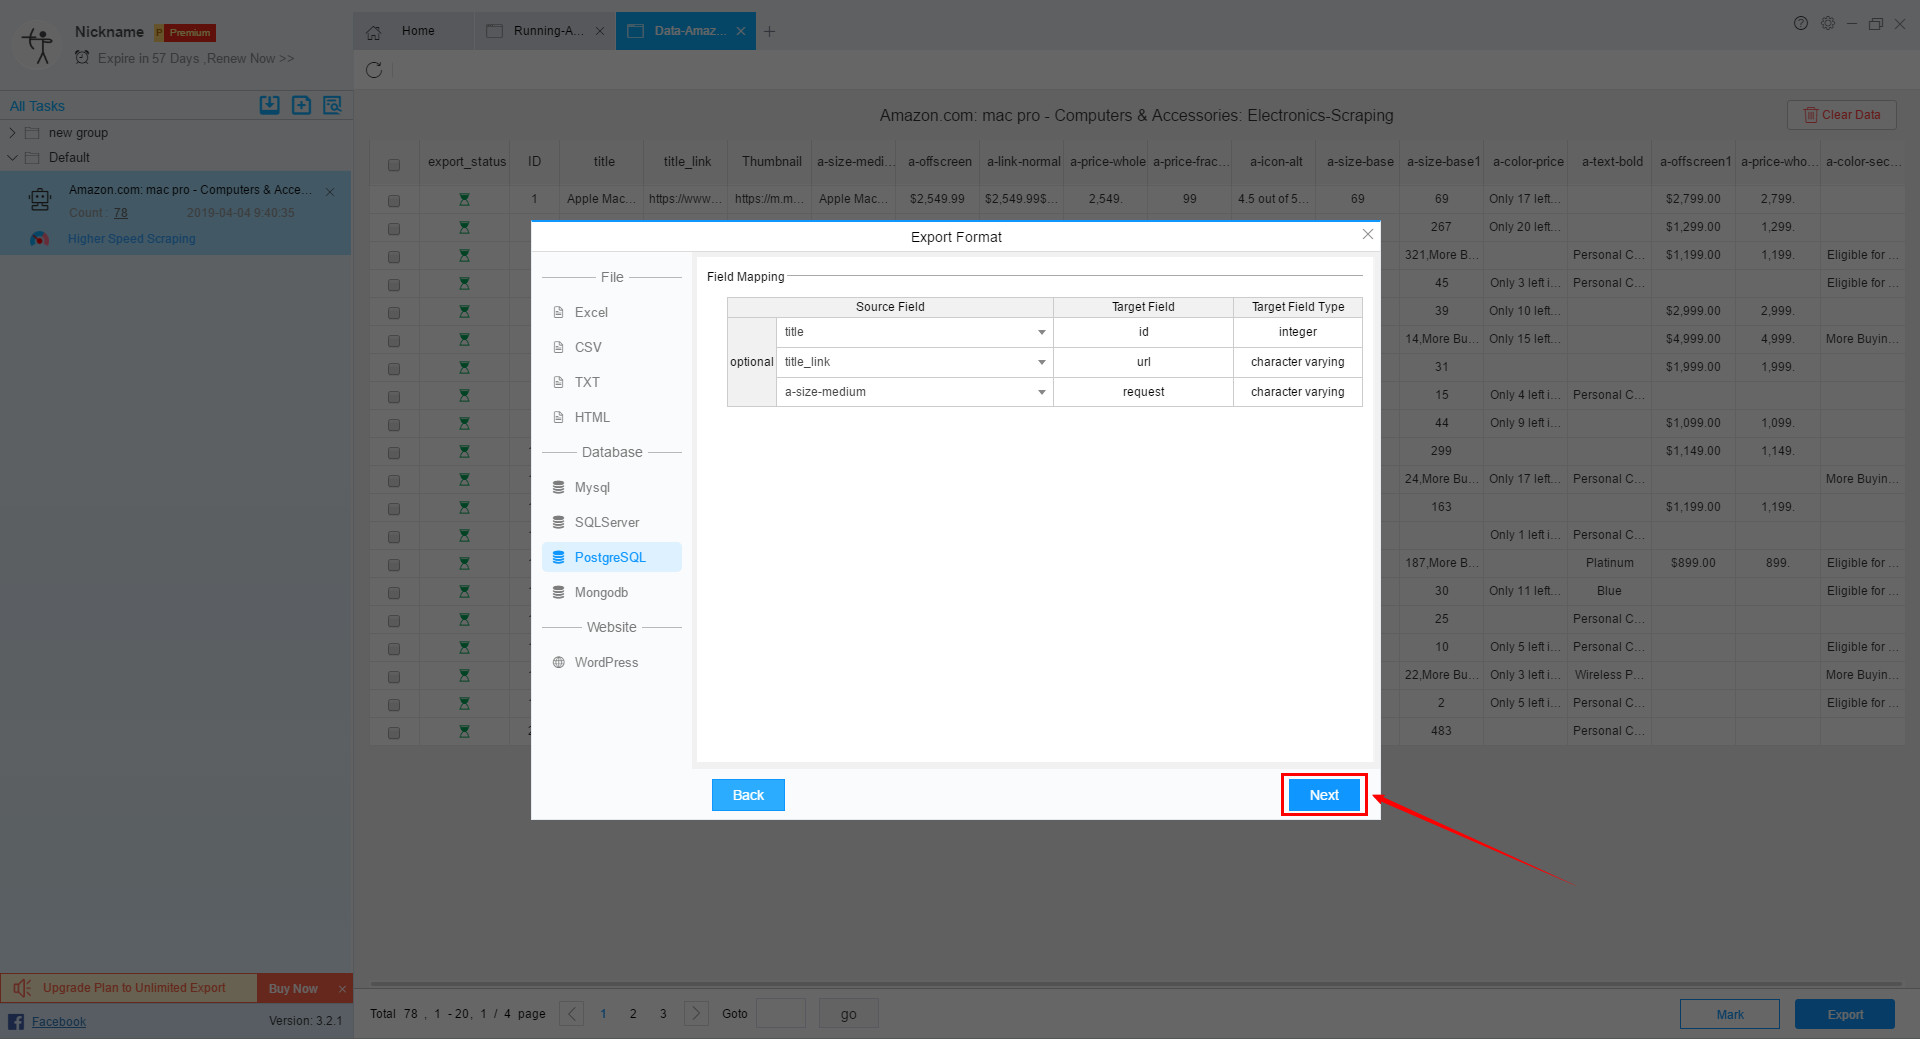
Step 4:
After the field mapping settings are completed, click the “Next” button to make export settings.
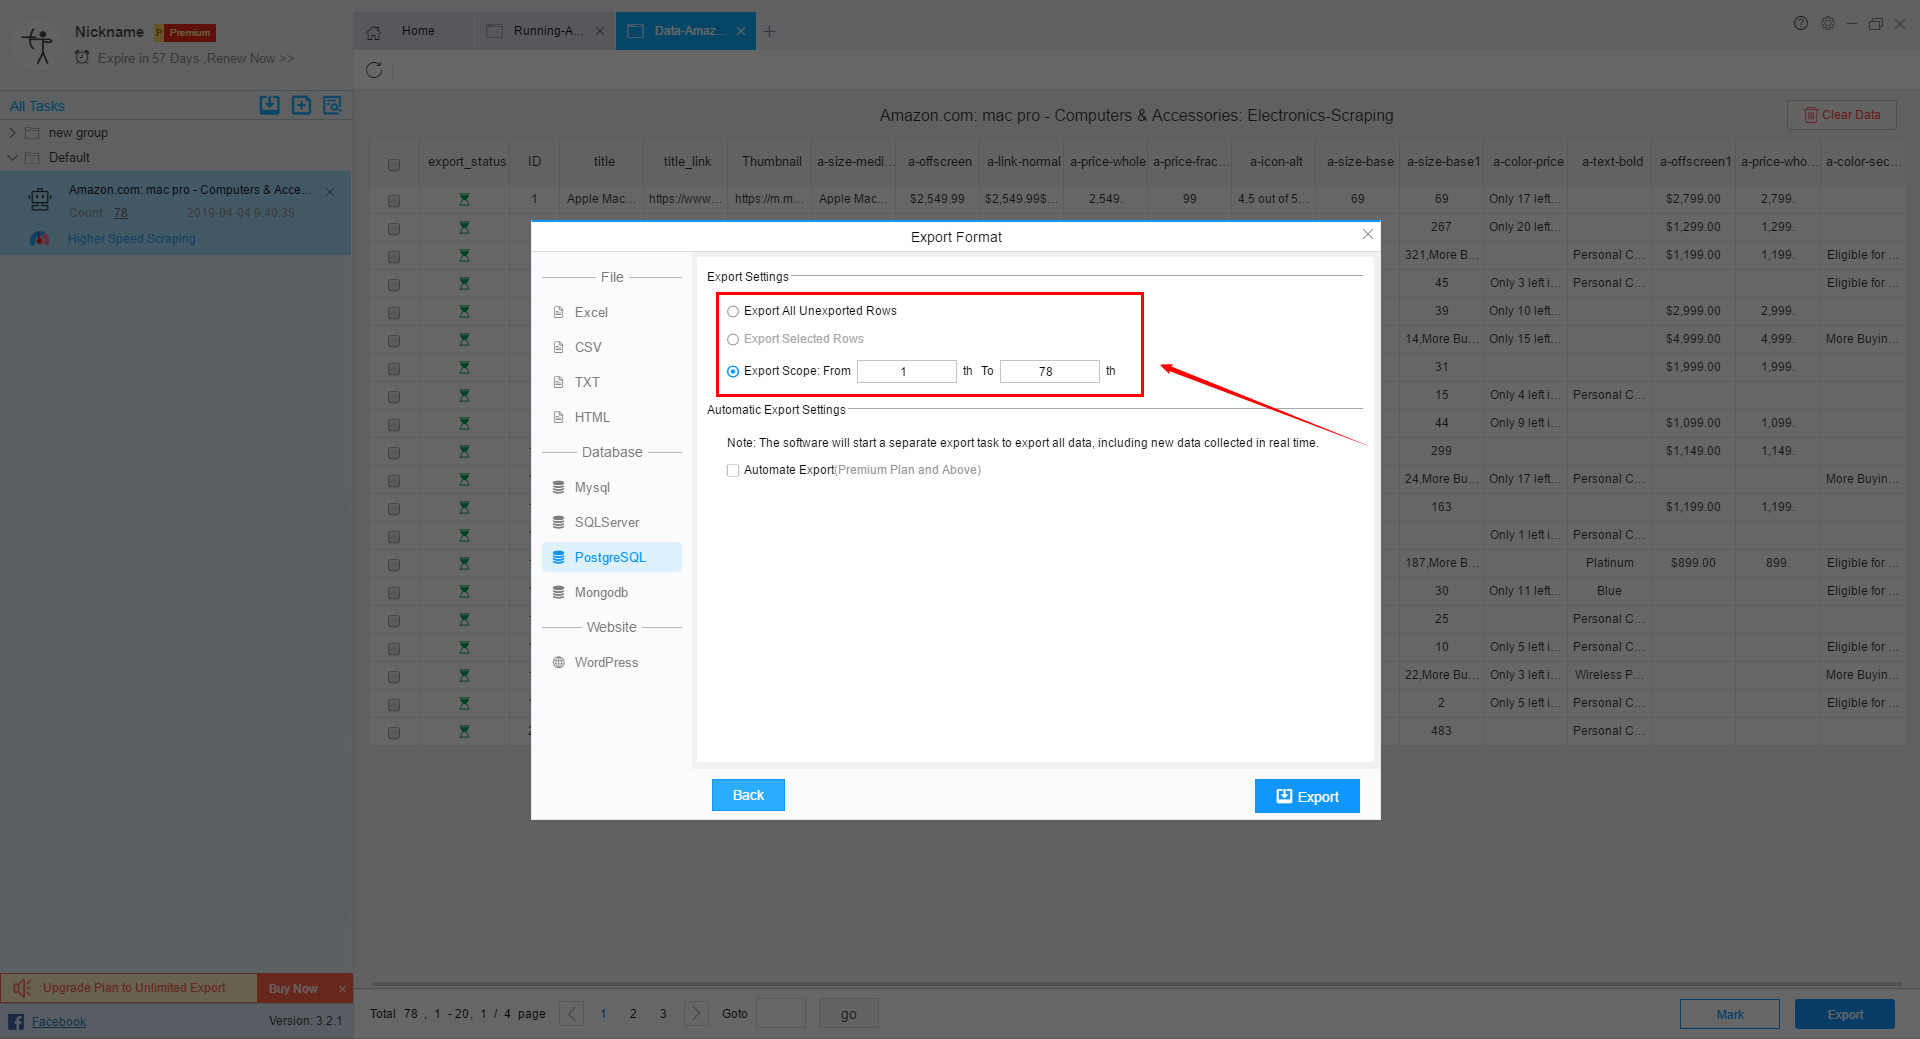
In the export interface, you can choose to manually export or automatically export.
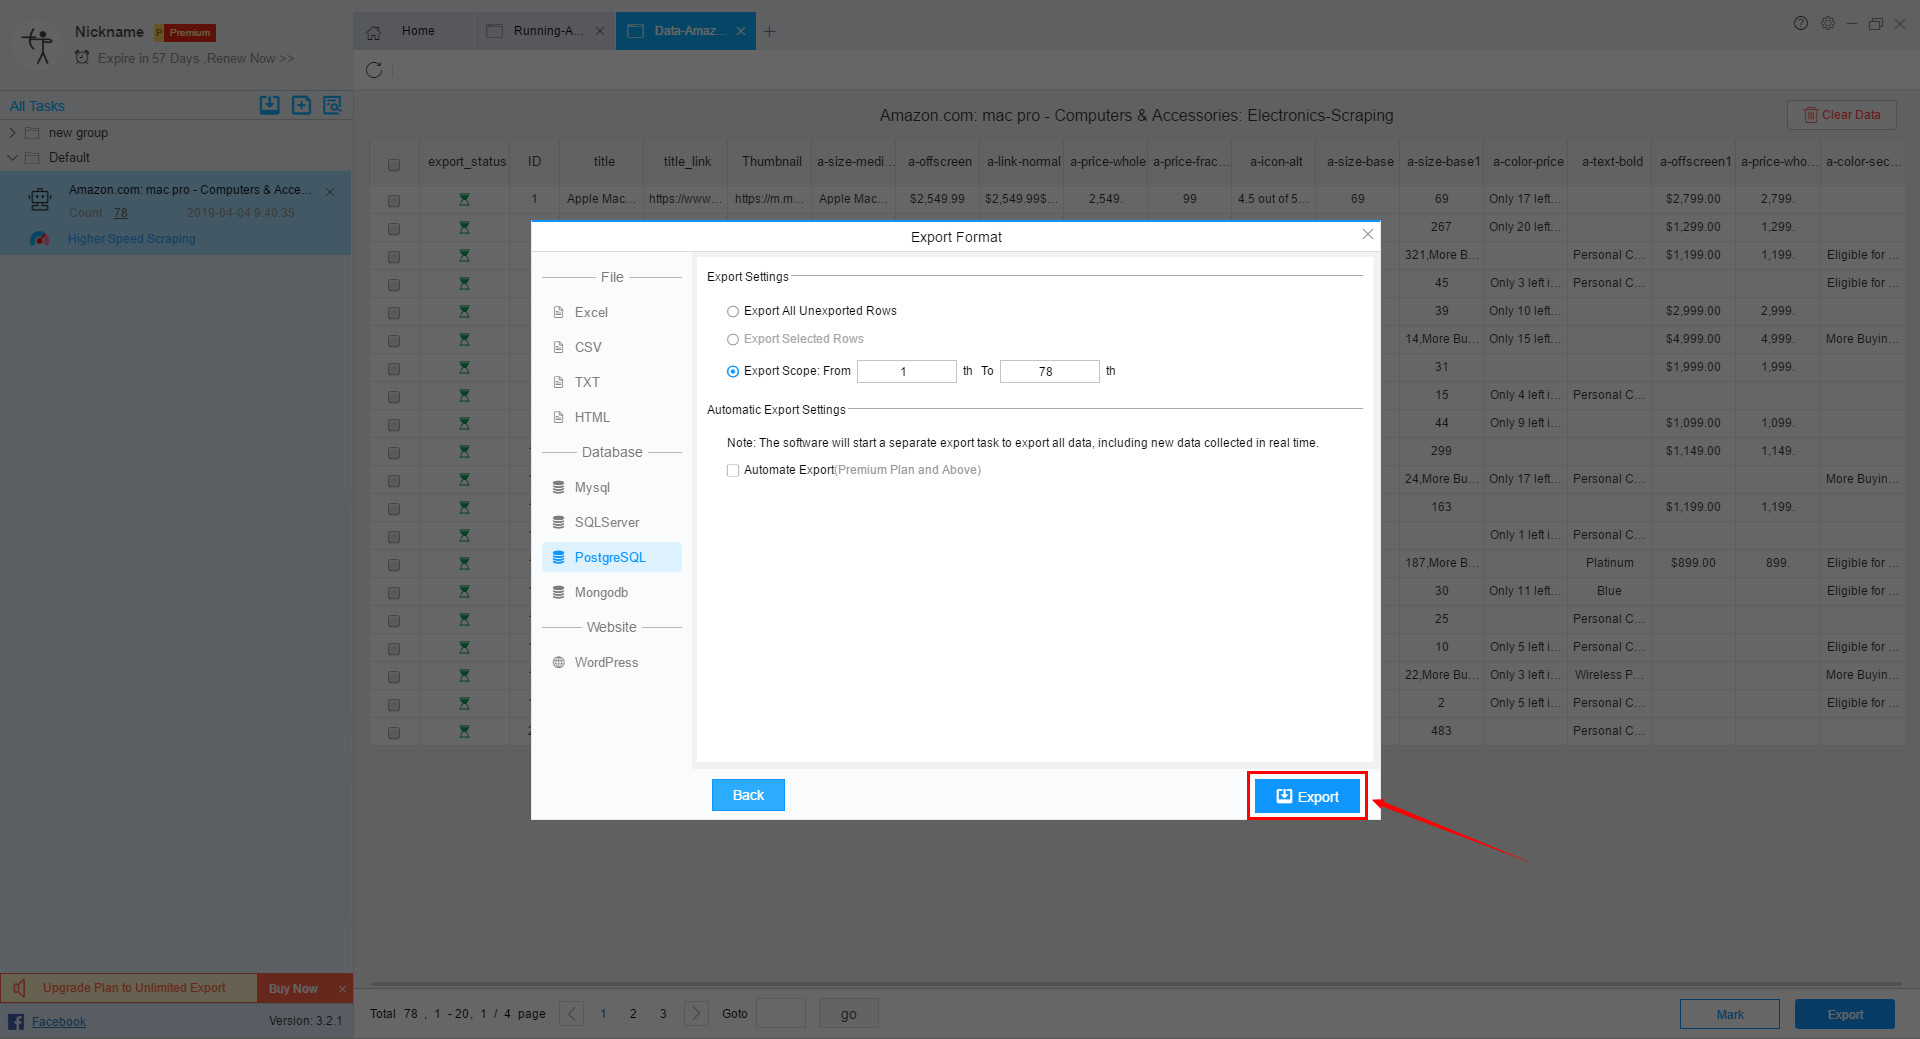
When you choose to export manually, you can choose to export all unexported rows, or export selected rows, or even choose to export data in scope.
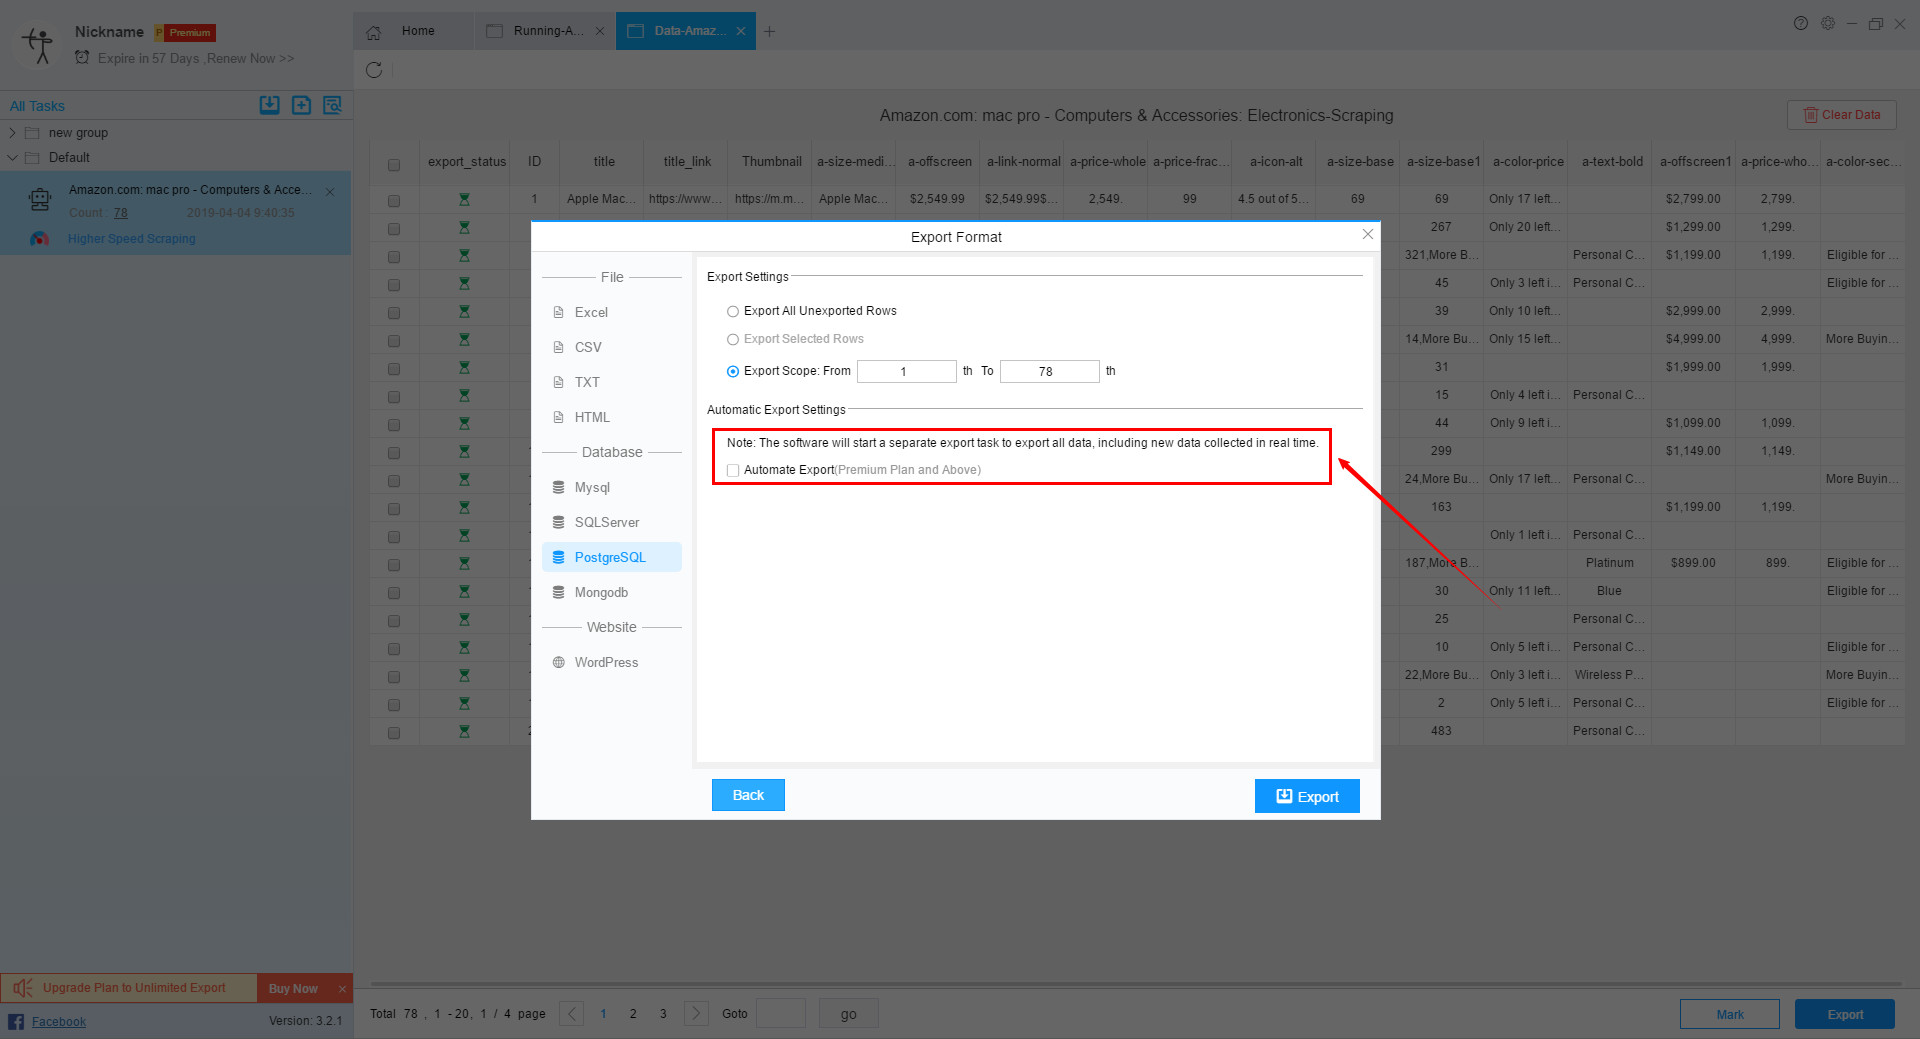
If you use Automatic Export, the software will launch a separate export task to export all the data, including new data scraped in real time.
P.S. Automatic Export can only be used by users of Premium Plan and above. Combined with the Schedule function, it can greatly save user time and improve efficiency.
Step 5:
Once the export format is selected, click the “Export” button to export the data.
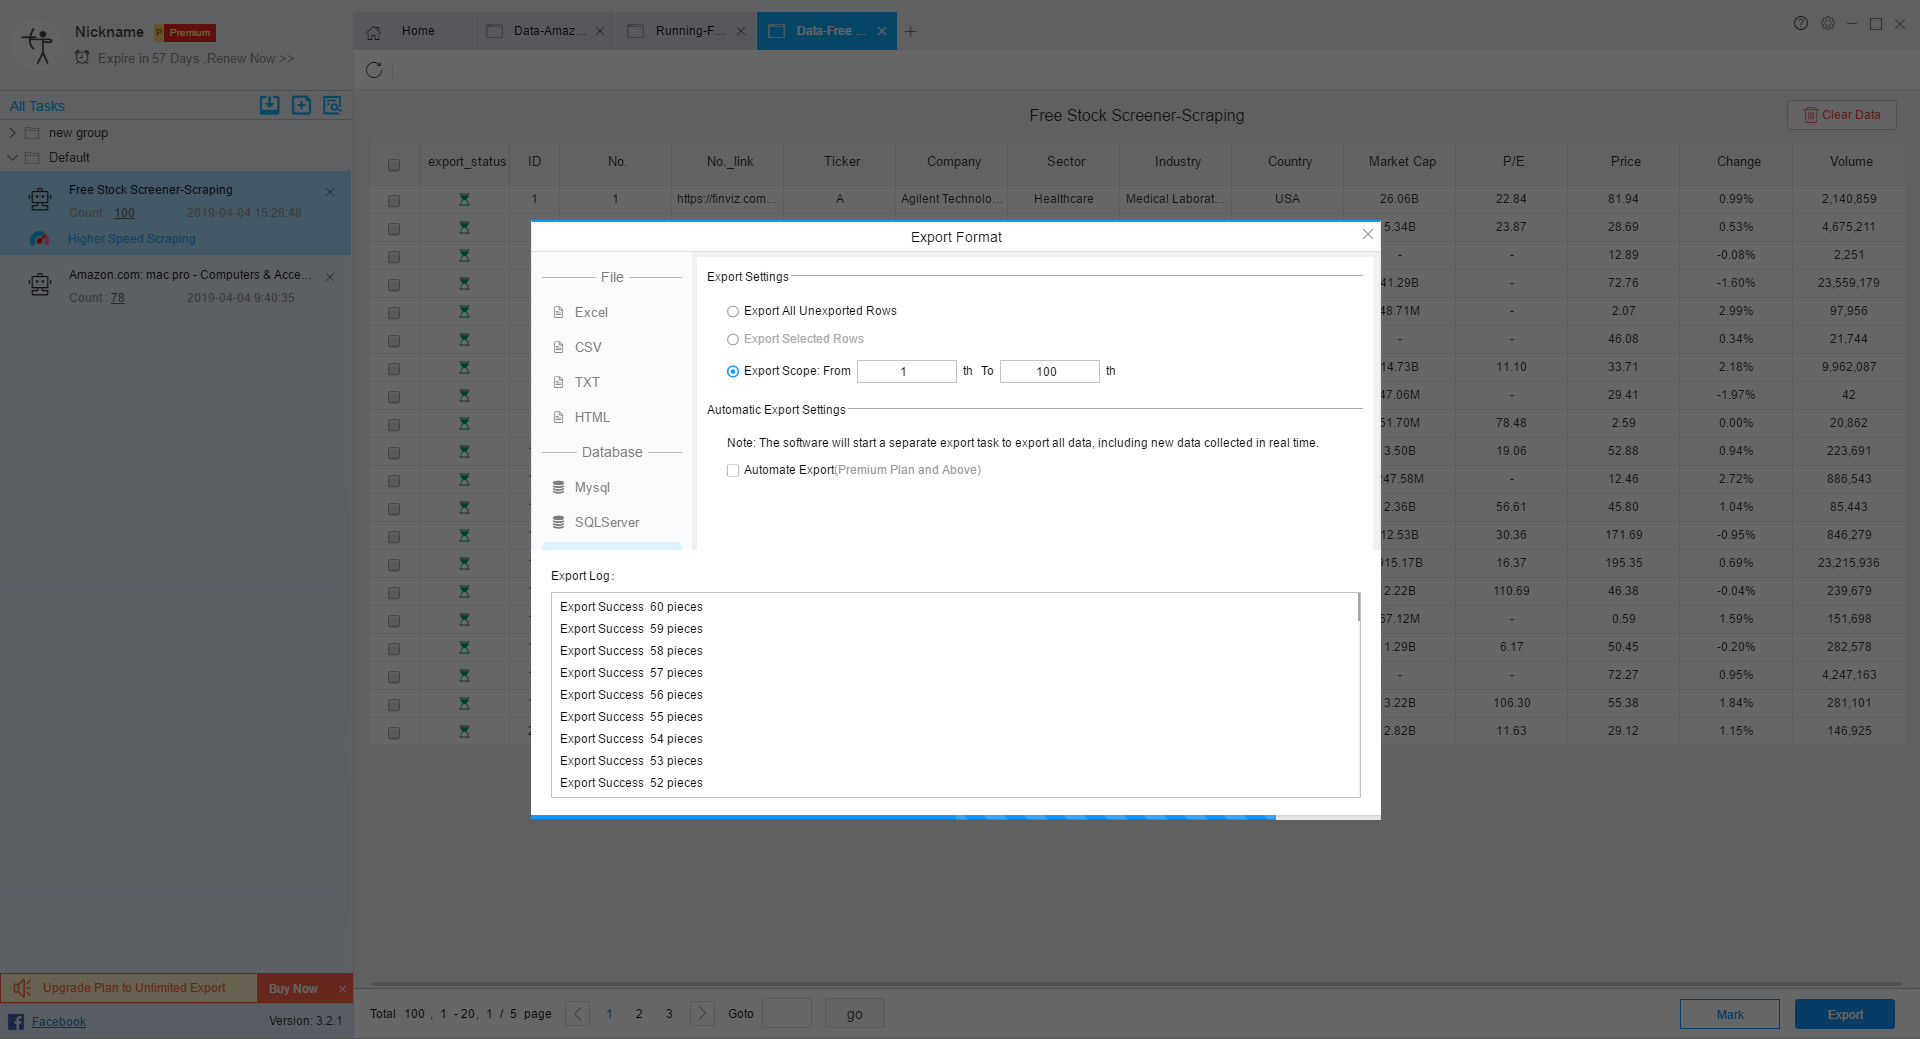
If the export is correct, the log of the number of exports will appear directly.
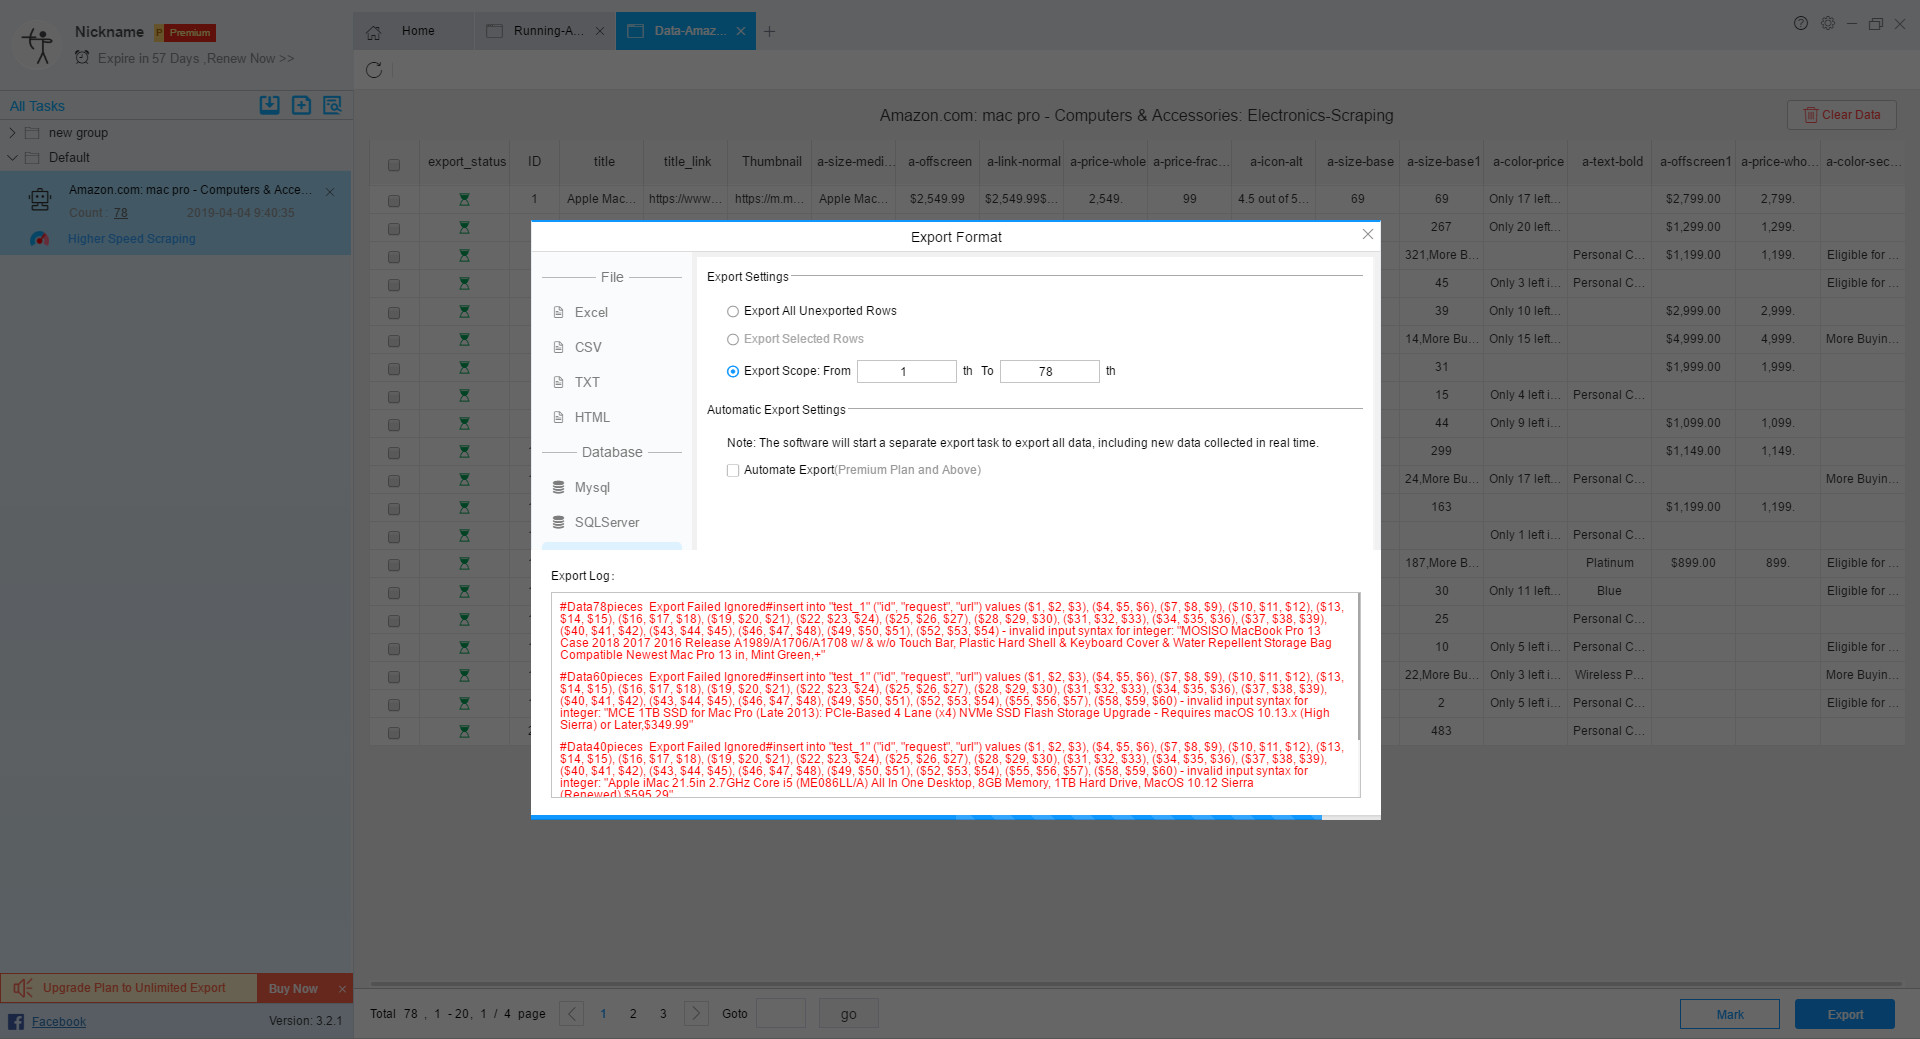
If the export is incorrect, the running log will prompt the export to fail. If the red text prompt appears, you can check if the field mapping settings are correct.
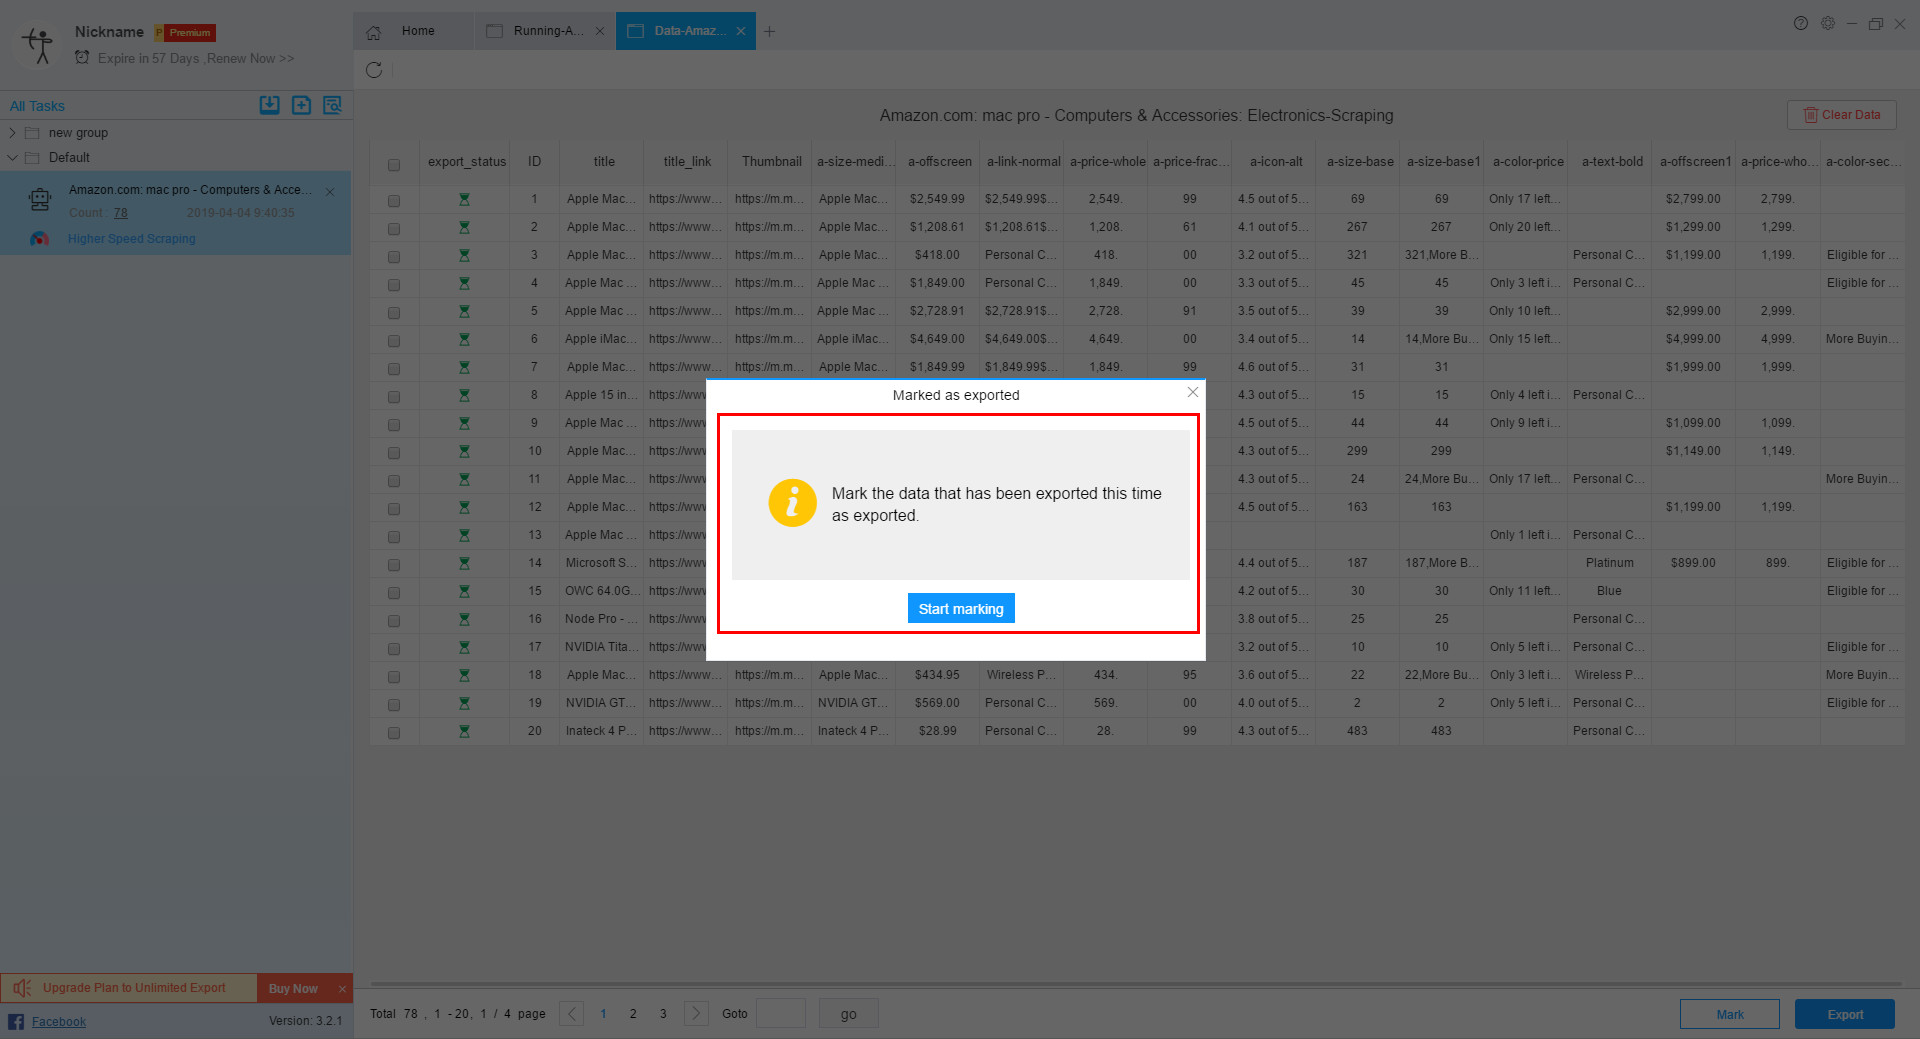
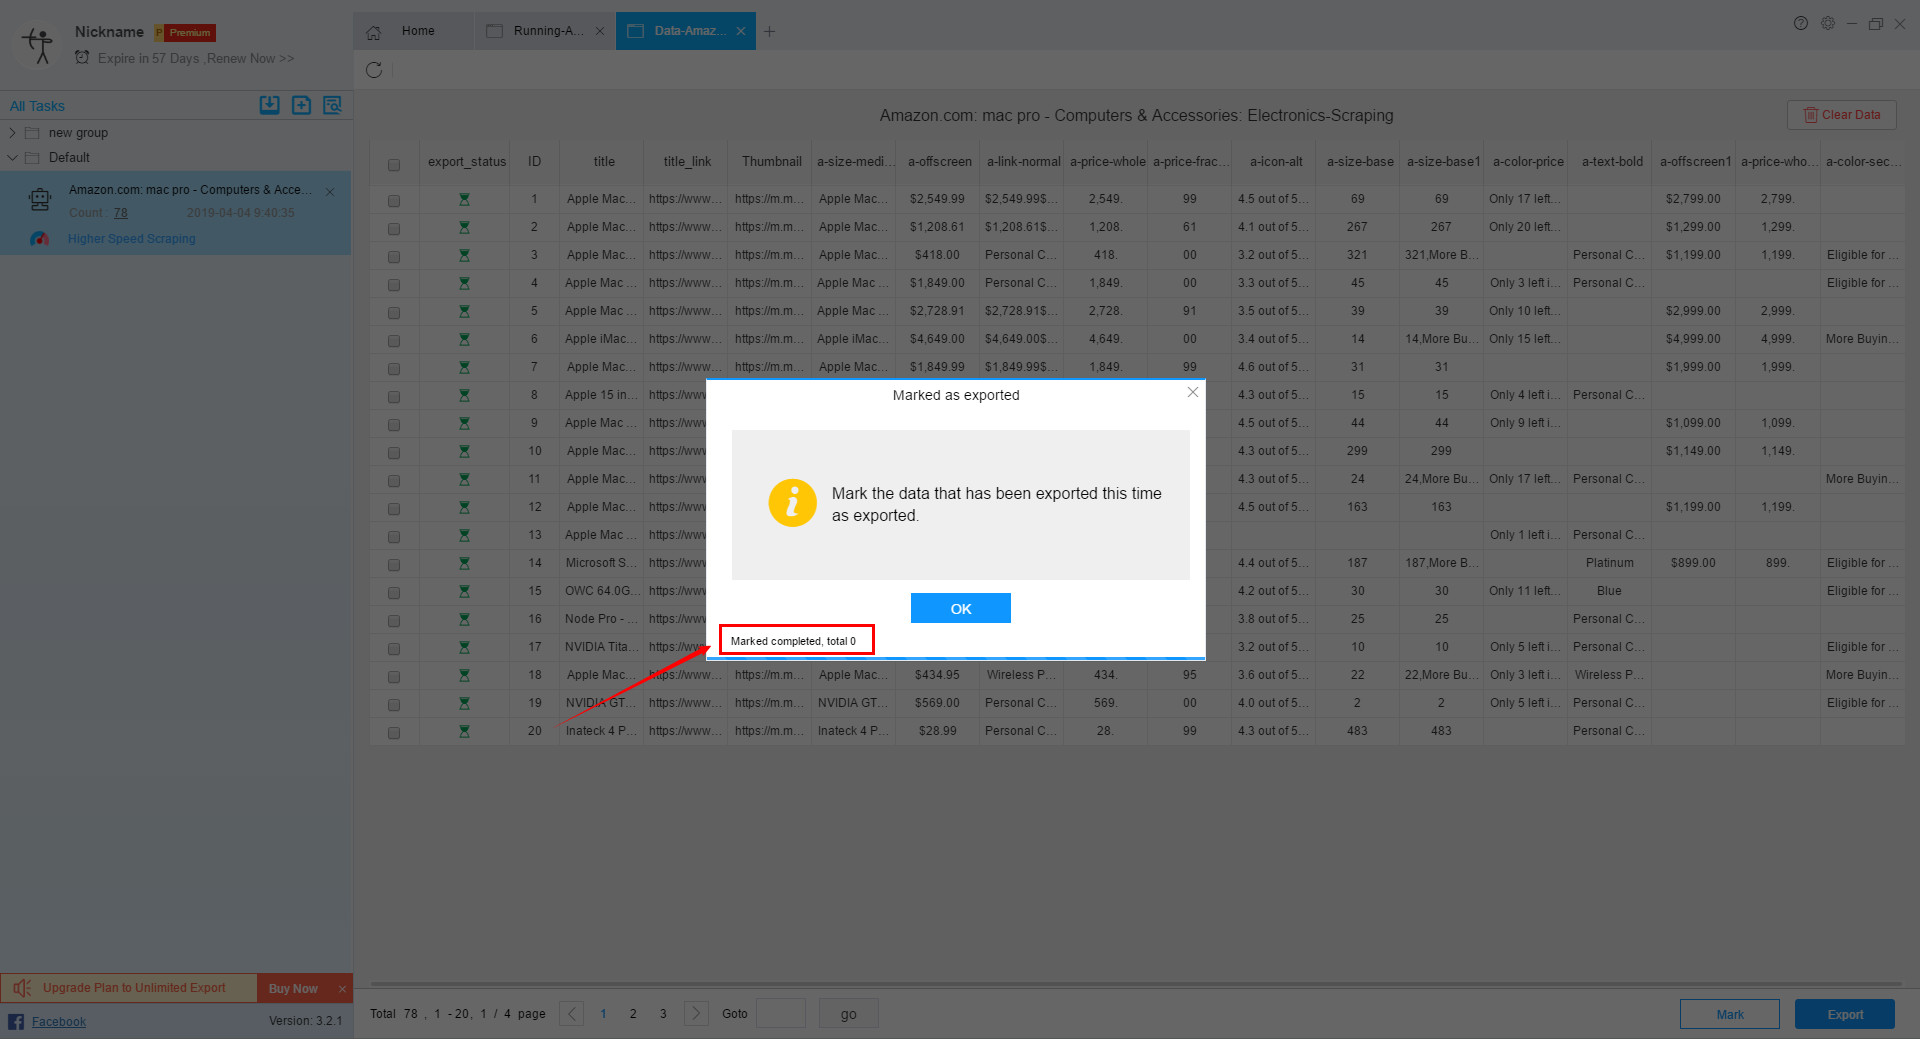
After the export is successful, a bullet box will appear, and the user can choose whether to mark.
If you can export normally before, you can mark the data normally and the corresponding number of markers will appear.
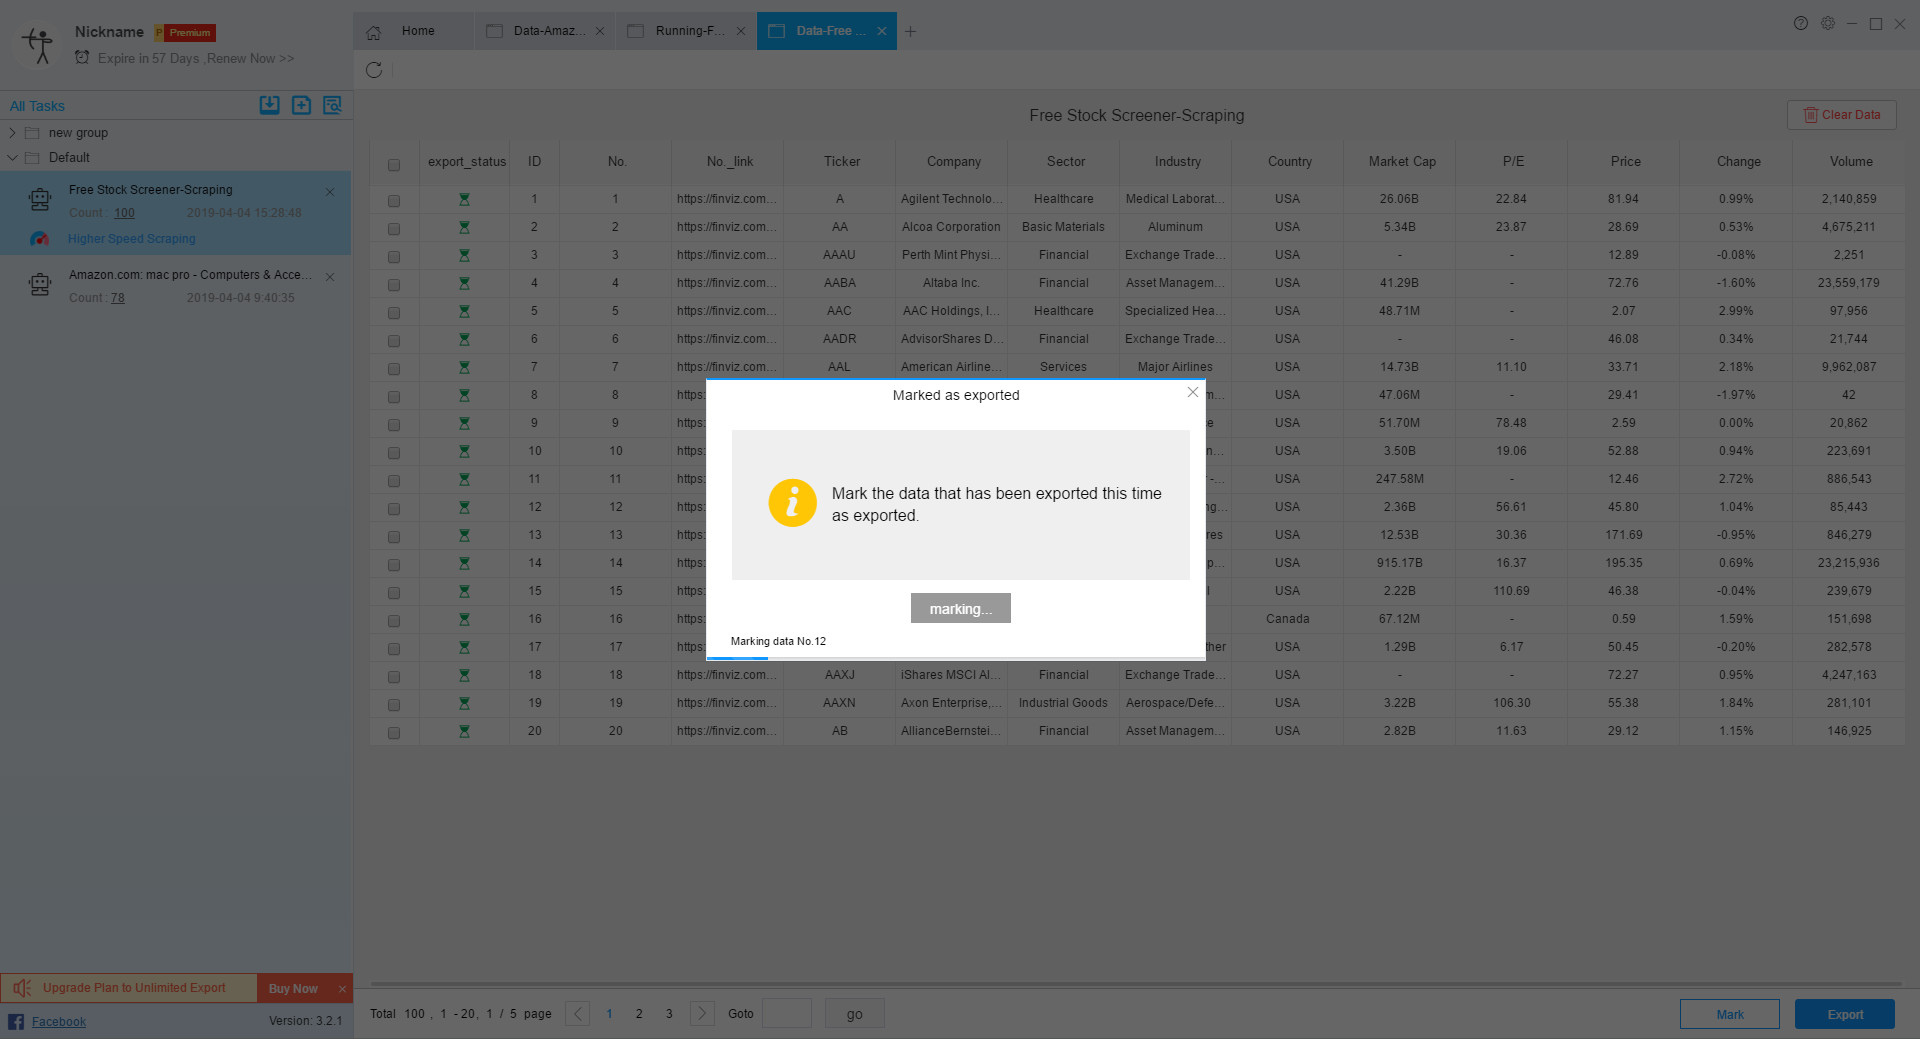
If the previous export failed, the data will not be marked normally at this time, and the number of markers will be displayed as 0.
Step 6:
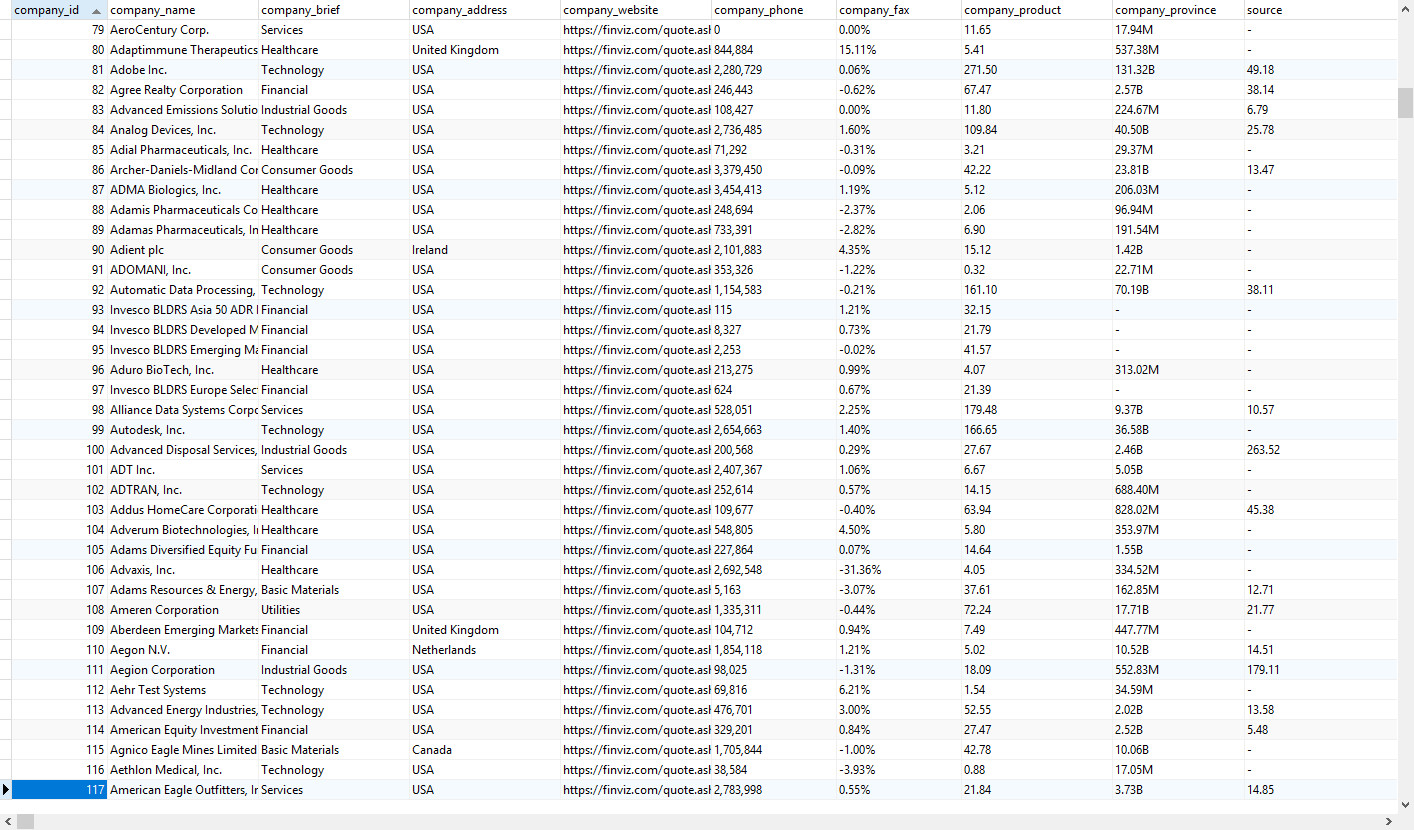
The effect of exporting to the database is as follows:
