【Data Release】How to export data to WordPress | Web Scraping Tool | ScrapeStorm
Abstract:This tutorial will show how to export data to WordPress. ScrapeStormFree Download
This tutorial consists of five steps: installing the plugin —> opening the export interface —> setting up the task —> setting the field mapping —> publishing to the website
Step 1:
Click here to learn how to download and install the WordPress plugin.
Step 2:
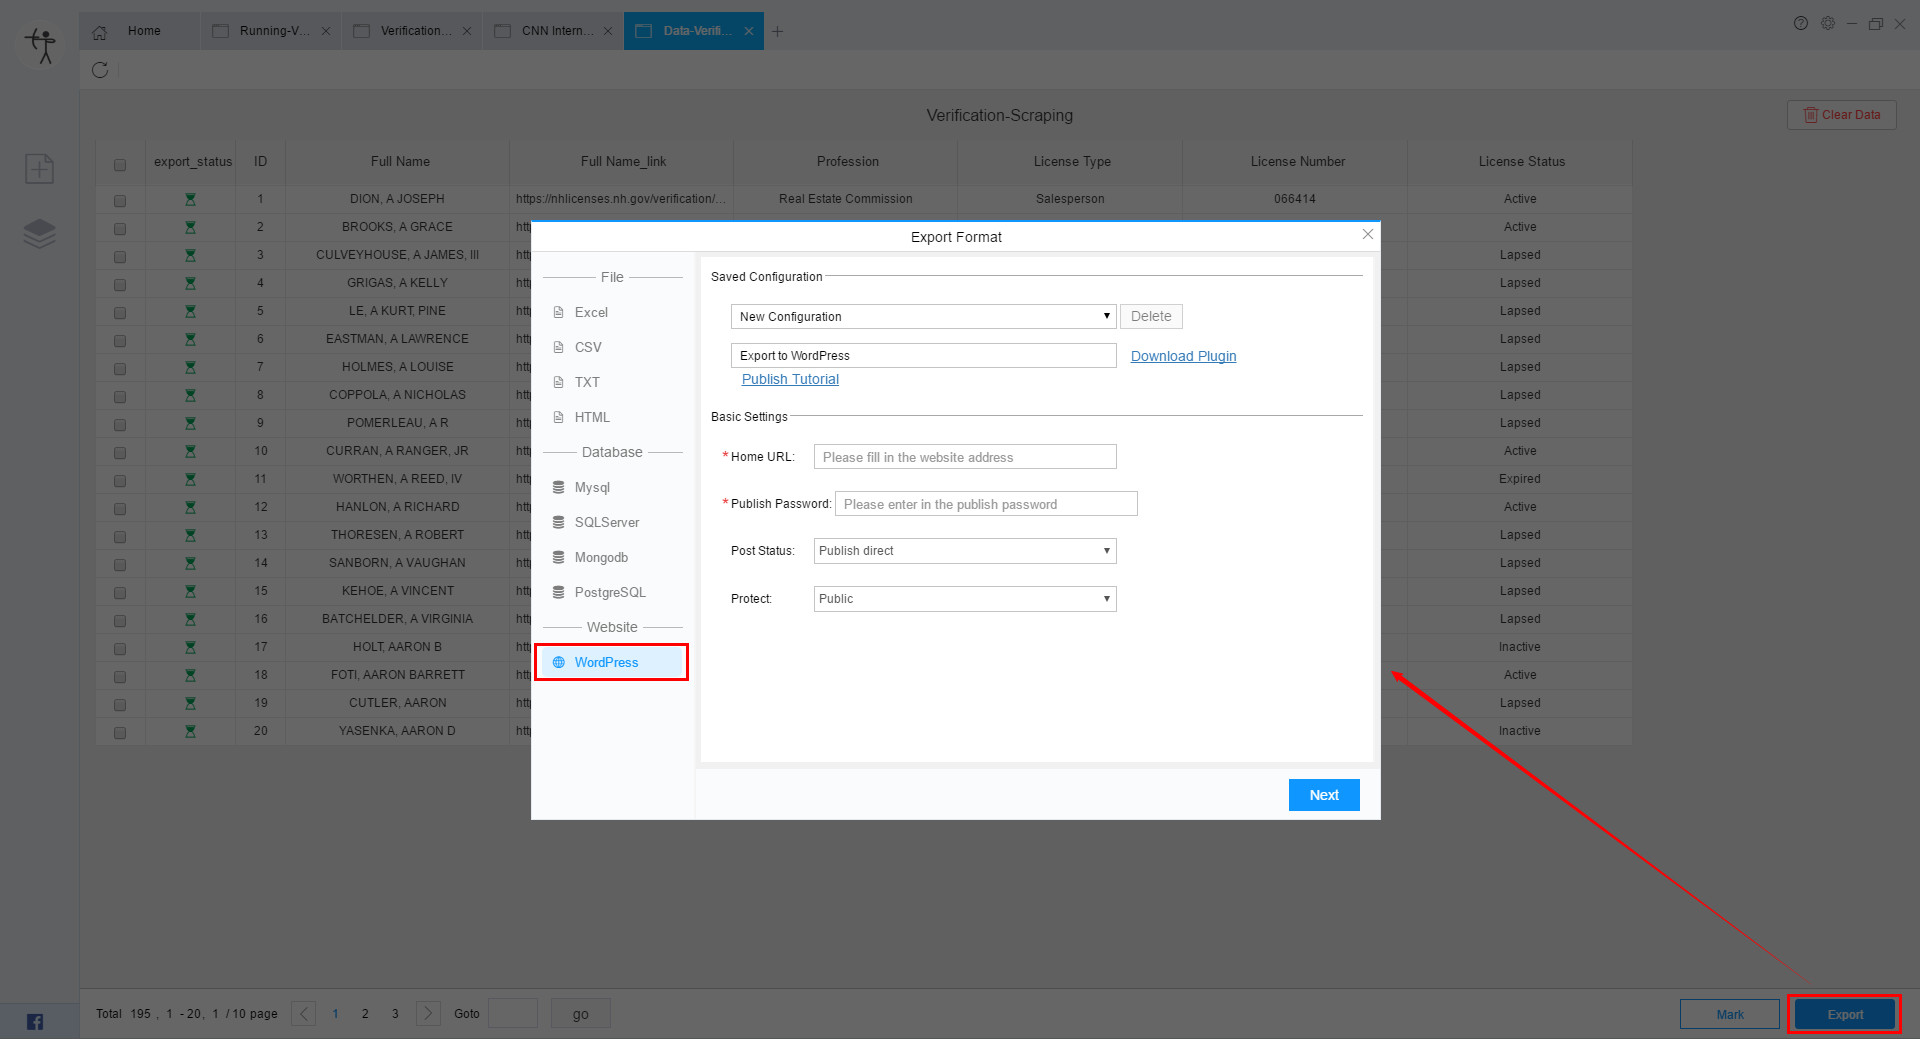
Open the export interface and click Publish to the website “WordPress”.
Step 3:
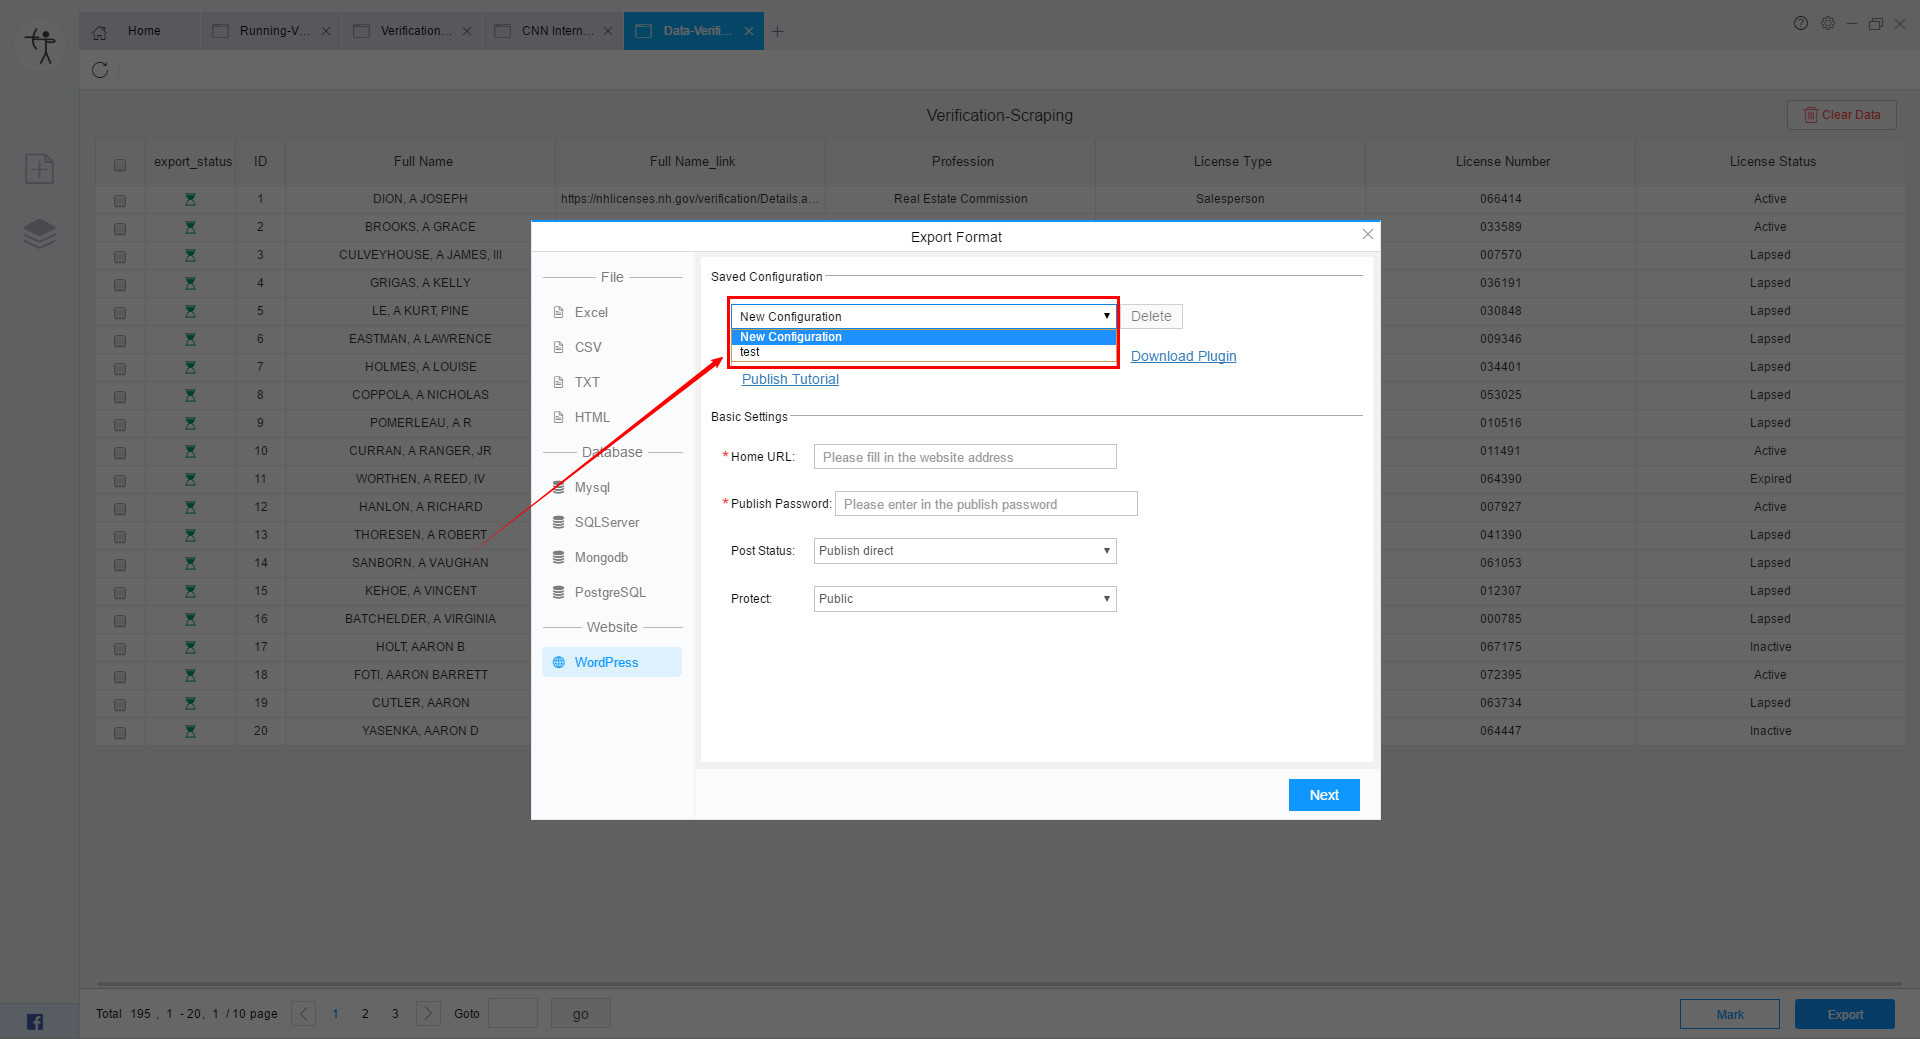
Select Configuration, you can create a new configuration, or use a previously saved configuration.
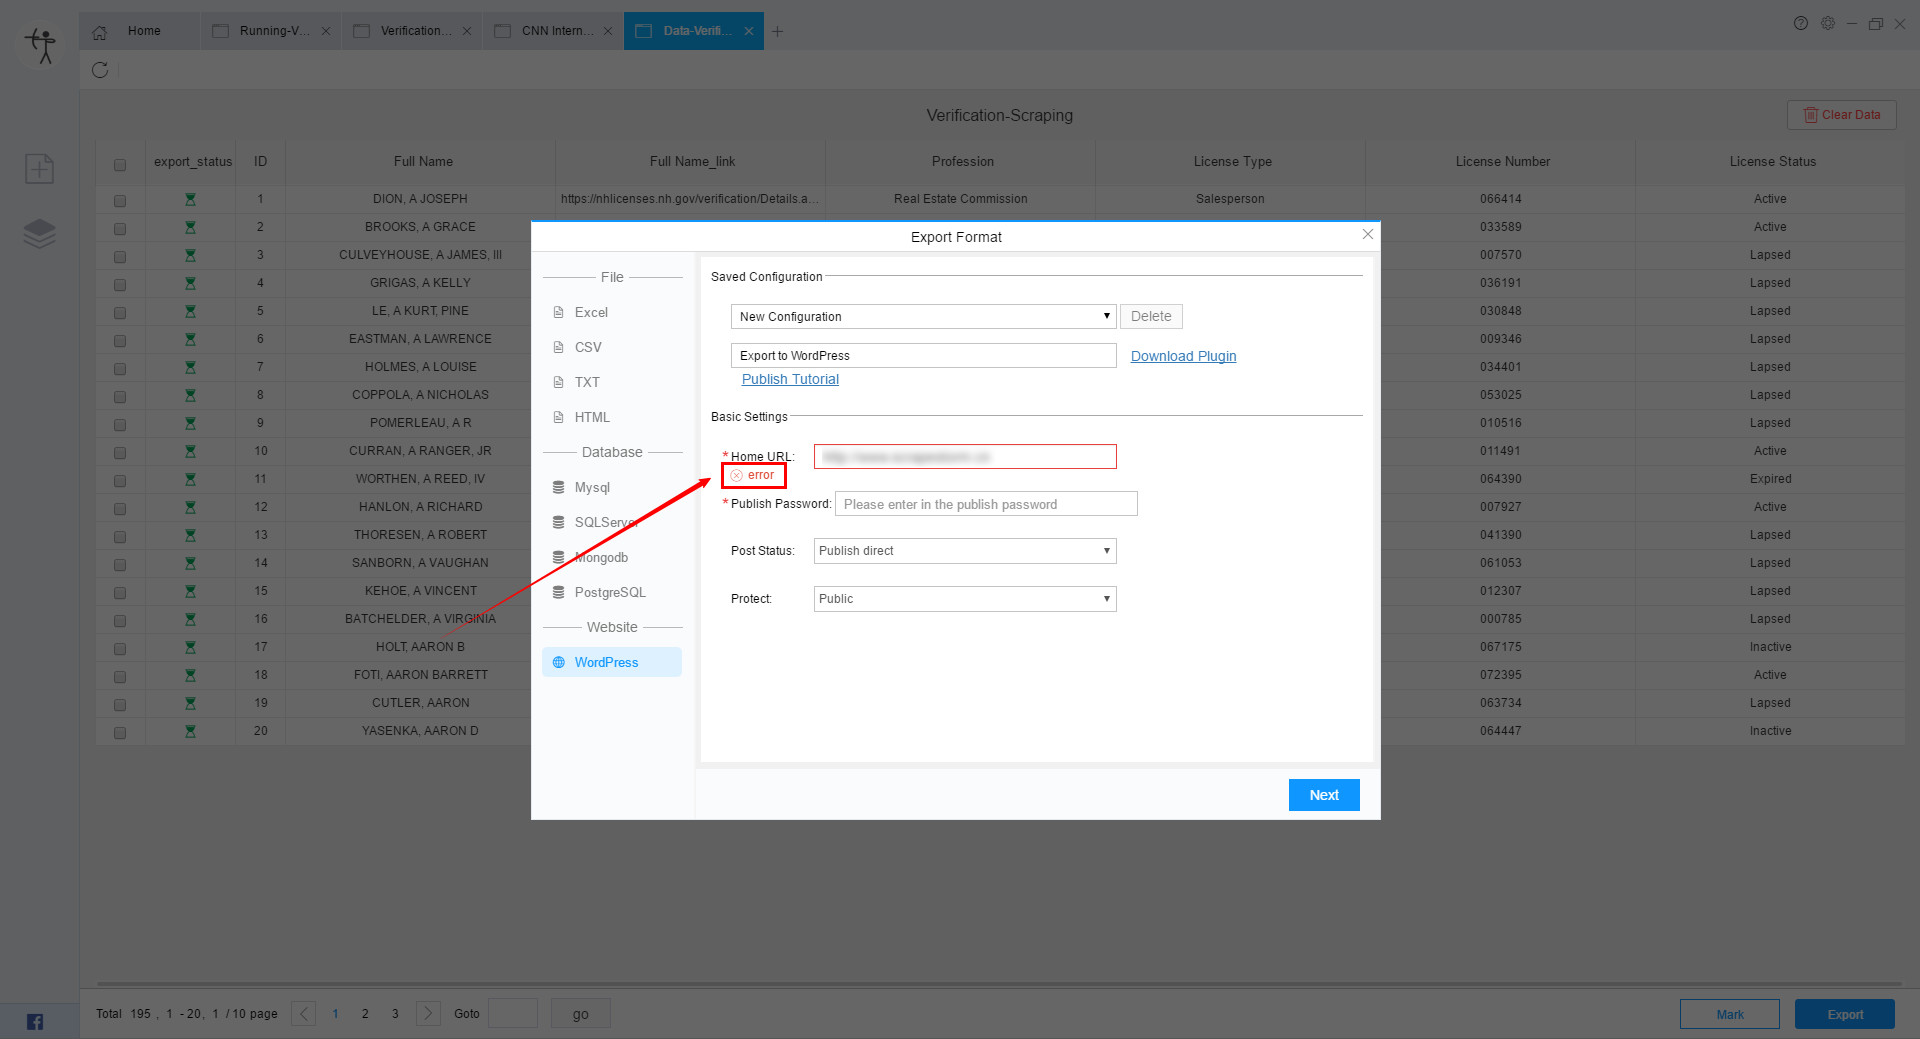
When creating a new configuration, enter the home URL (must be a remotely accessible external network address), wordpress plugin password.
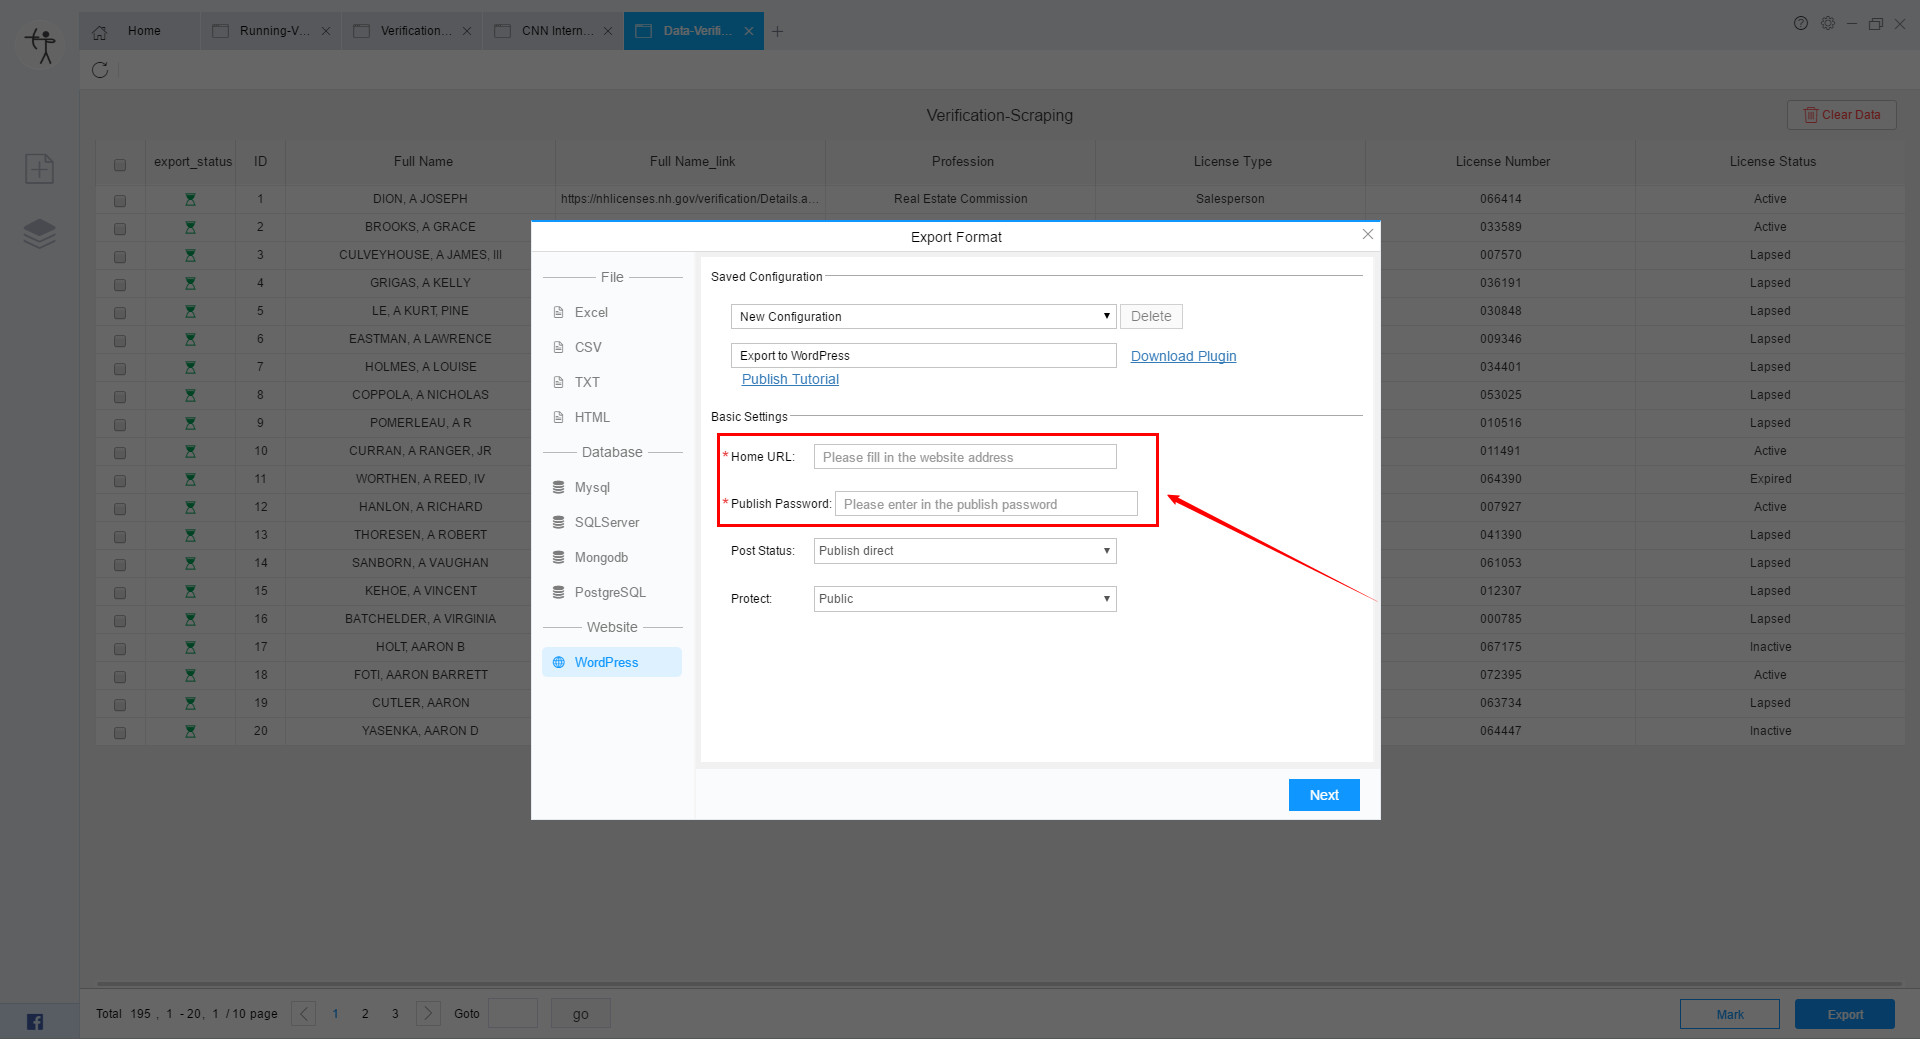
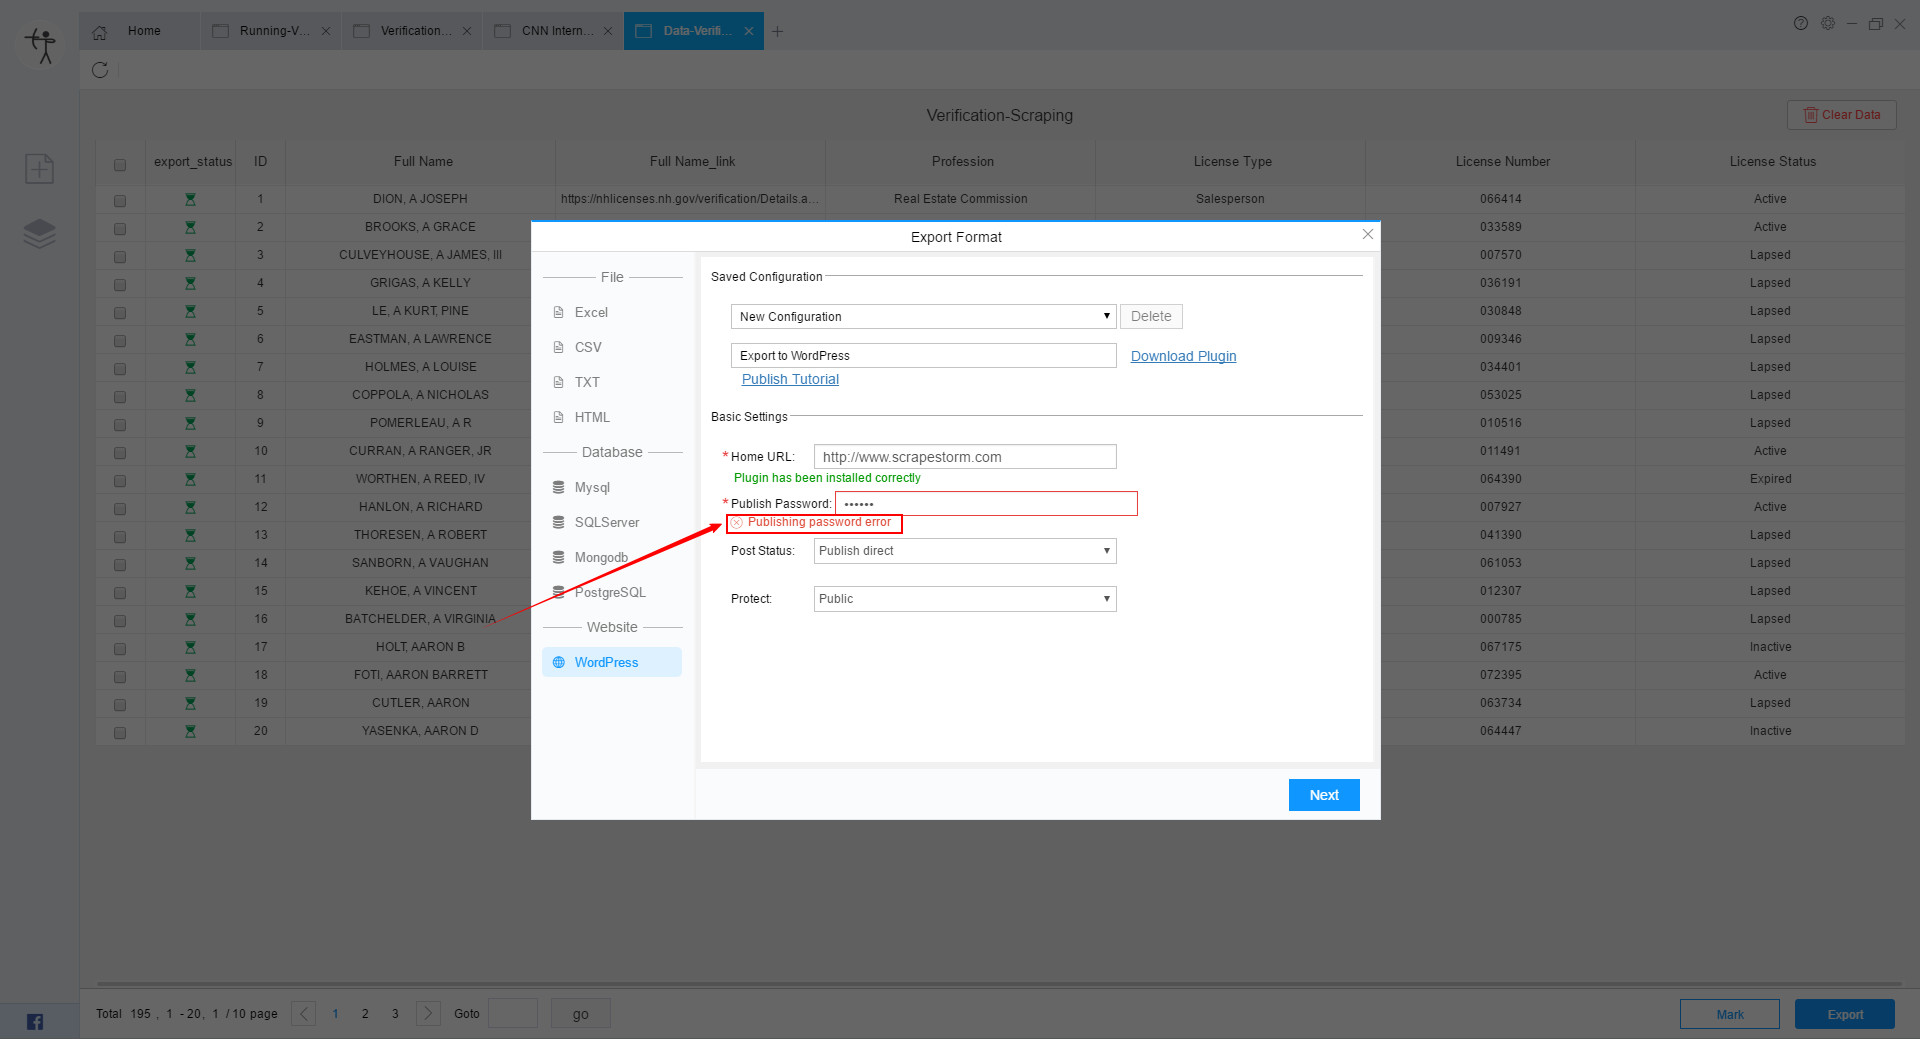
The software will automatically identify whether the URL and publish password are correct. If the plugin is not installed successfully or the password is incorrect, first check whether the plugin is installed correctly, and second, check whether the correct URL and password are entered.
Some users will enter the login password of the webmaster into the publish password, please pay attention to this.
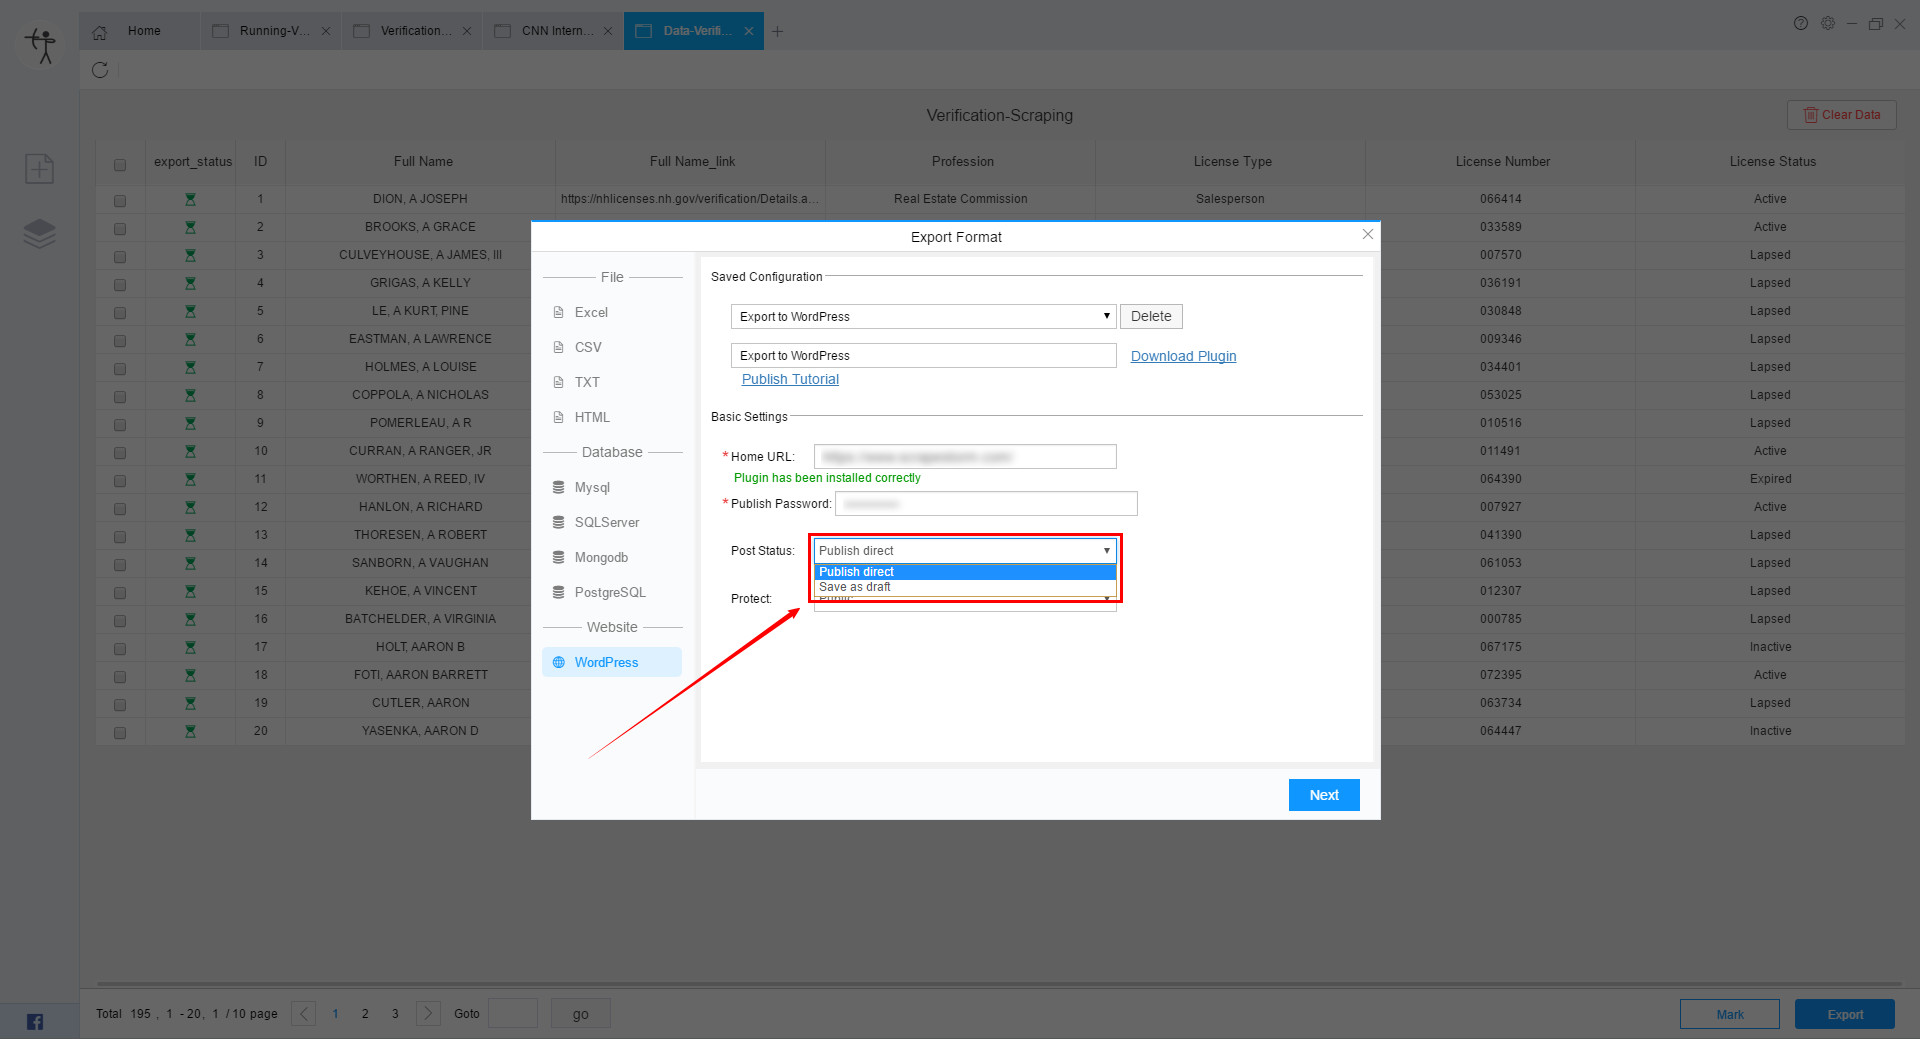
When choosing a post status, we can choose to publish directly or save as draft.
When choosing protection, we can choose to be public or private.
Step 4:
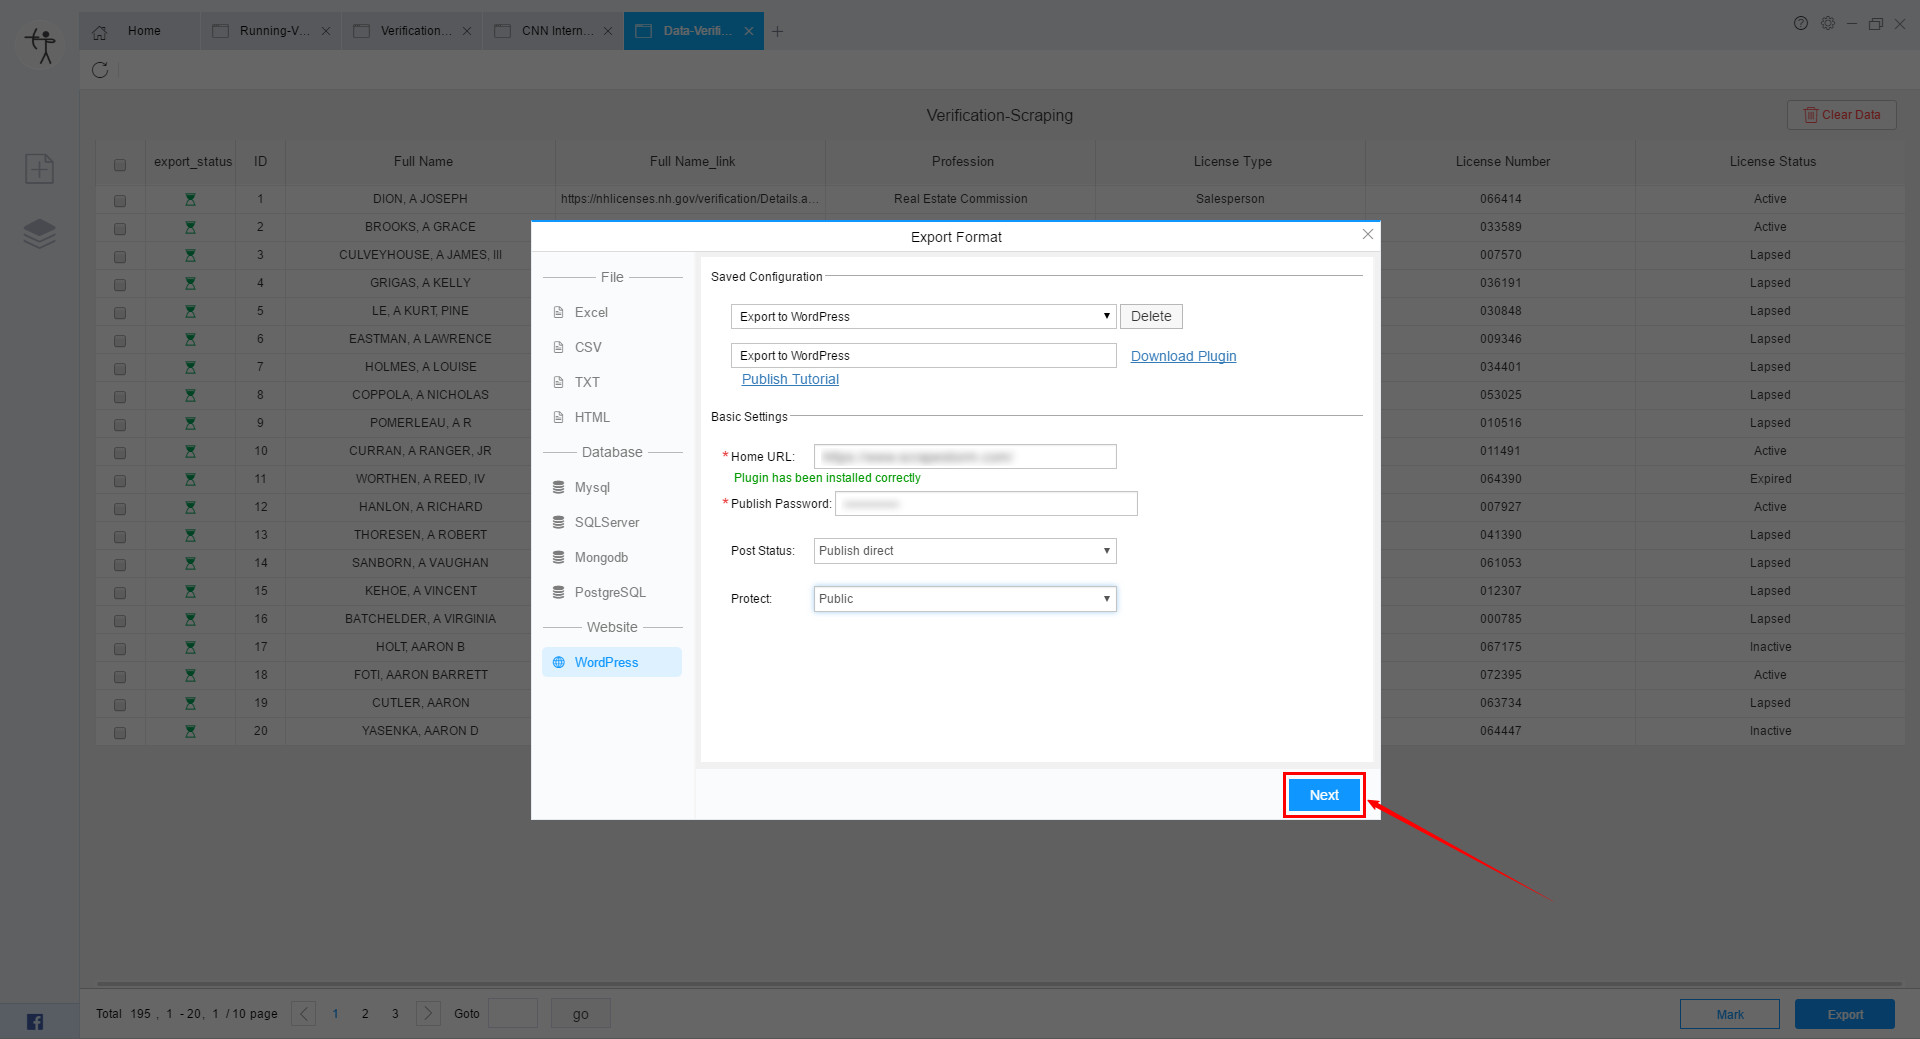
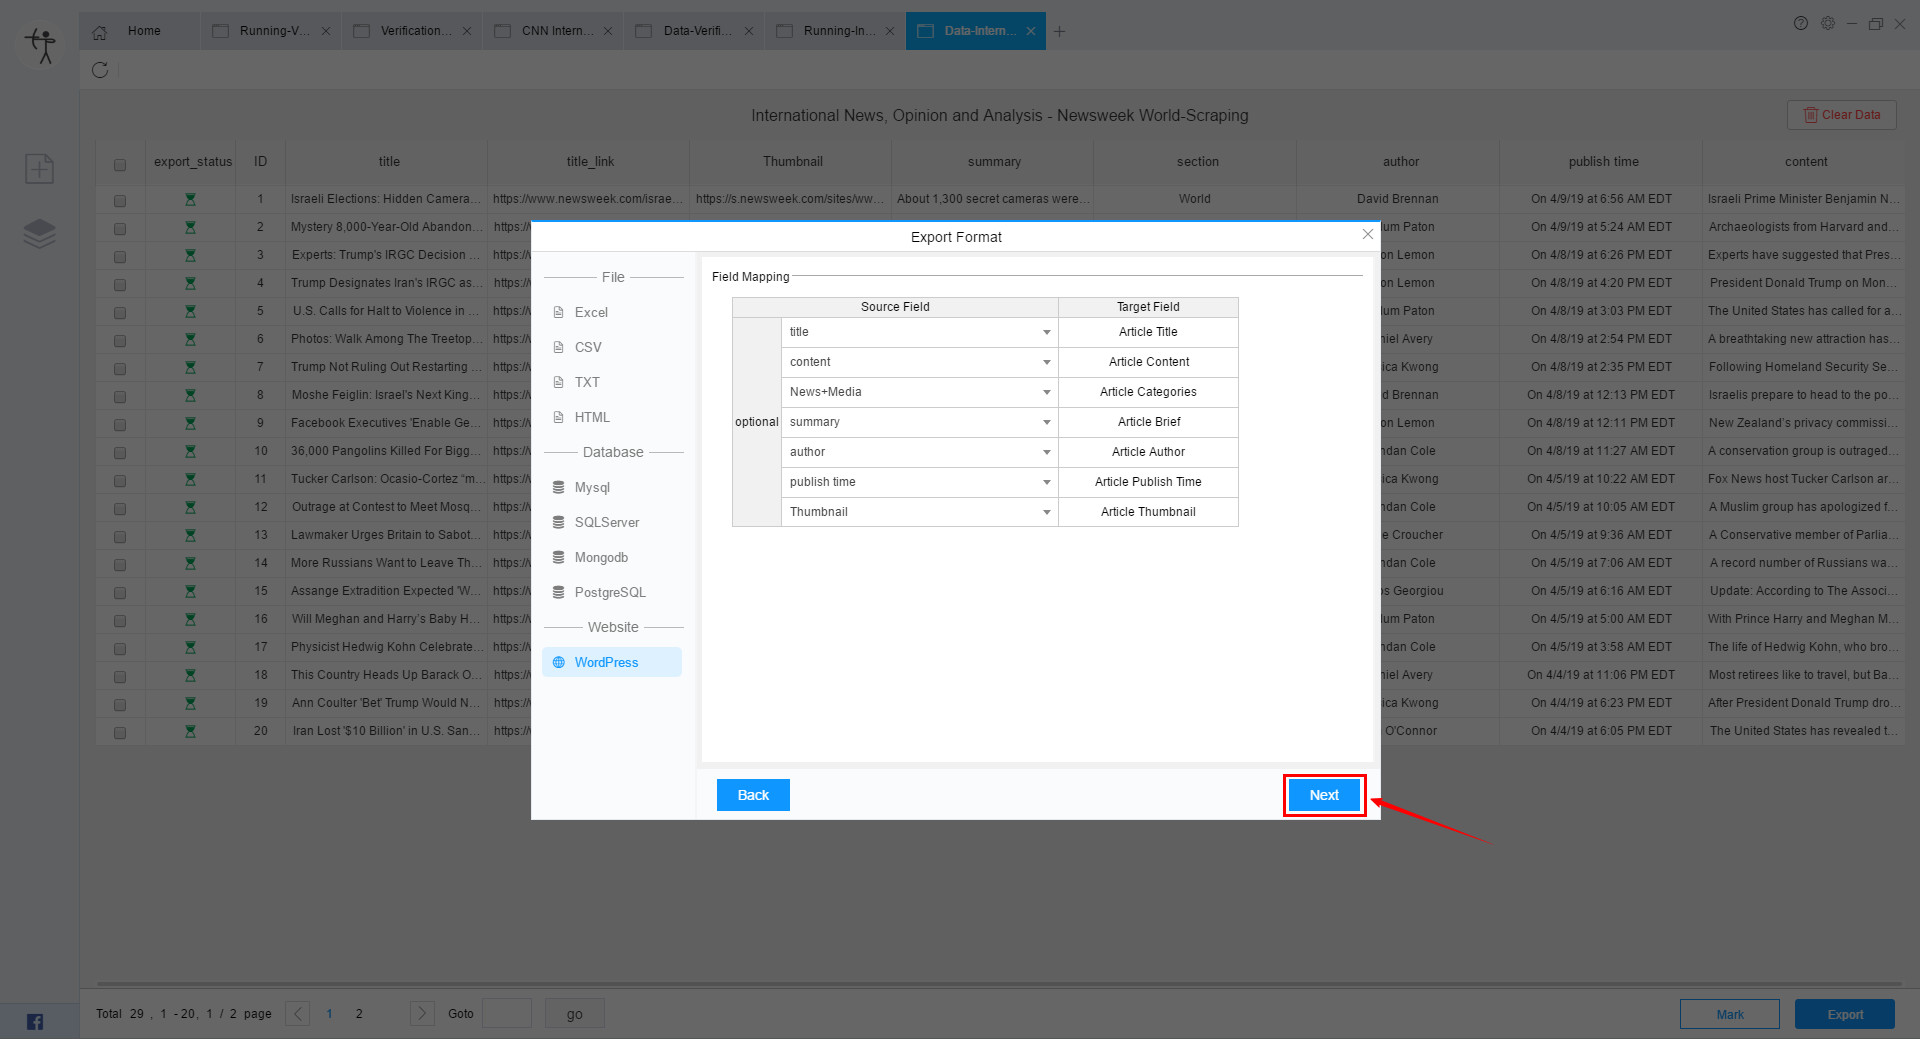
After all settings are complete, click the “Next” button to set the field mapping.
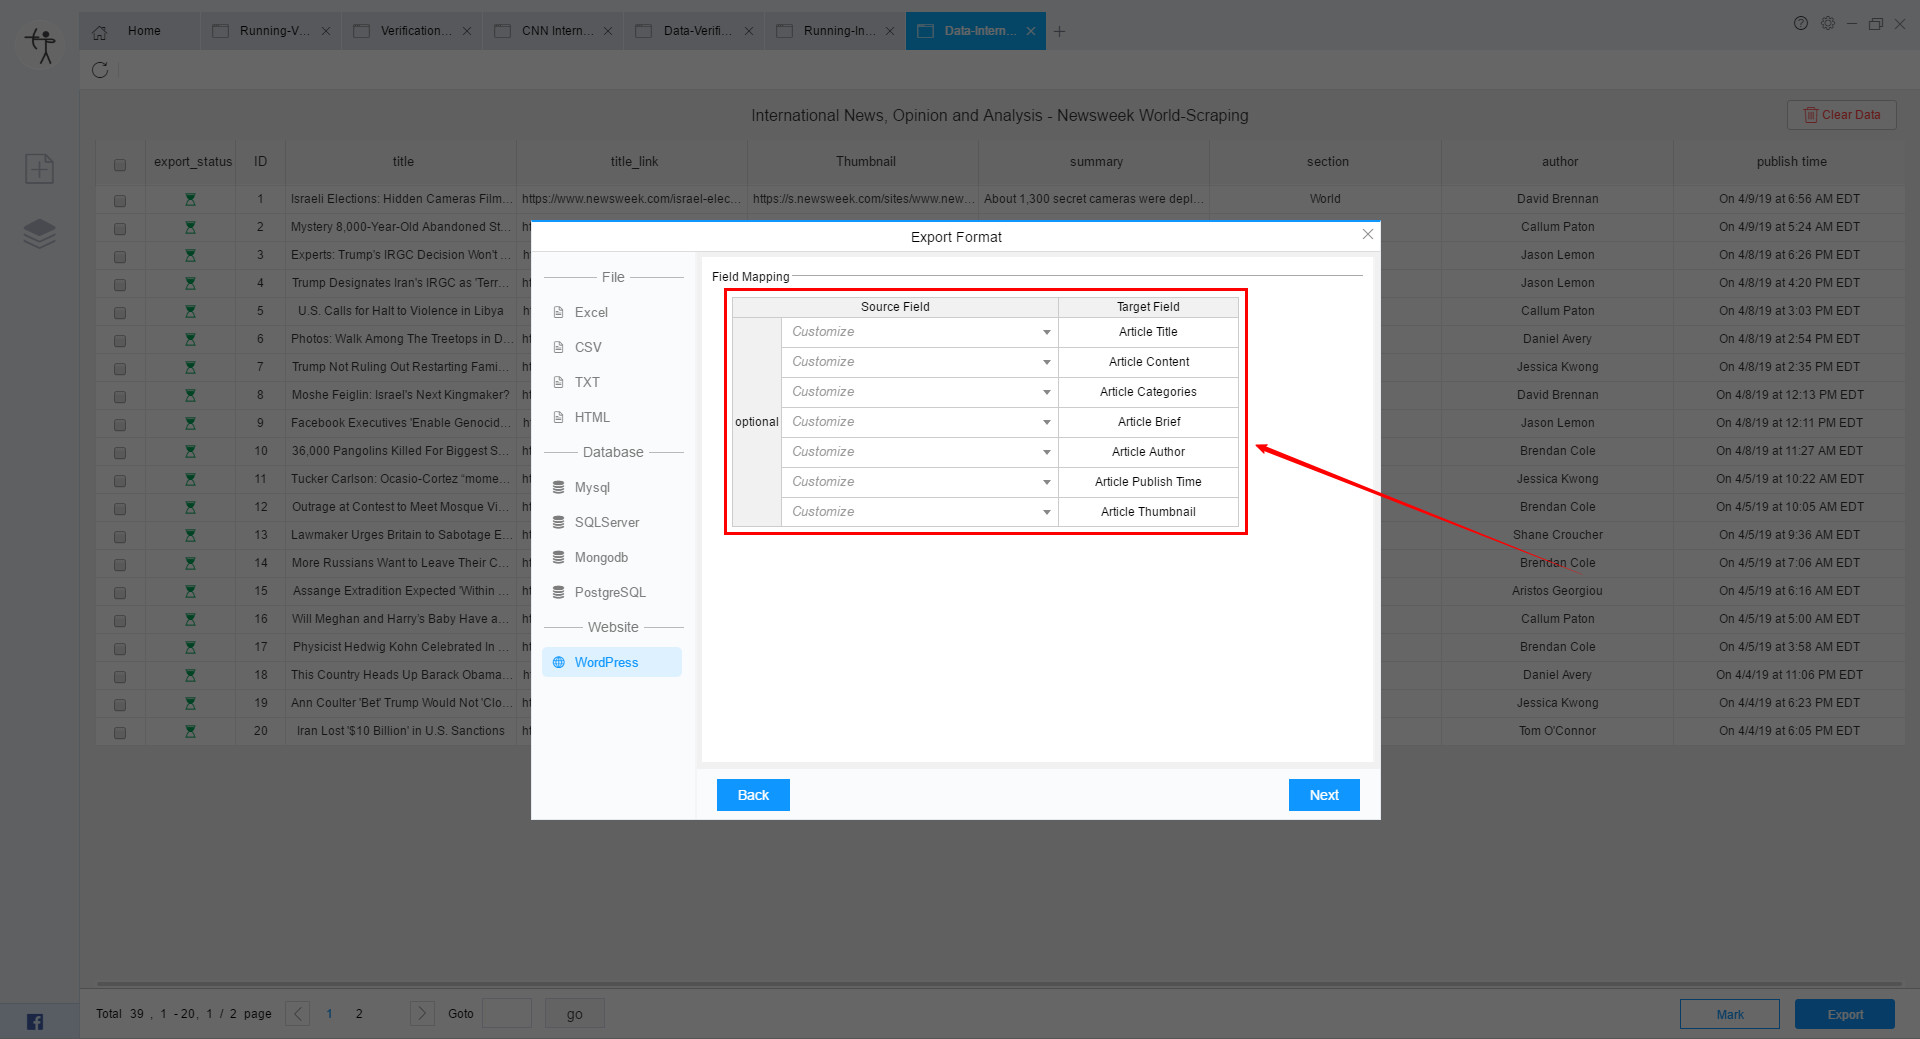
When you set up a field map, you can publish the field to a specified location, or you can publish the field to a different location according to your needs.
Step 5:
After the field mapping settings are completed, click the “Next” button to make export settings.
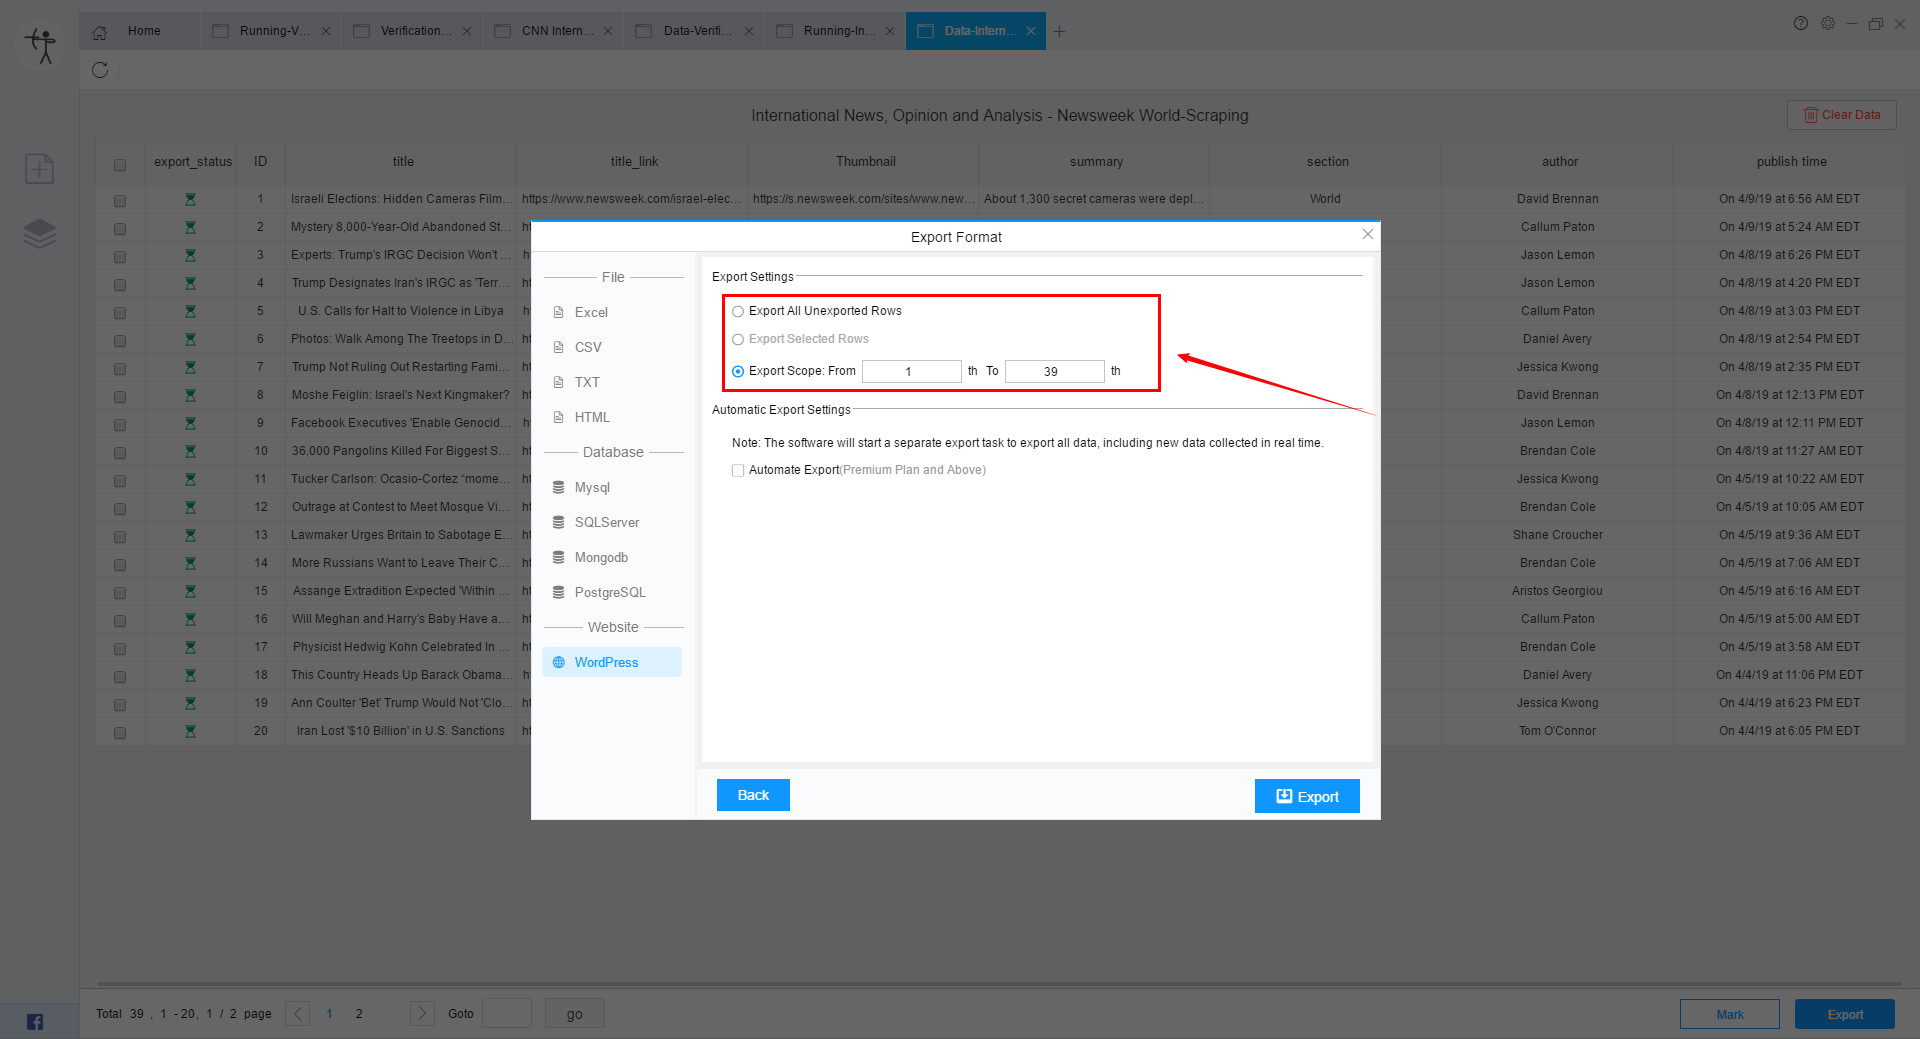
In the export interface, you can choose to manually export or automatically export.
When you choose to export manually, you can choose to export all unexported rows, or export selected rows, or even choose to export data in scope.
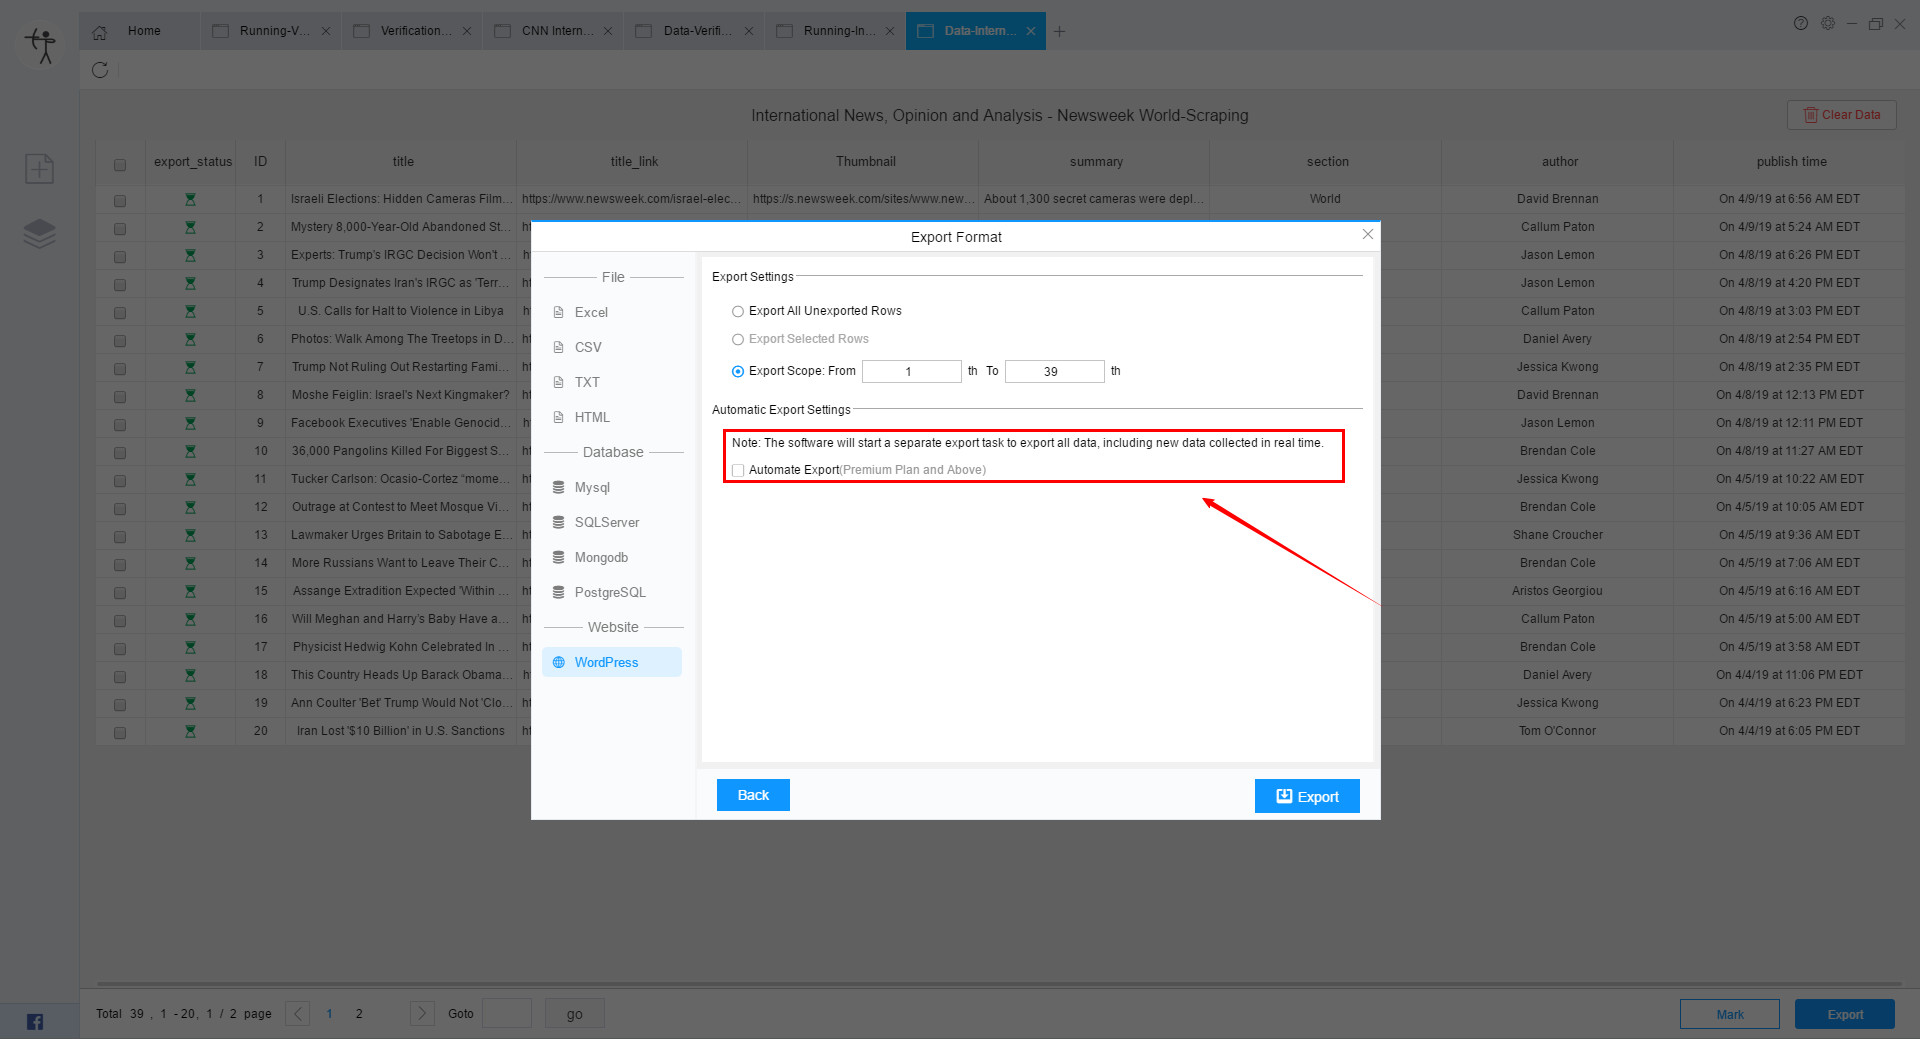
If you use Automatic Export, the software will launch a separate export task to export all the data, including new data scraped in real time.
P.S. Automatic Export can only be used by users of Premium Plan and above. Combined with the Schedule function, it can greatly save user time and improve efficiency.
Step 6:
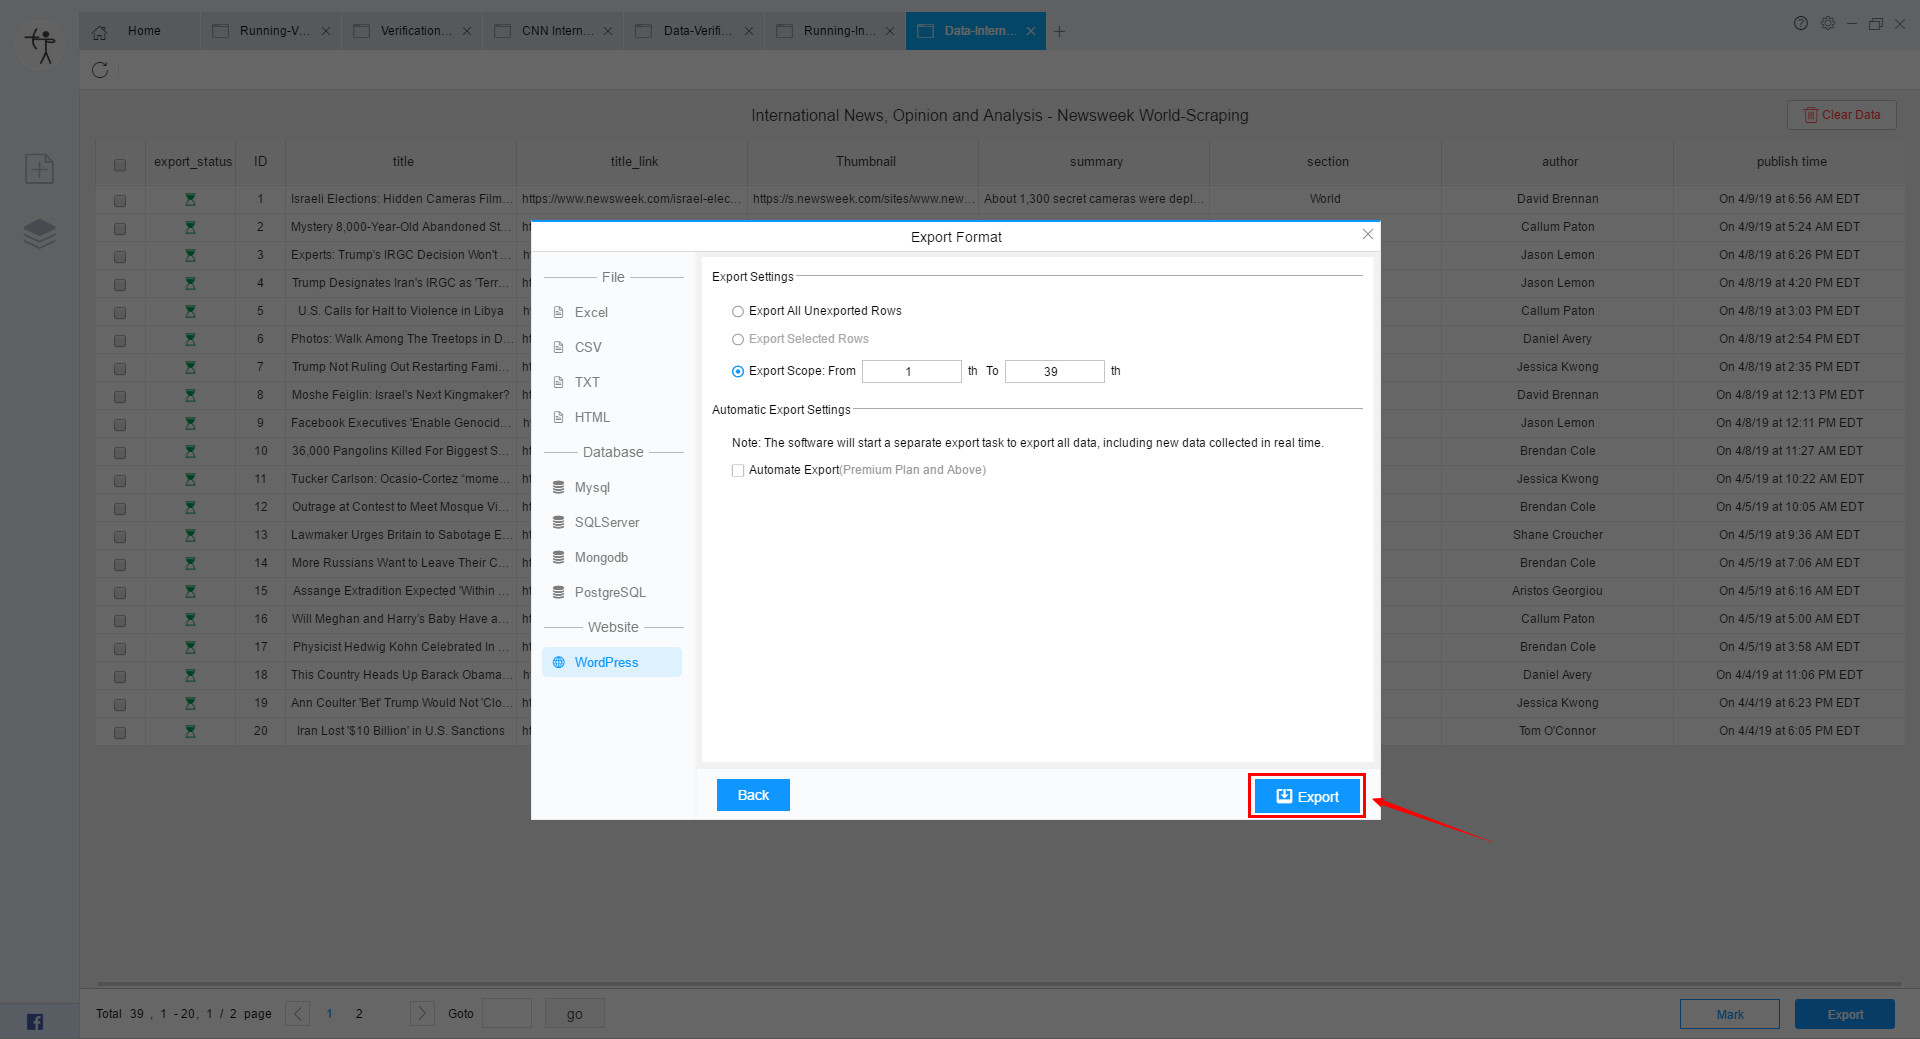
Once the export format is selected, click the “Export” button to export the data.
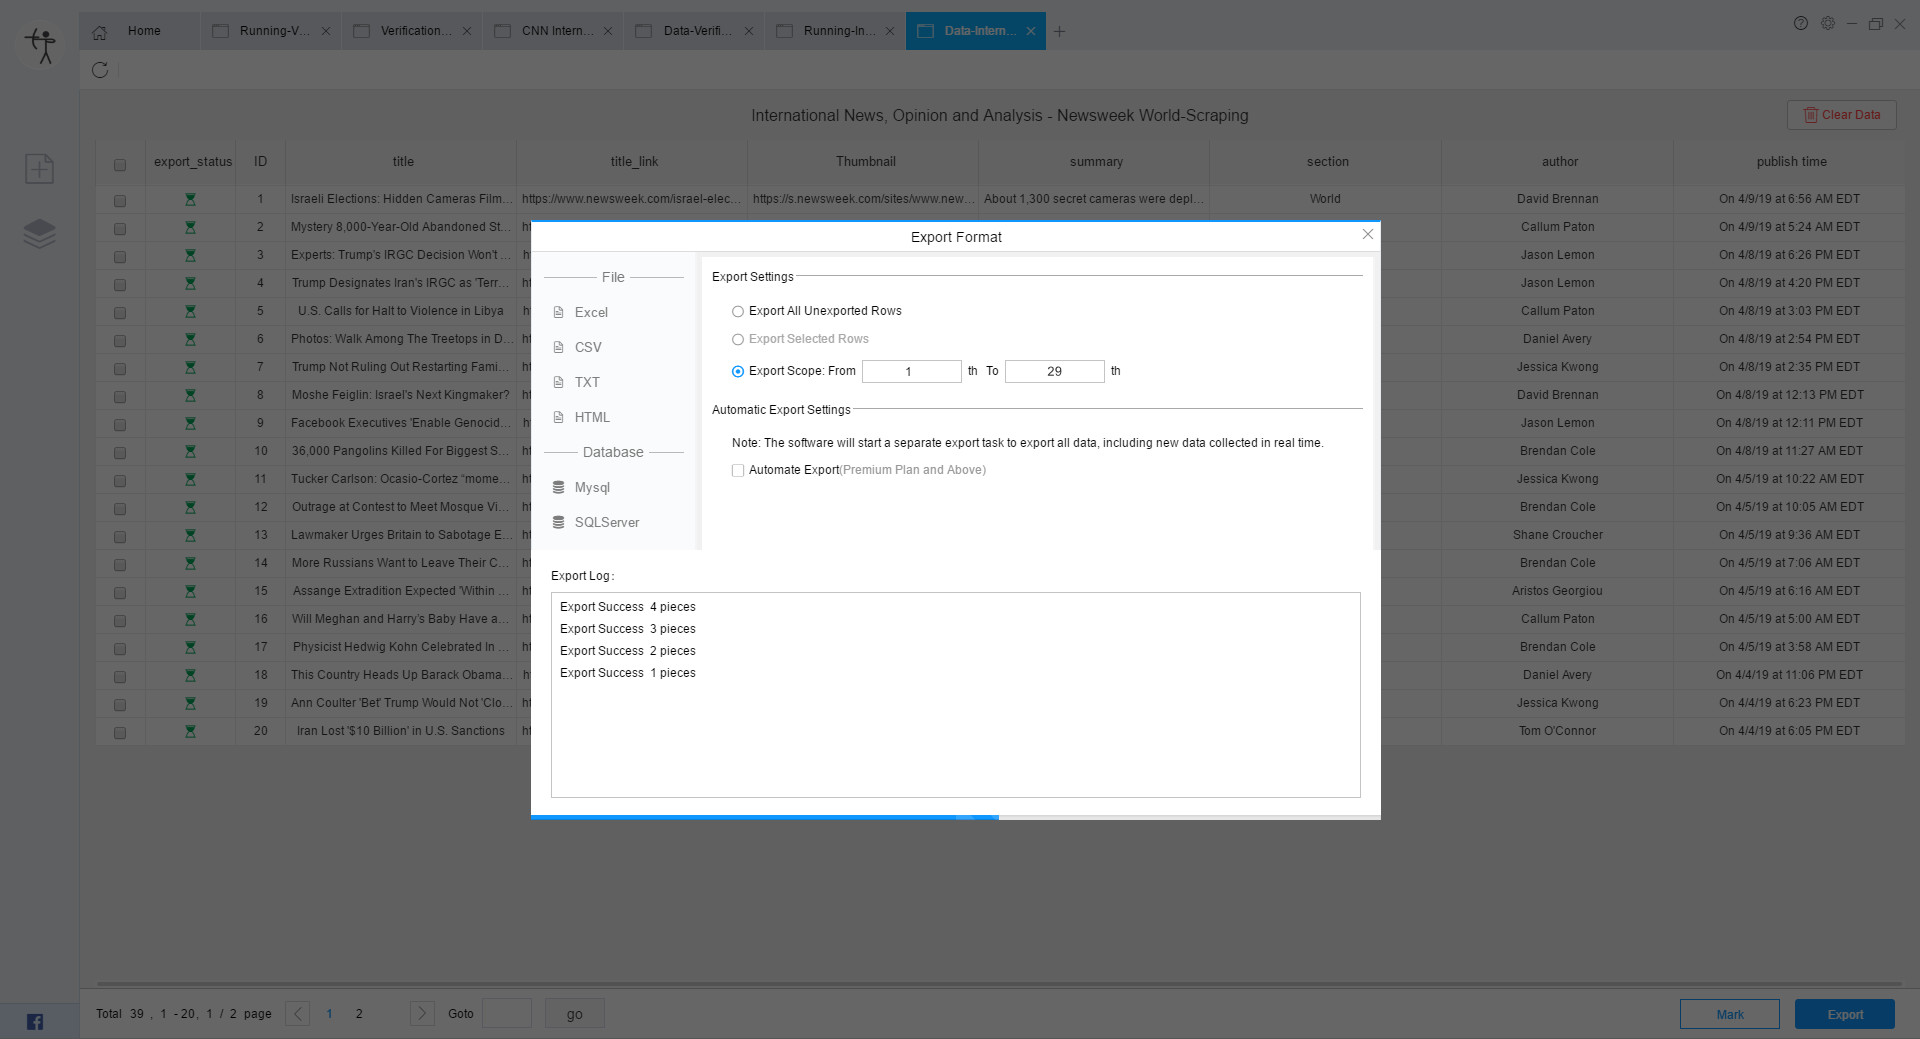
If the export is correct, the log of the number of exports will appear directly.
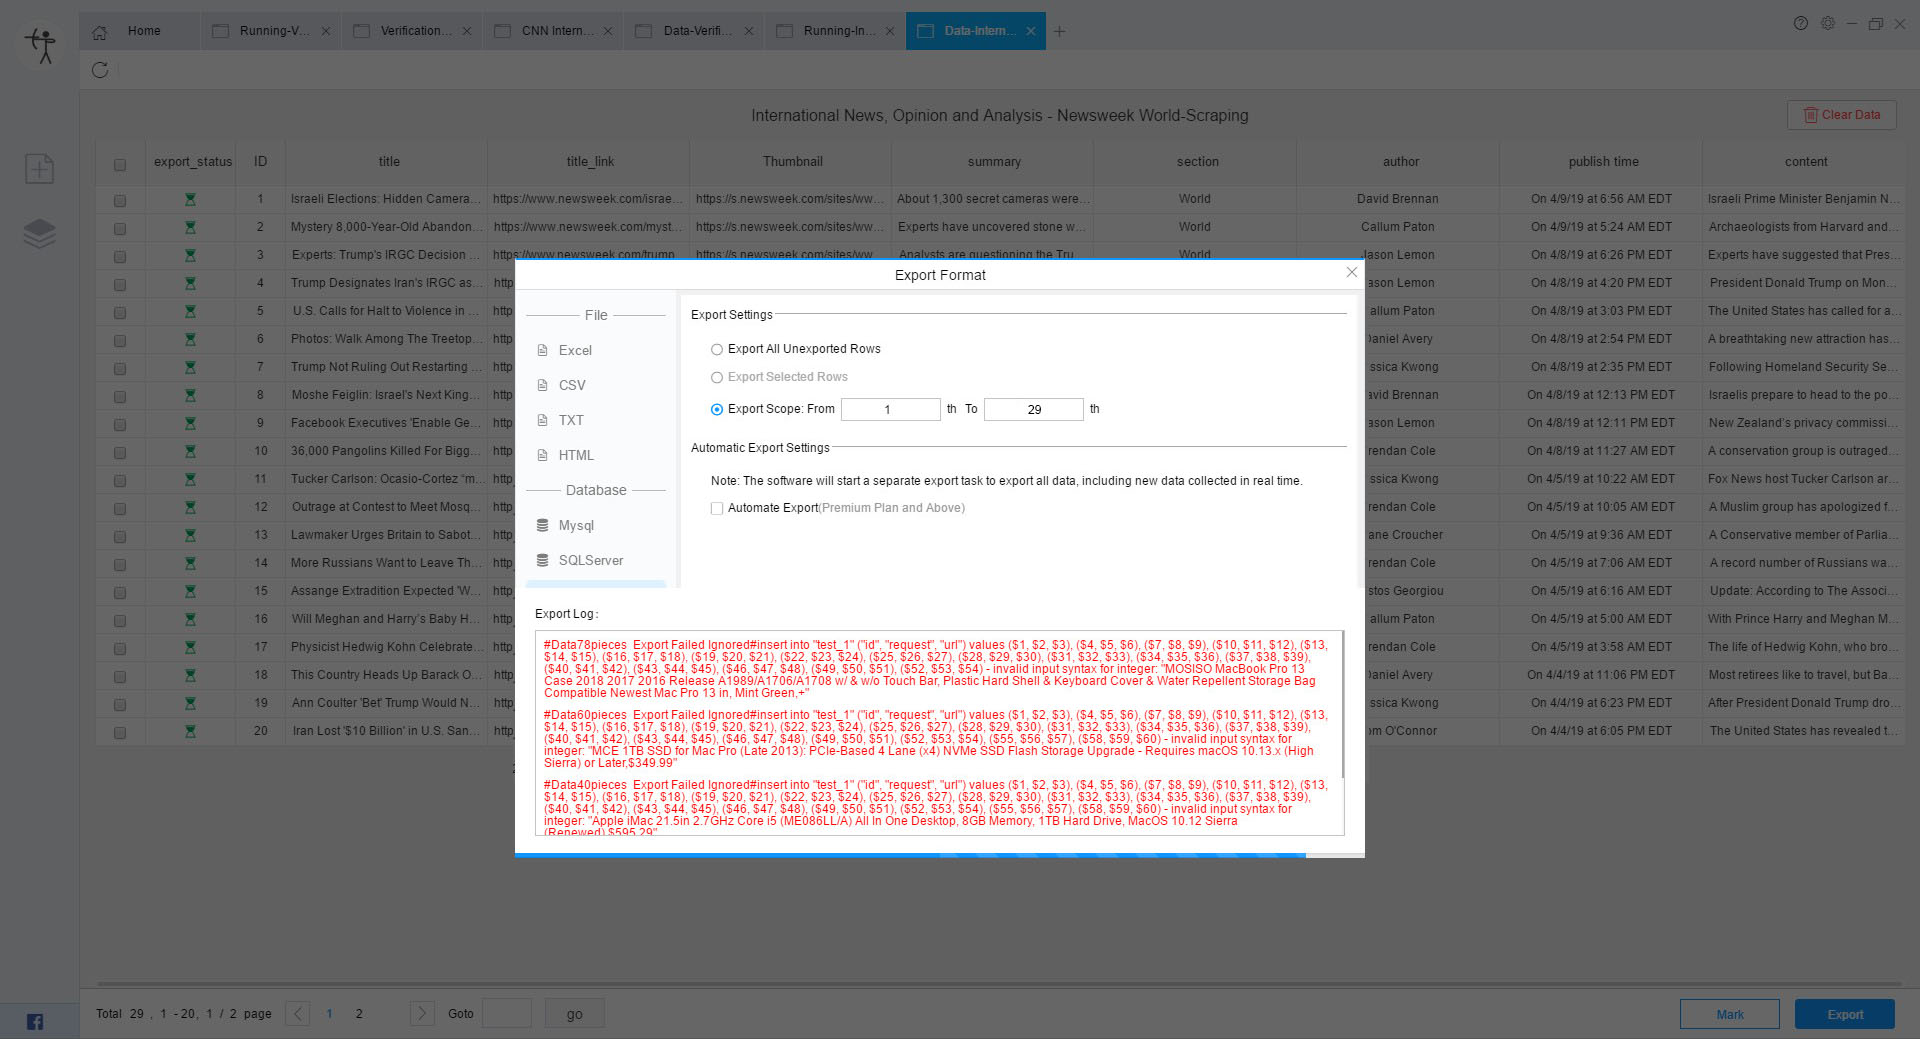
If the export is incorrect, the running log will prompt the export to fail. If the red text prompt appears, you can check if the field mapping settings are correct.
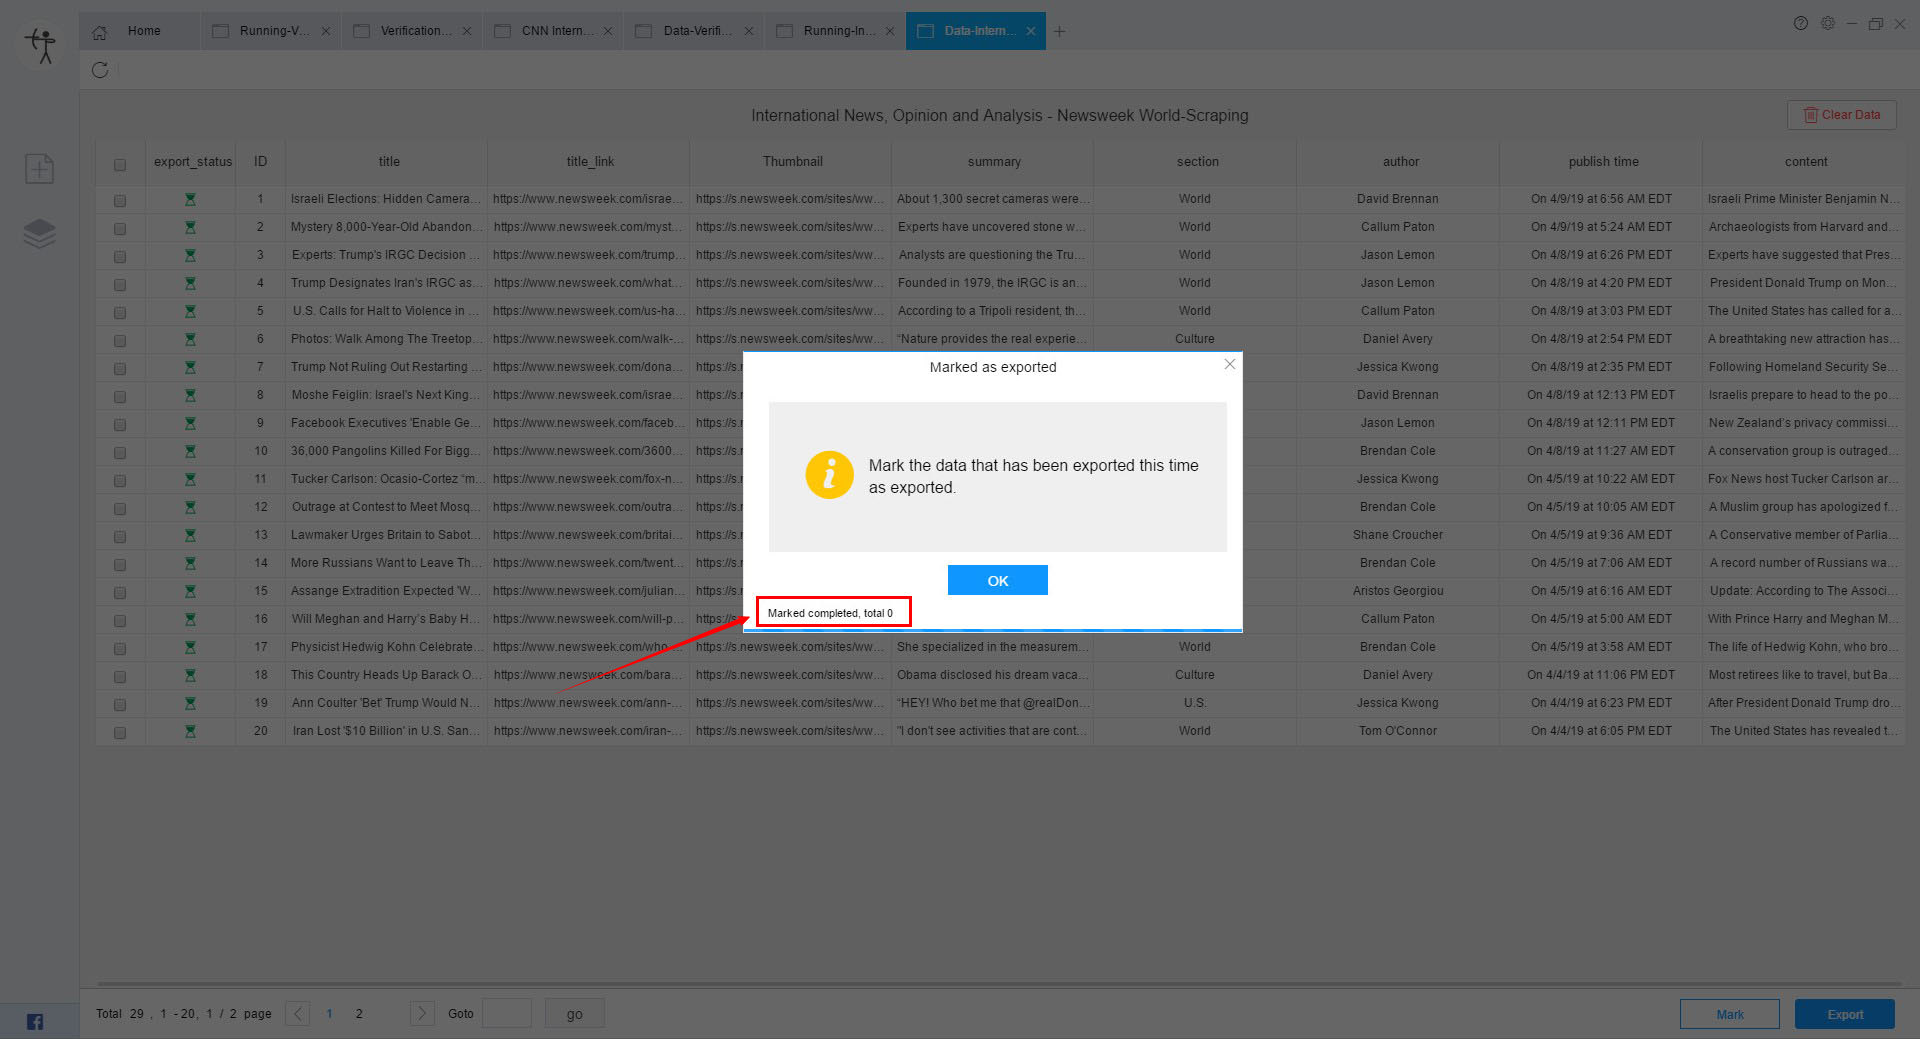
After the export is successful, a bullet box will appear, and the user can choose whether to mark.
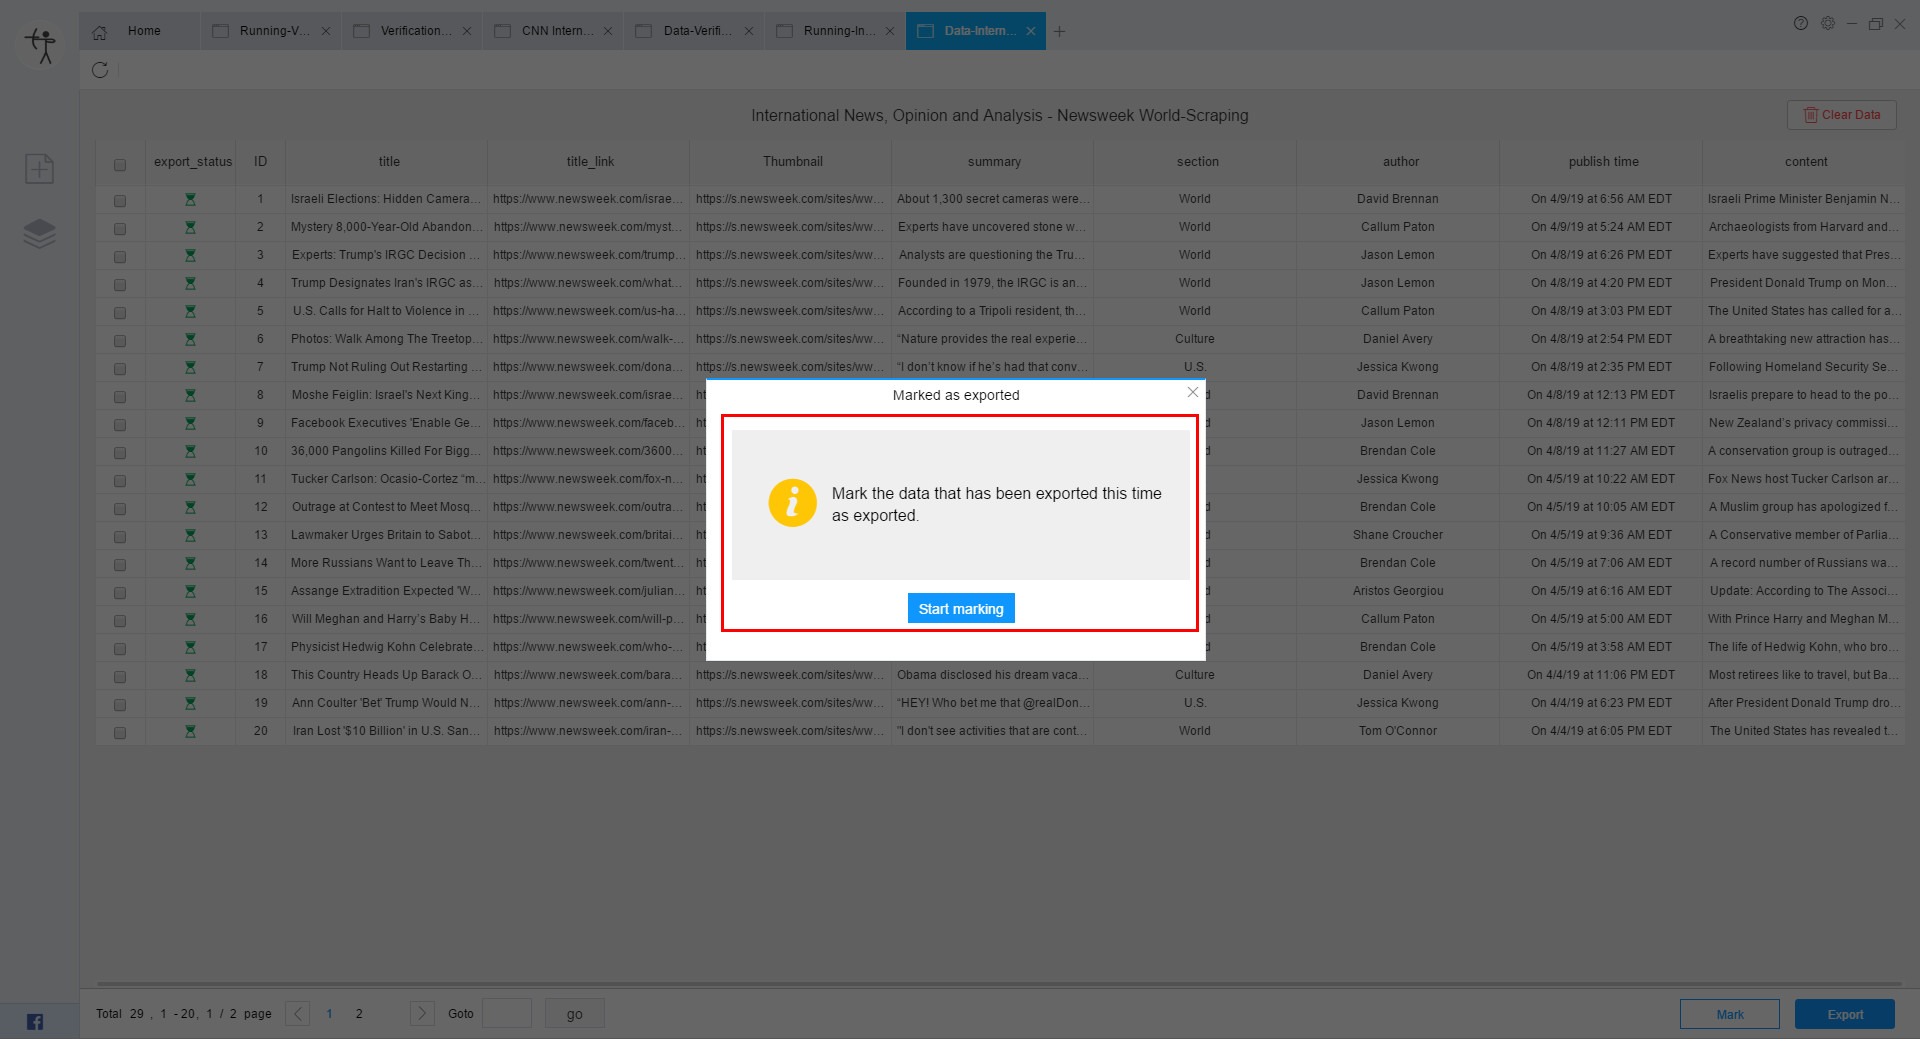
If you can export normally before, you can mark the data normally and the corresponding number of markers will appear.
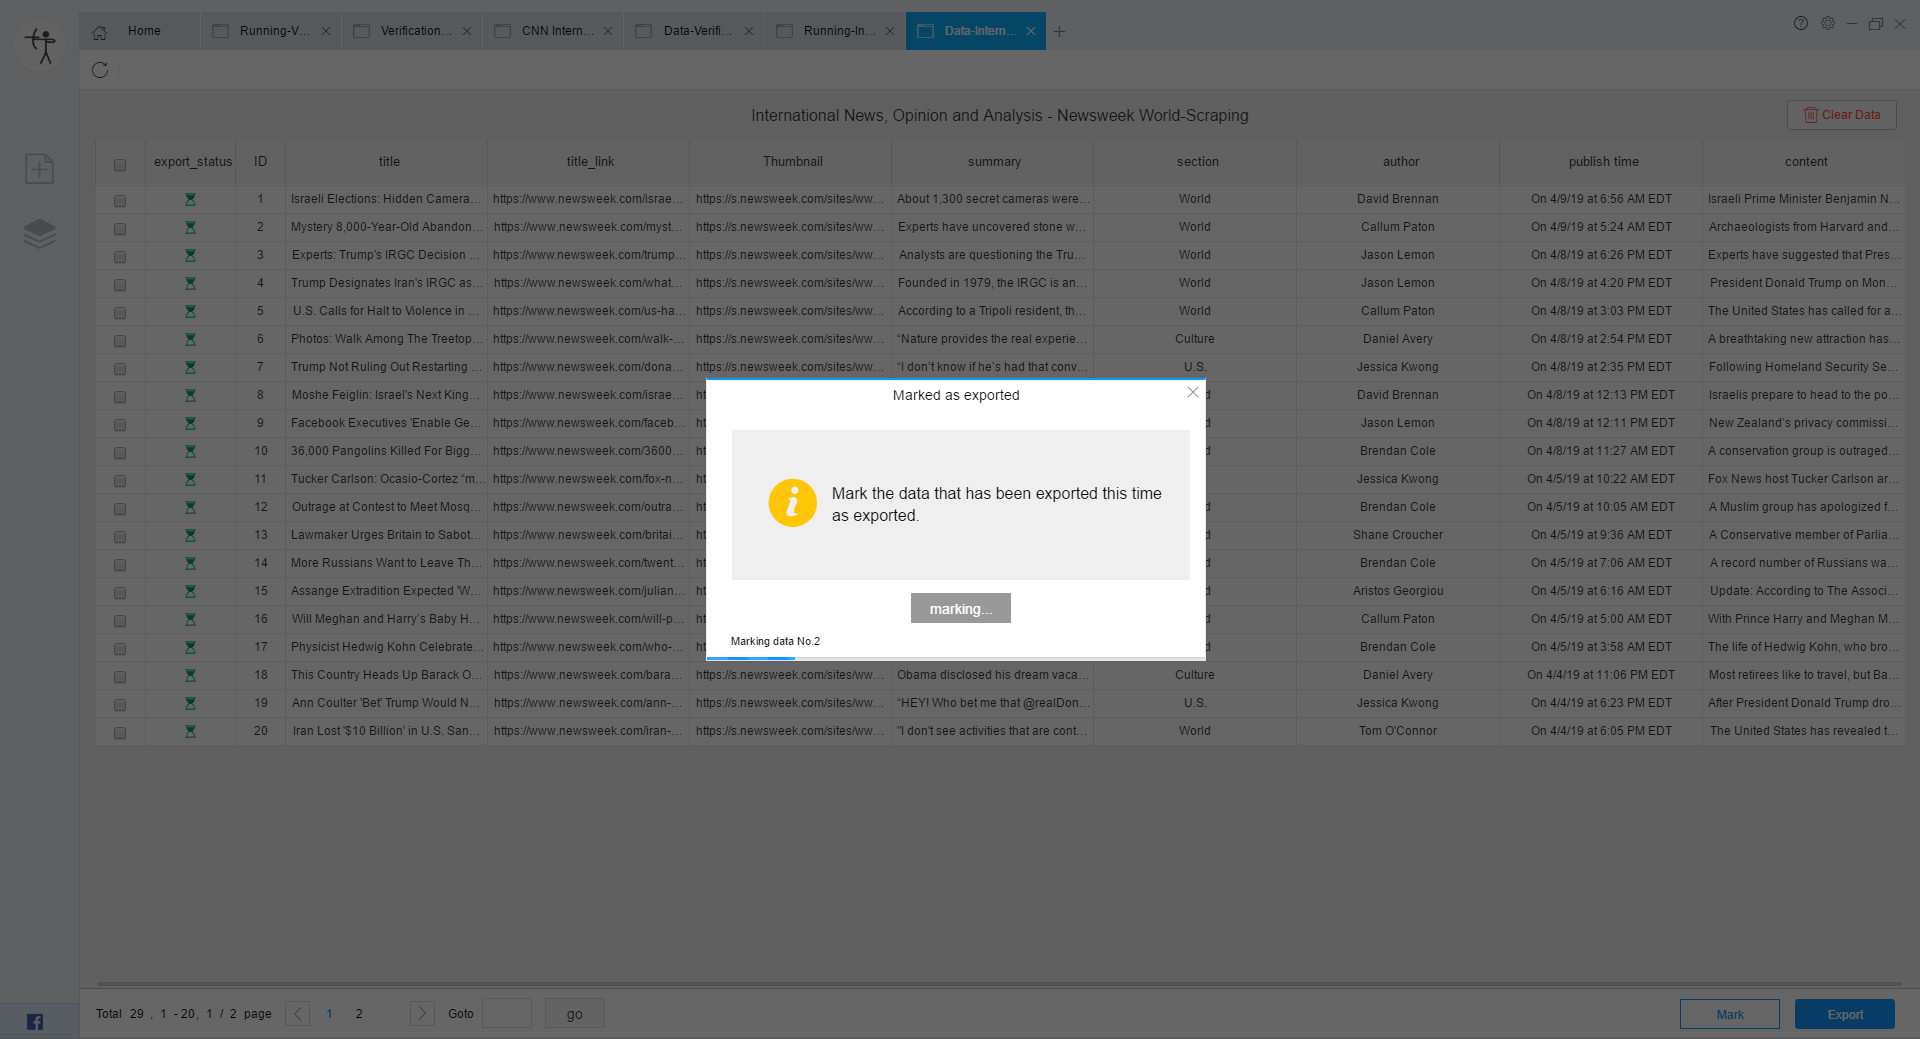
If the previous export failed, the data will not be marked normally at this time, and the number of markers will be displayed as 0.
