【Flowchart Mode】How to export data | Web Scraping Tool | ScrapeStorm
Abstract:This tutorial will show you how to export data in ScrapeStorm. No Programming Needed. Visual Operation. ScrapeStormFree Download
In the Flowchart Mode of ScrapeStorm, we export data in the following ways.
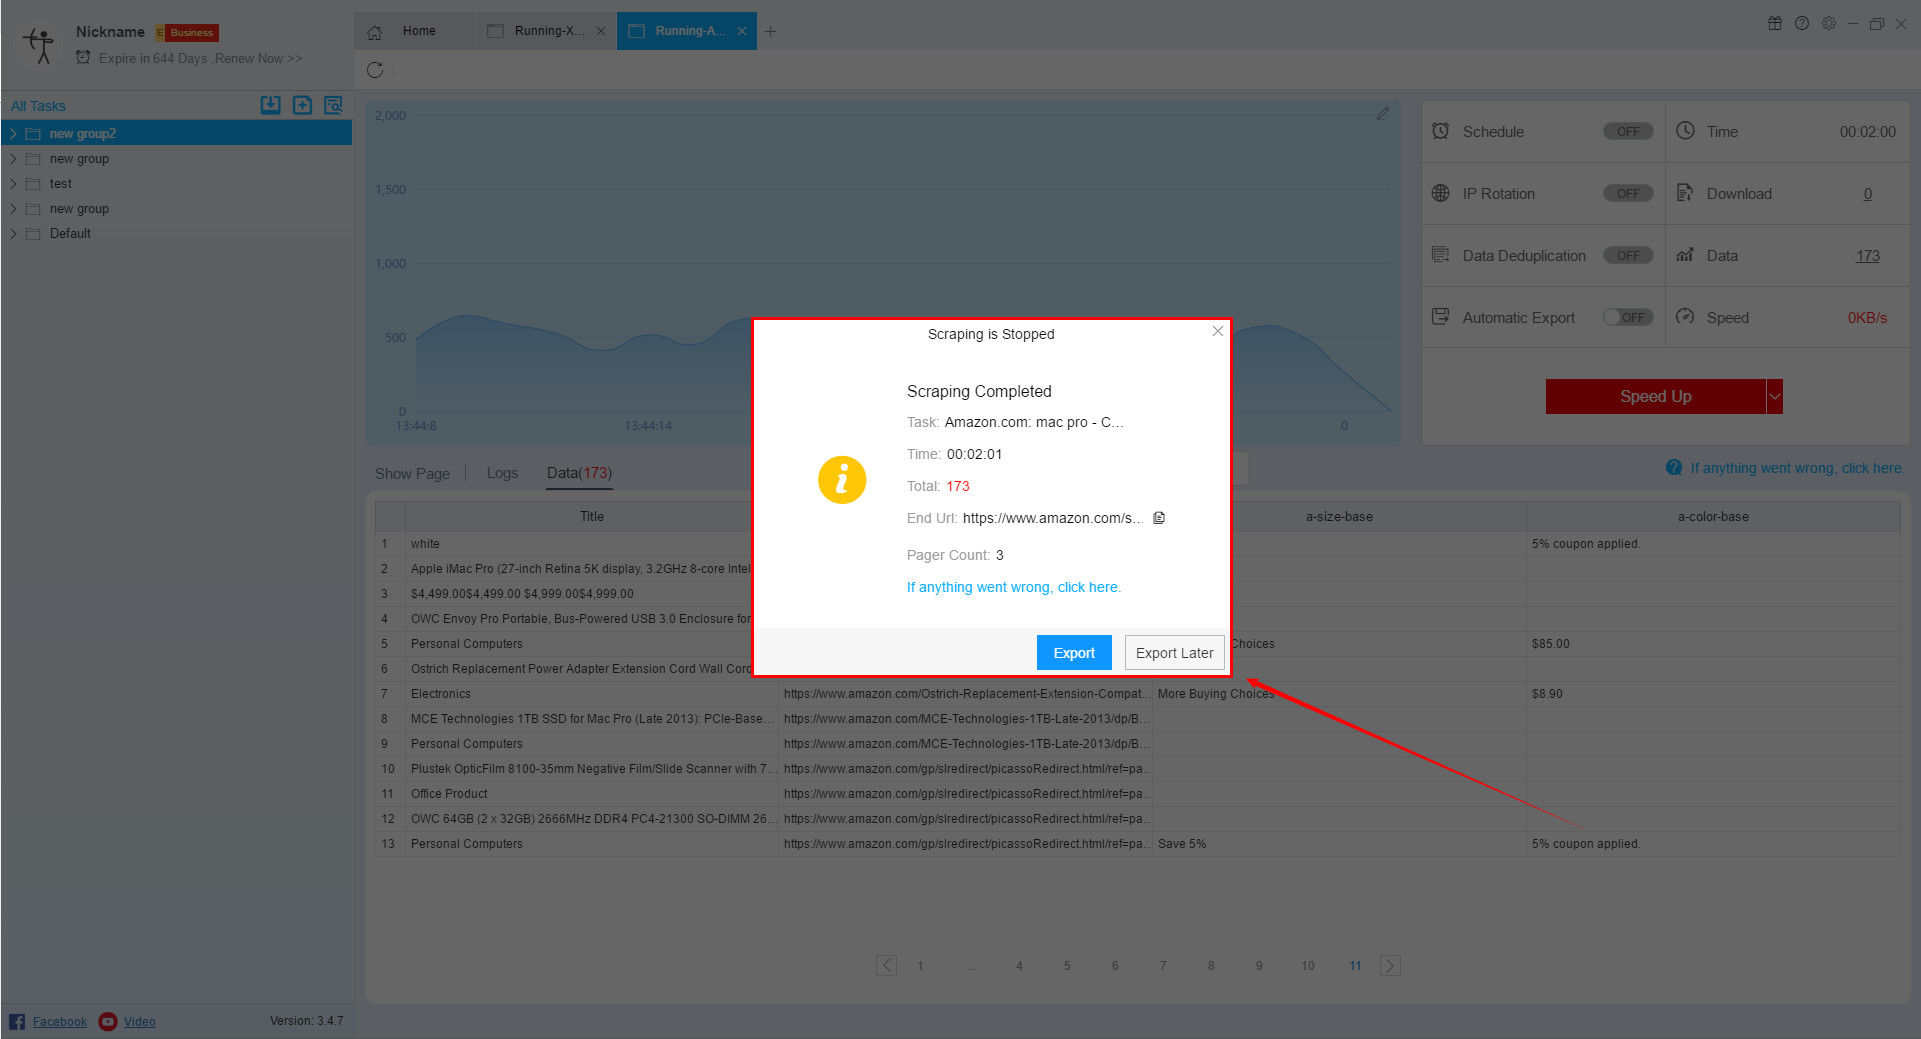
1. Export data for foreground running tasks
If the scraping task is running in the foreground, the software will pop up the “Scraping is stopped” prompt box after the task stops. At this point, we can click the “Export” button to export data.
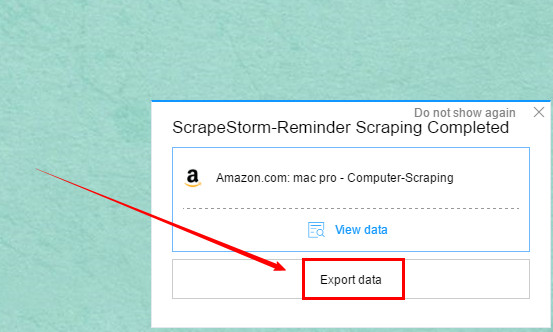
2. Export data for background running tasks
If the task is running in the background, after the task stops, a prompt box will pop up in the lower right corner. We can open the data interface or export the data according to the prompt.
3. Export data of the task that has been saved
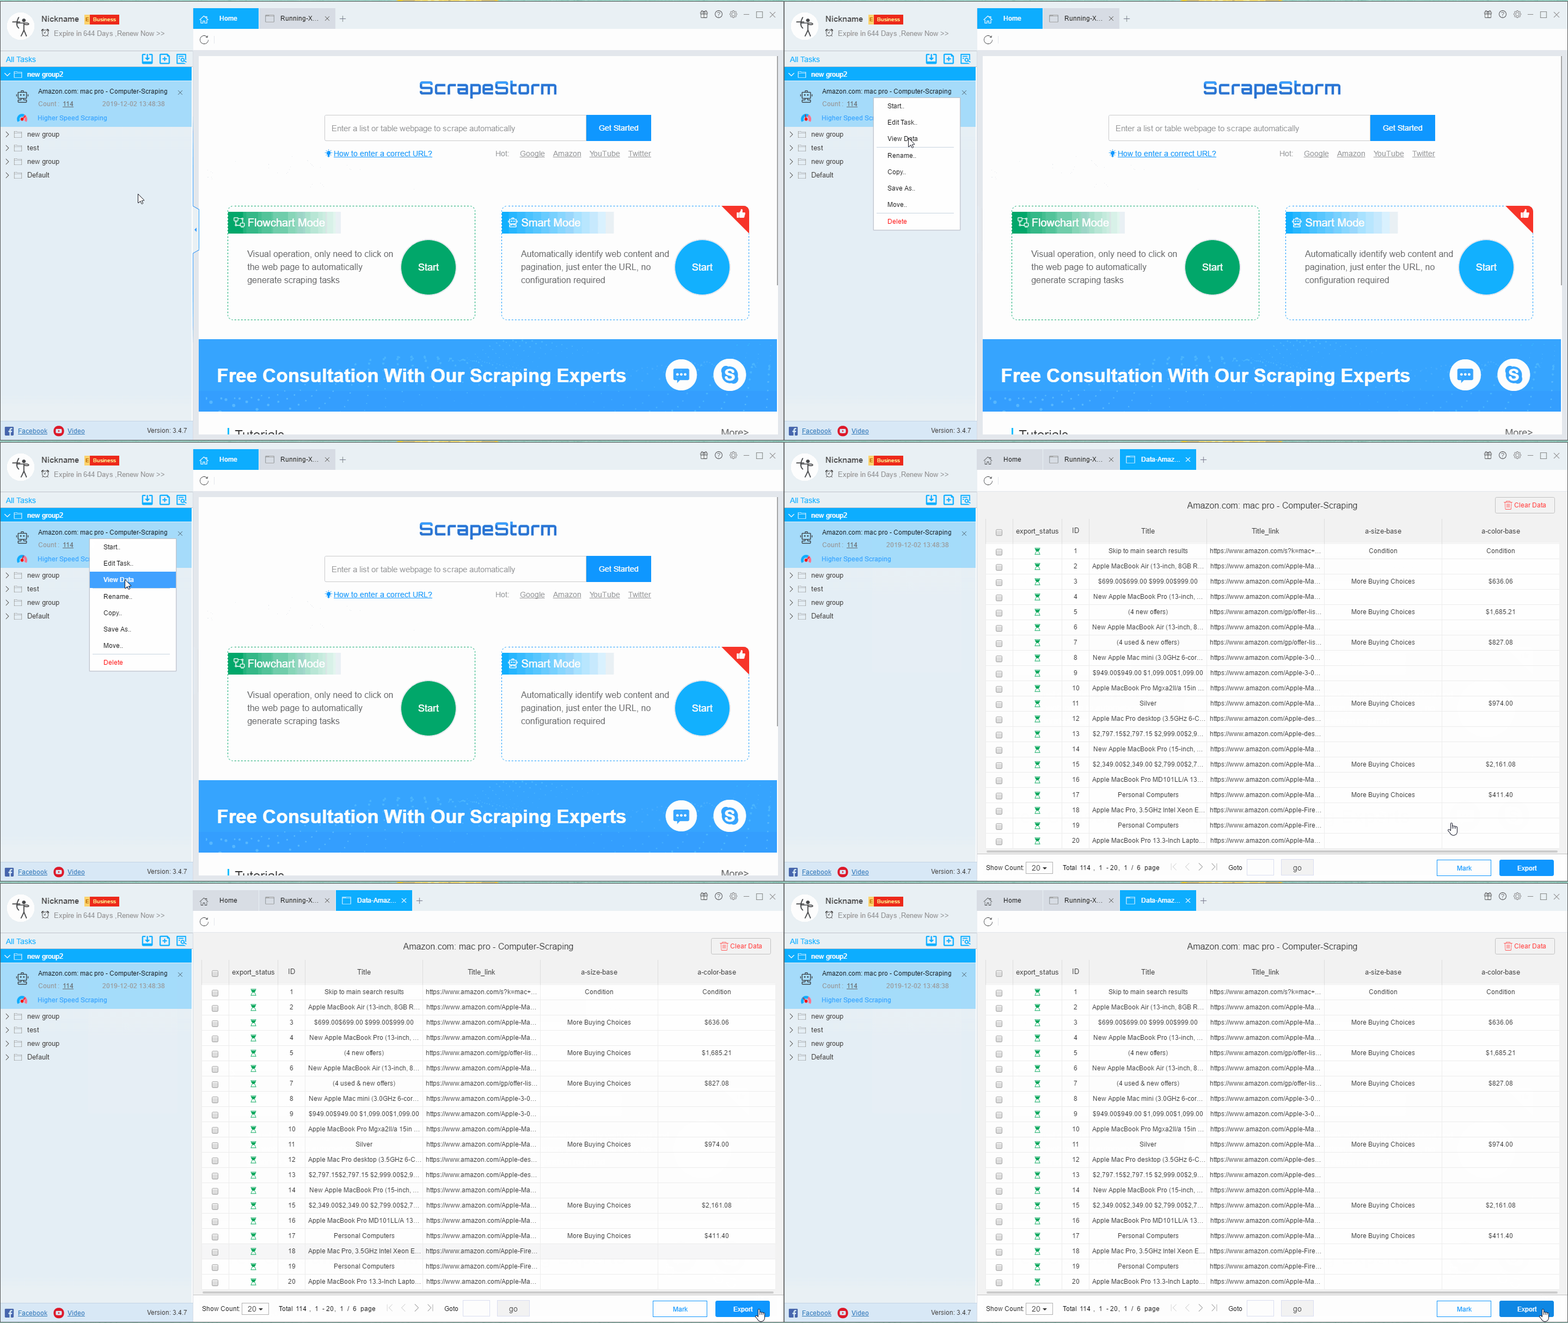
If it is not a task that runs in real time, but a task that has been run before, for example, we close the software and then reopen the software, and then export the results of a task that has already been run.
In this case, we can right-click the task and click “View Data” to open the view data interface, and then set the export data in the interface.
4. Introduction to the View Data interface
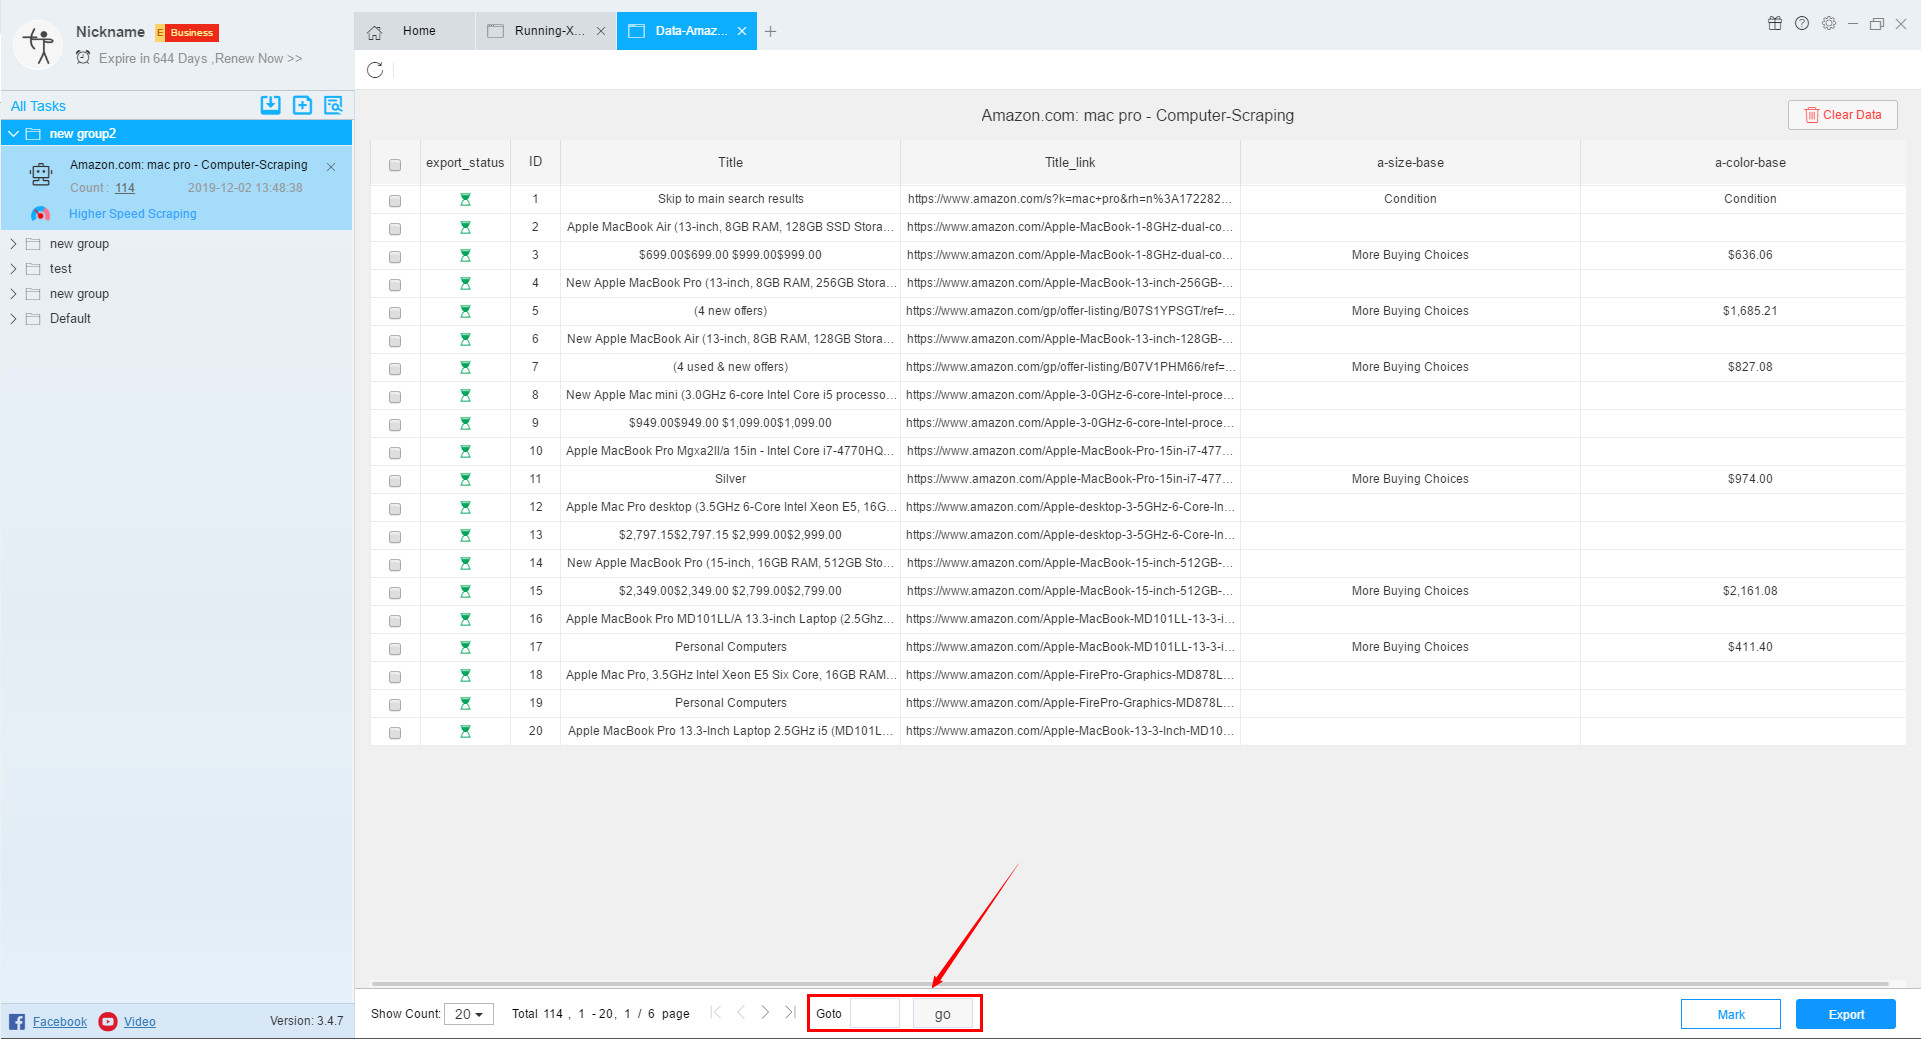
In the view data interface, you can select the show account for each page of data.
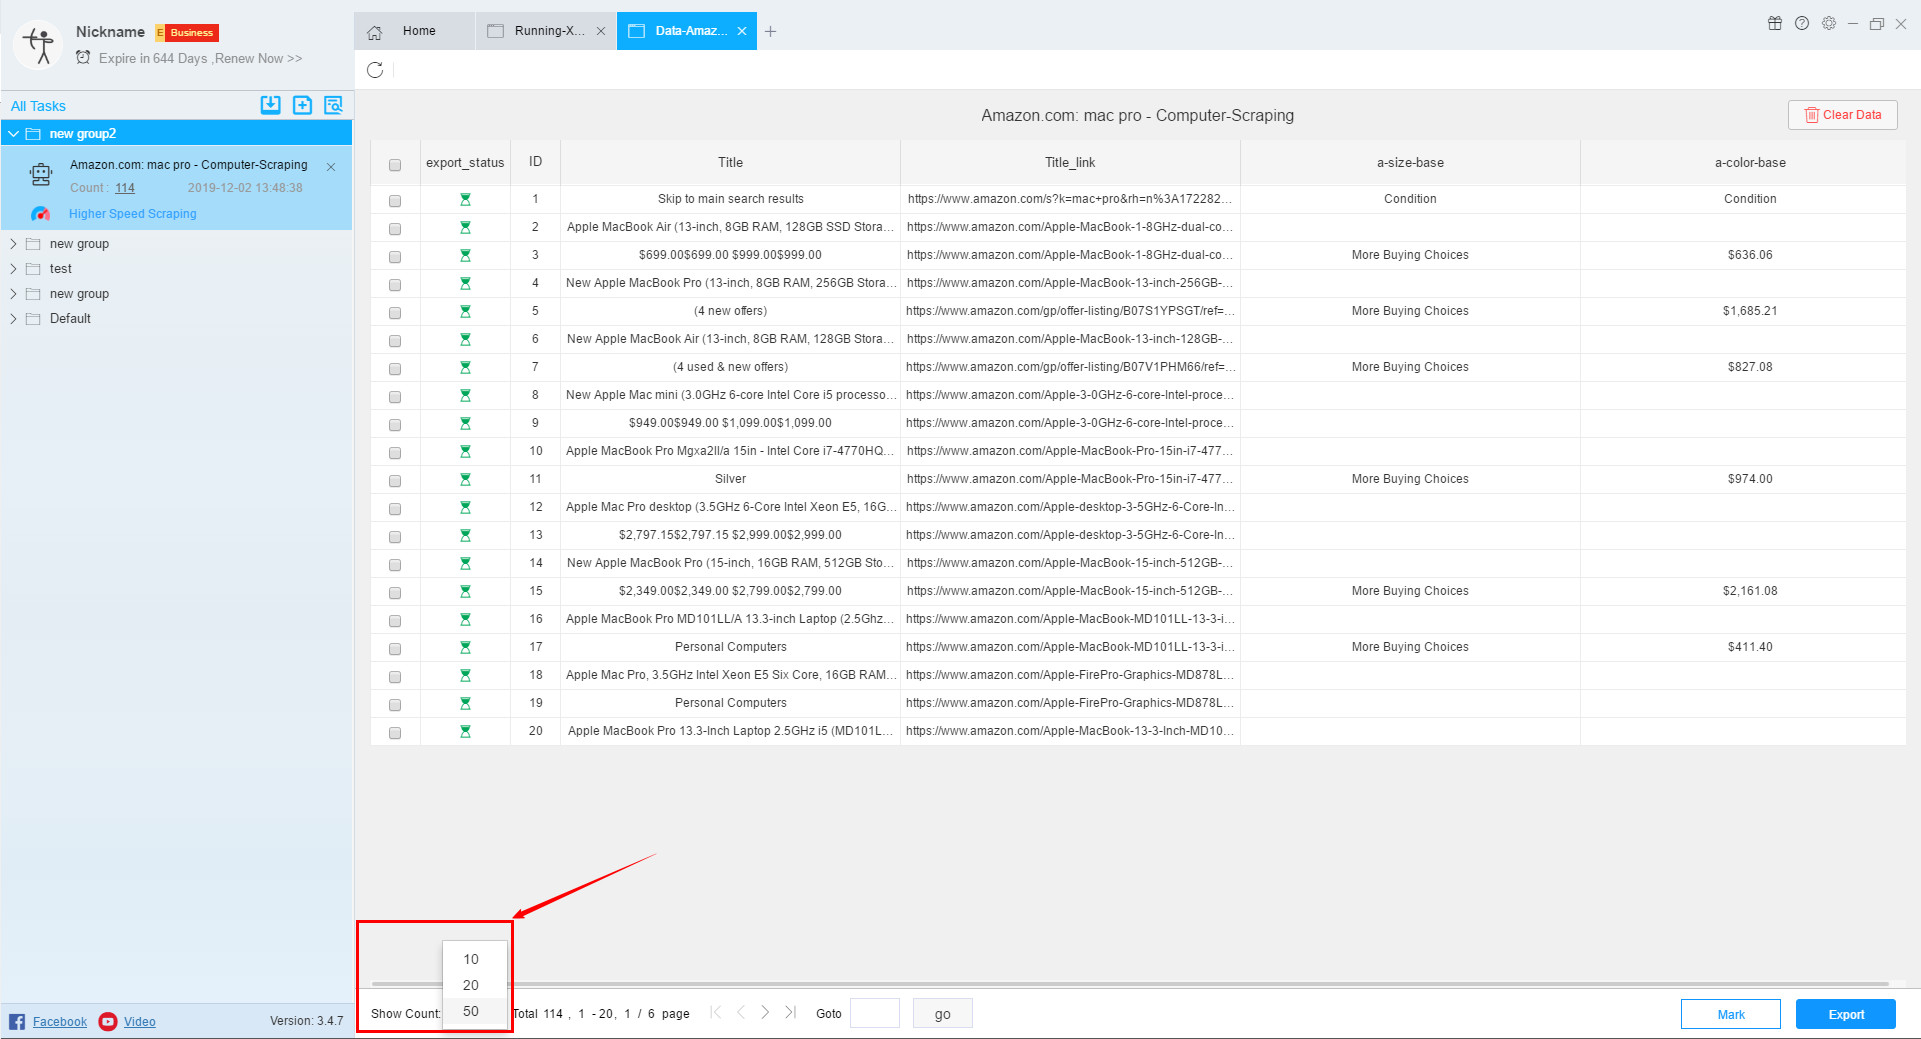
You can jump to the number of pages to view the data you need.
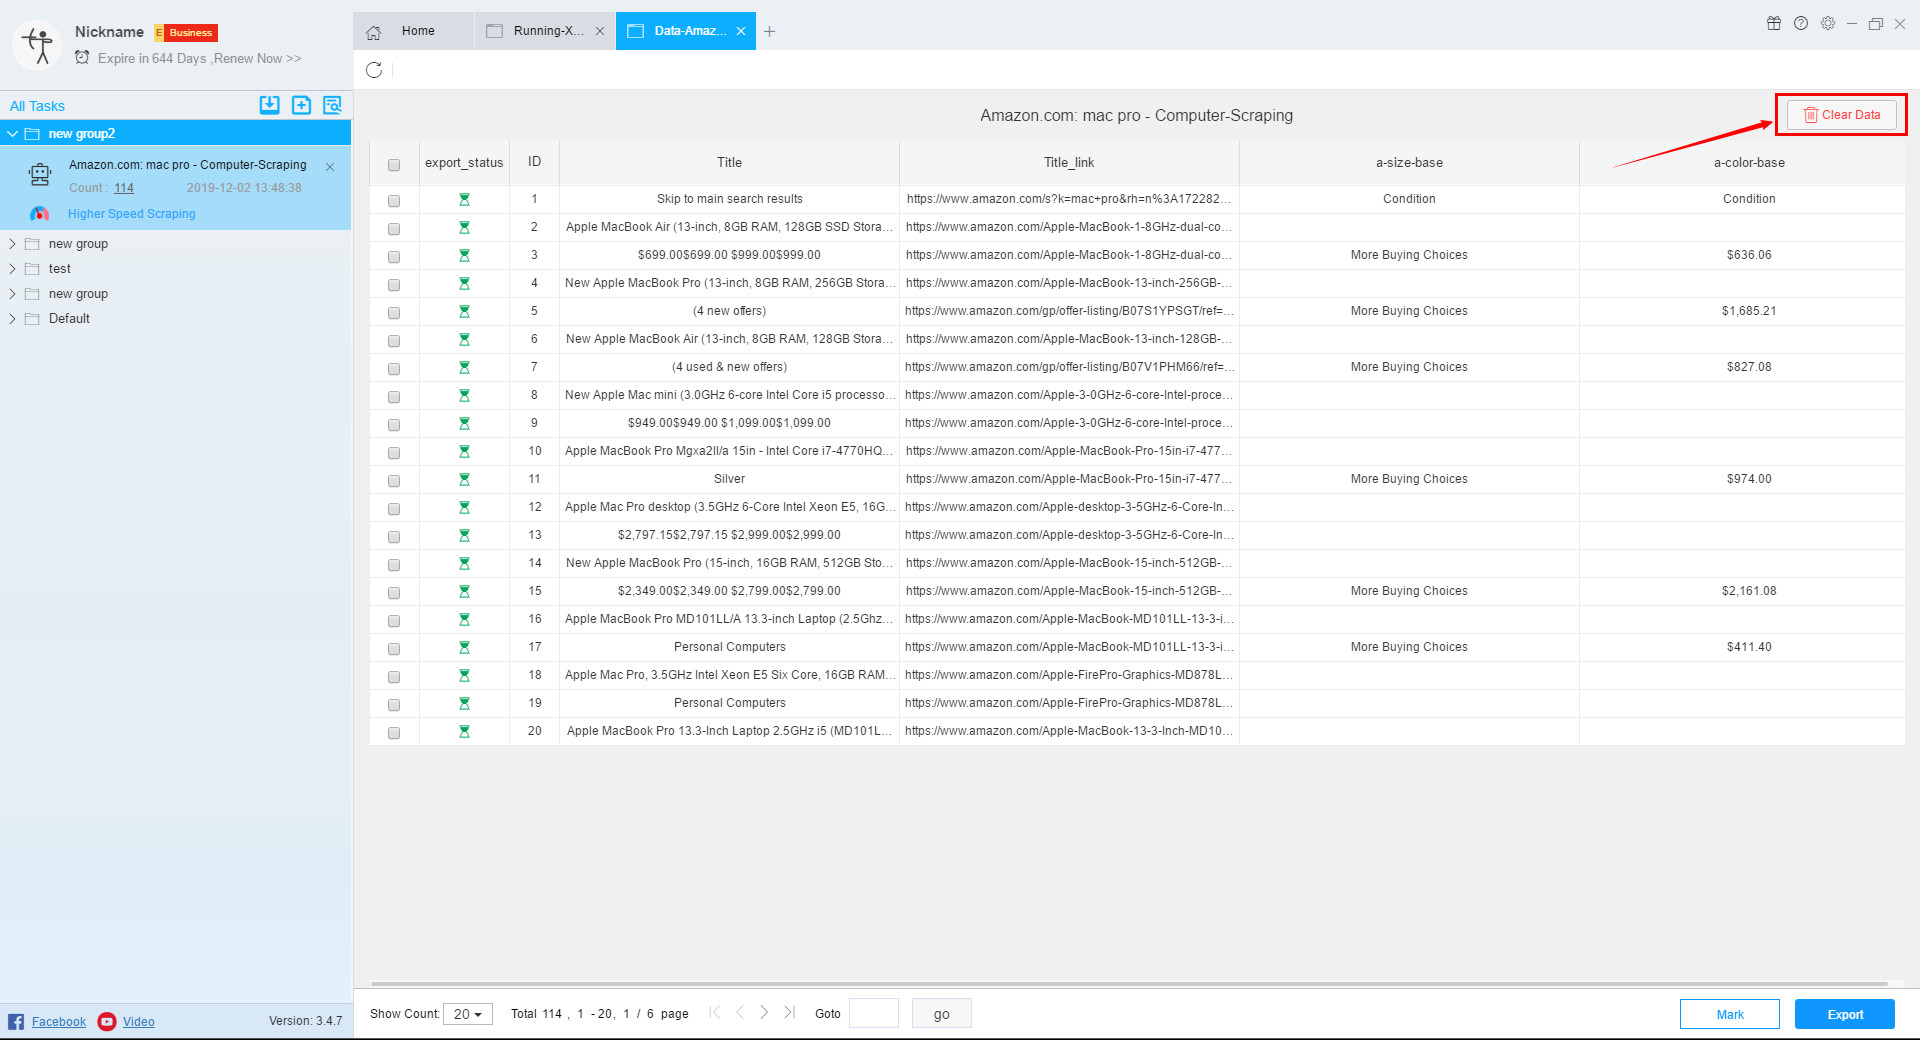
If you do not want these data, you can clear the data directly.
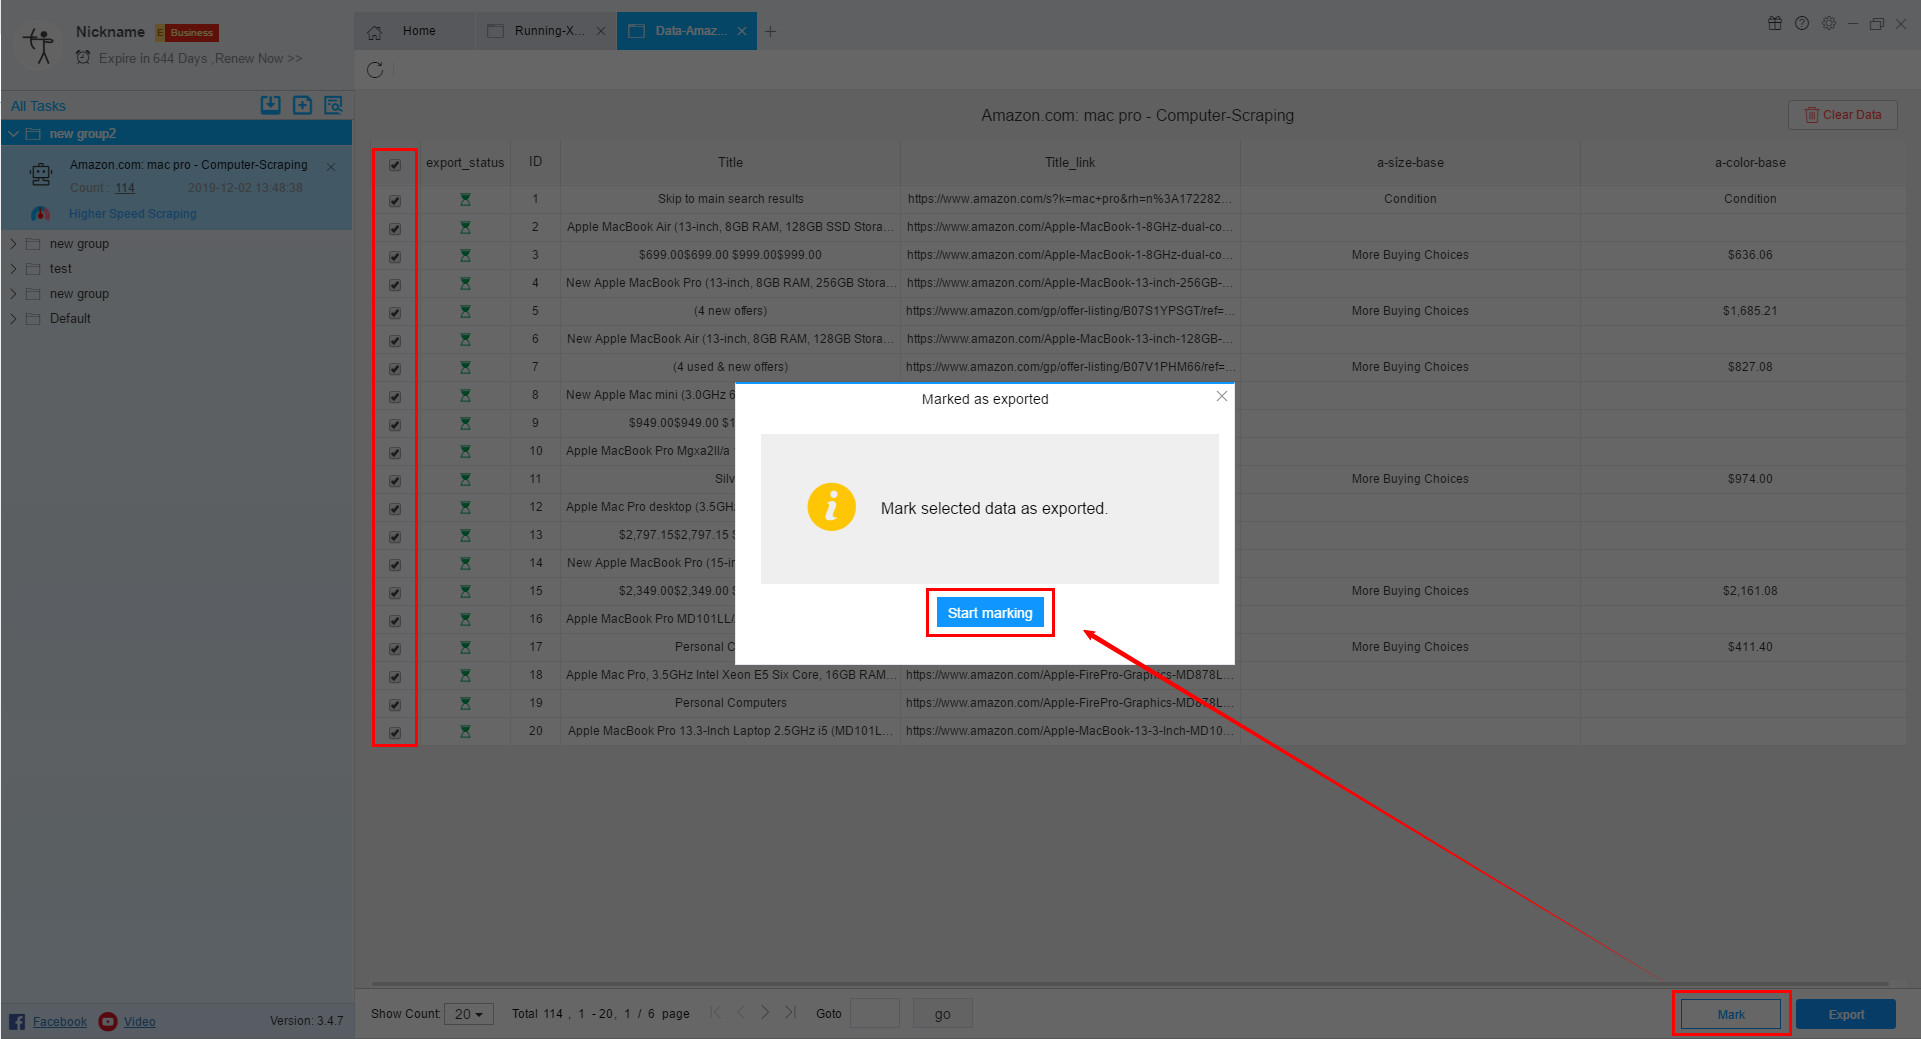
If you need to mark the data, you can select the data you want to mark and click the “Mark” button.
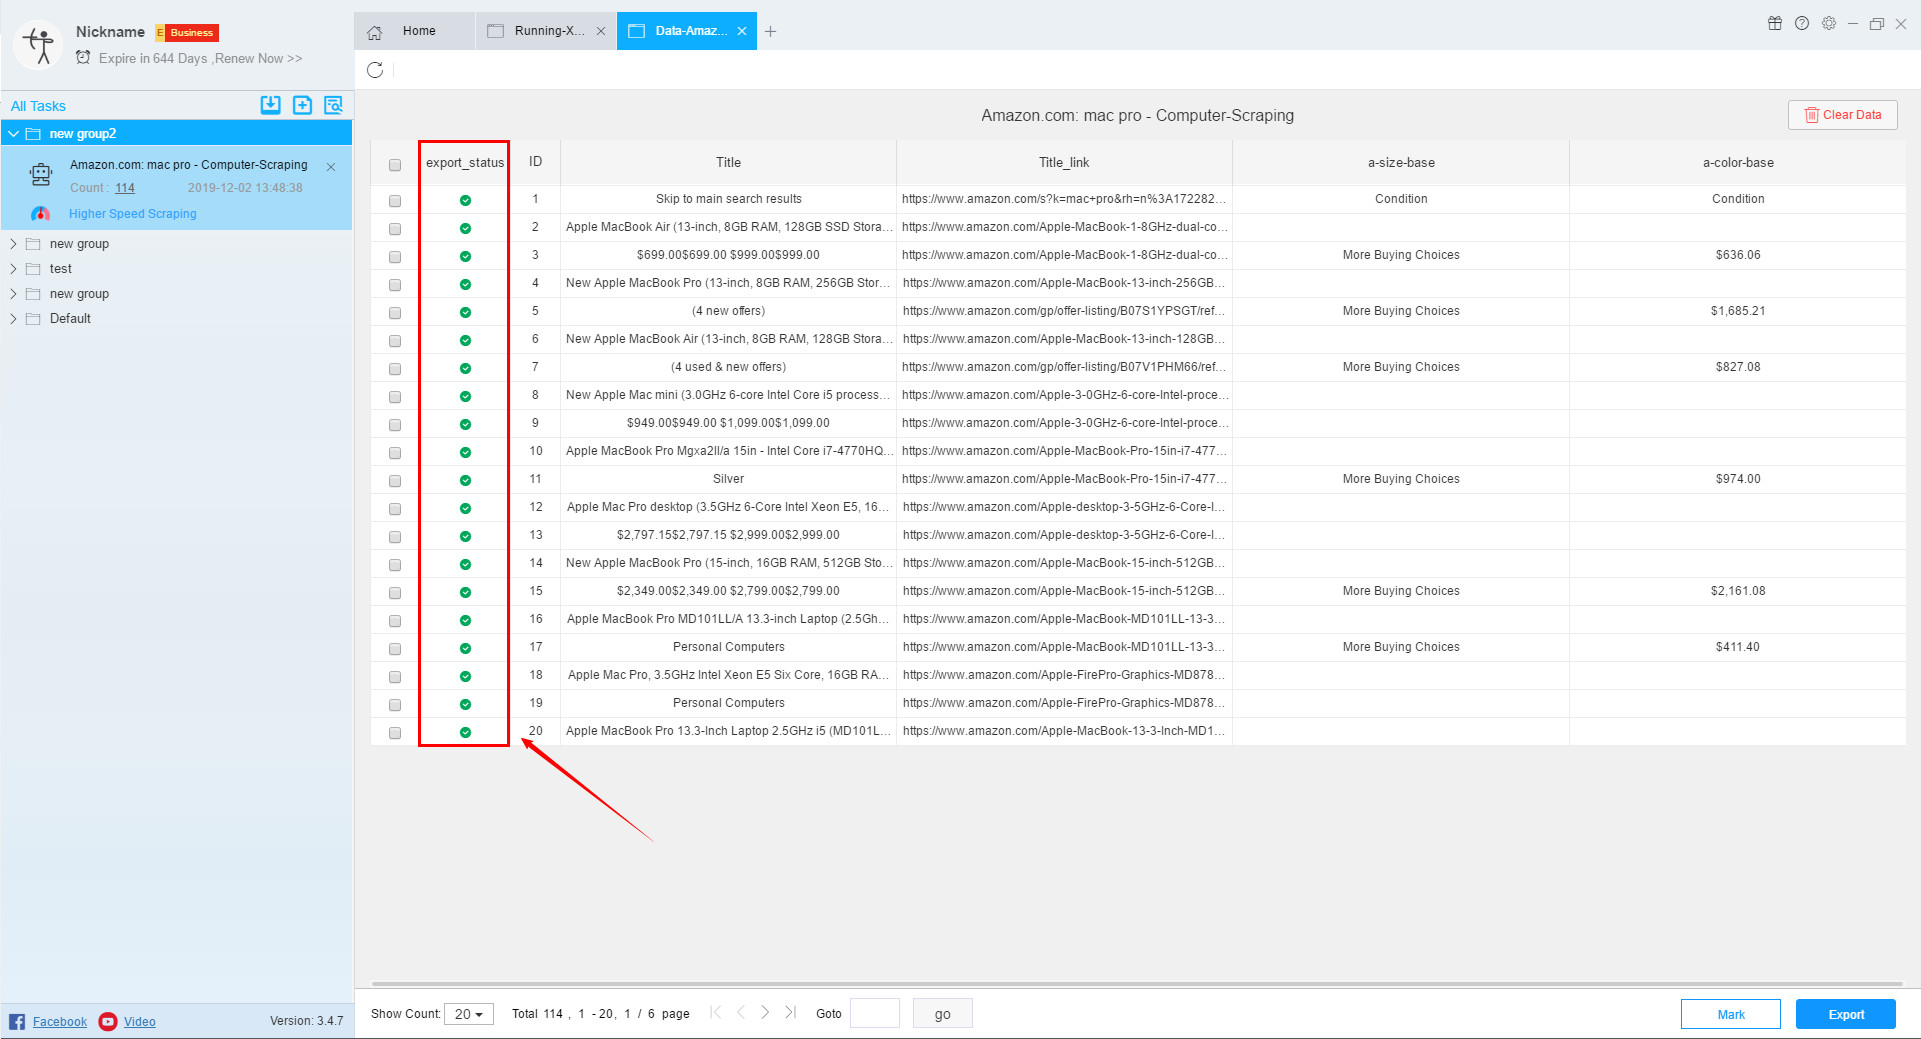
You can also click the refresh button to refresh the data to see the latest status of the data.
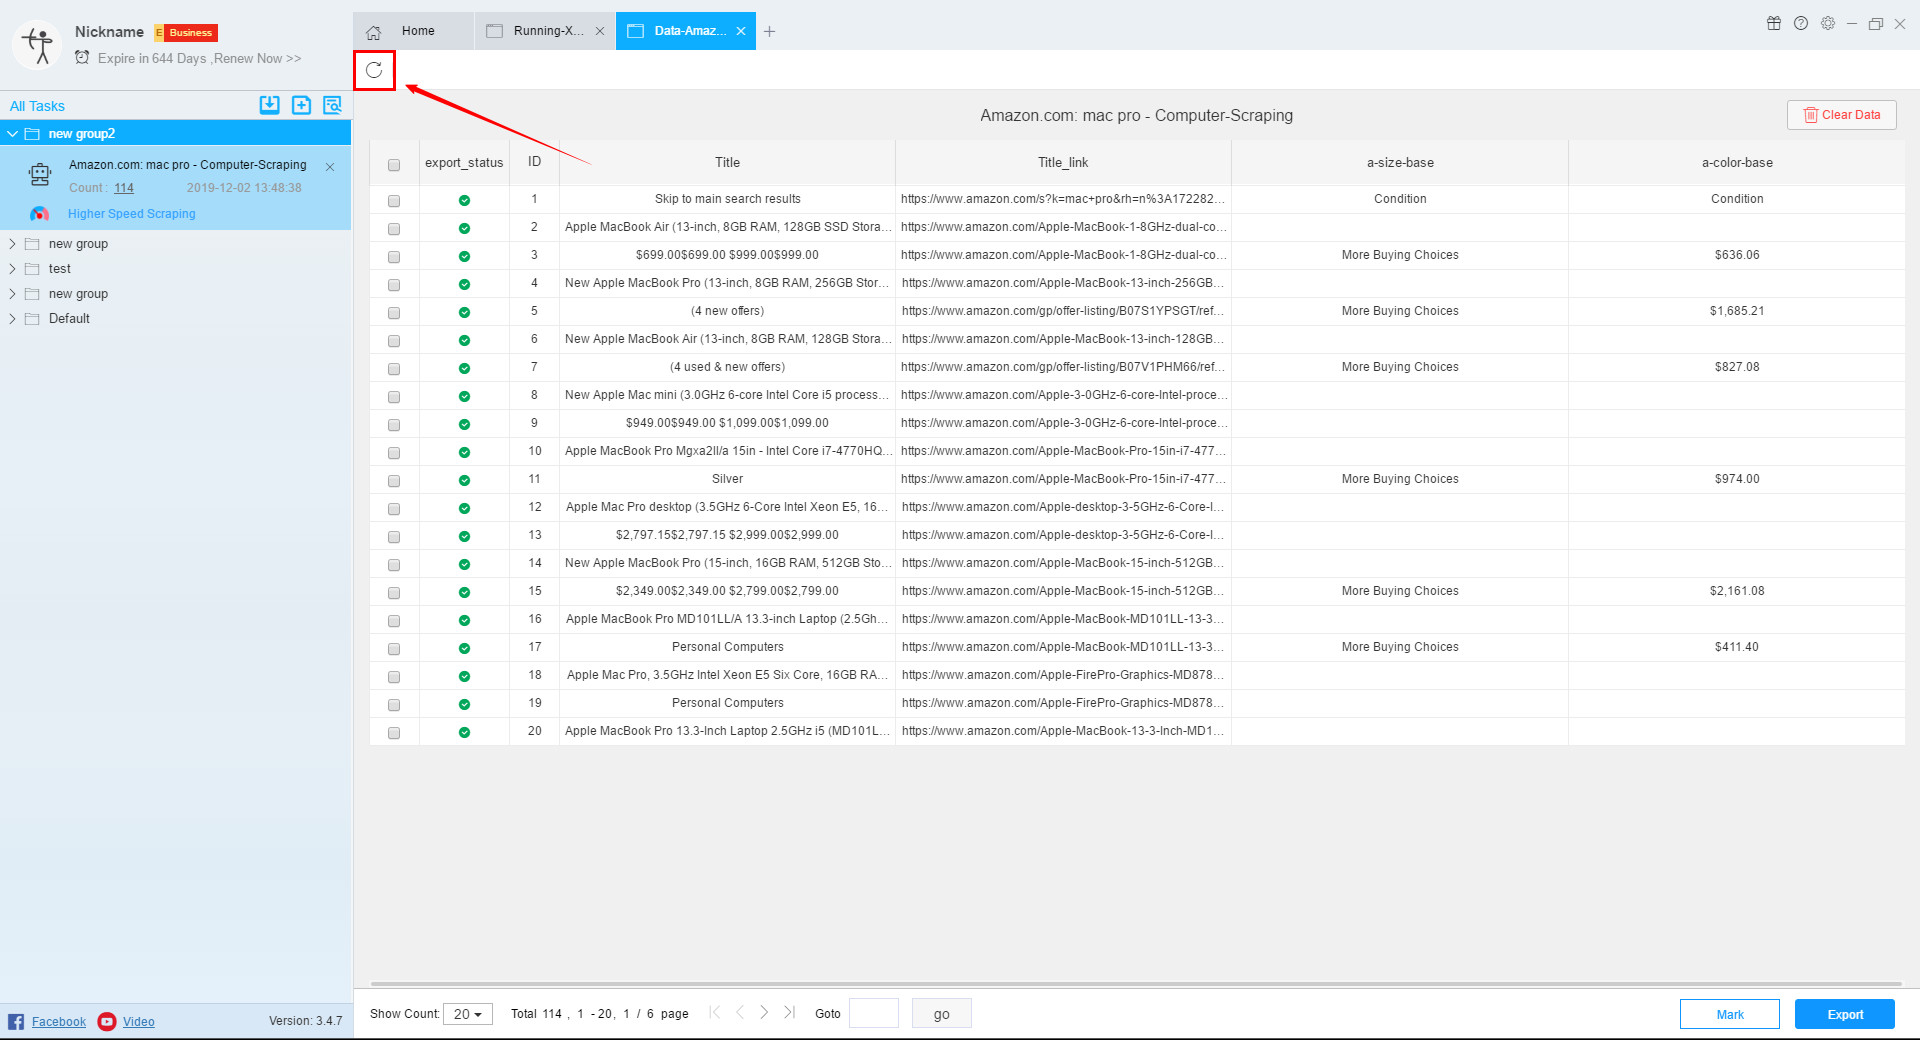
Click the Export button to open the export interface. On this interface we can export data to a file, database, website or cloud storage.
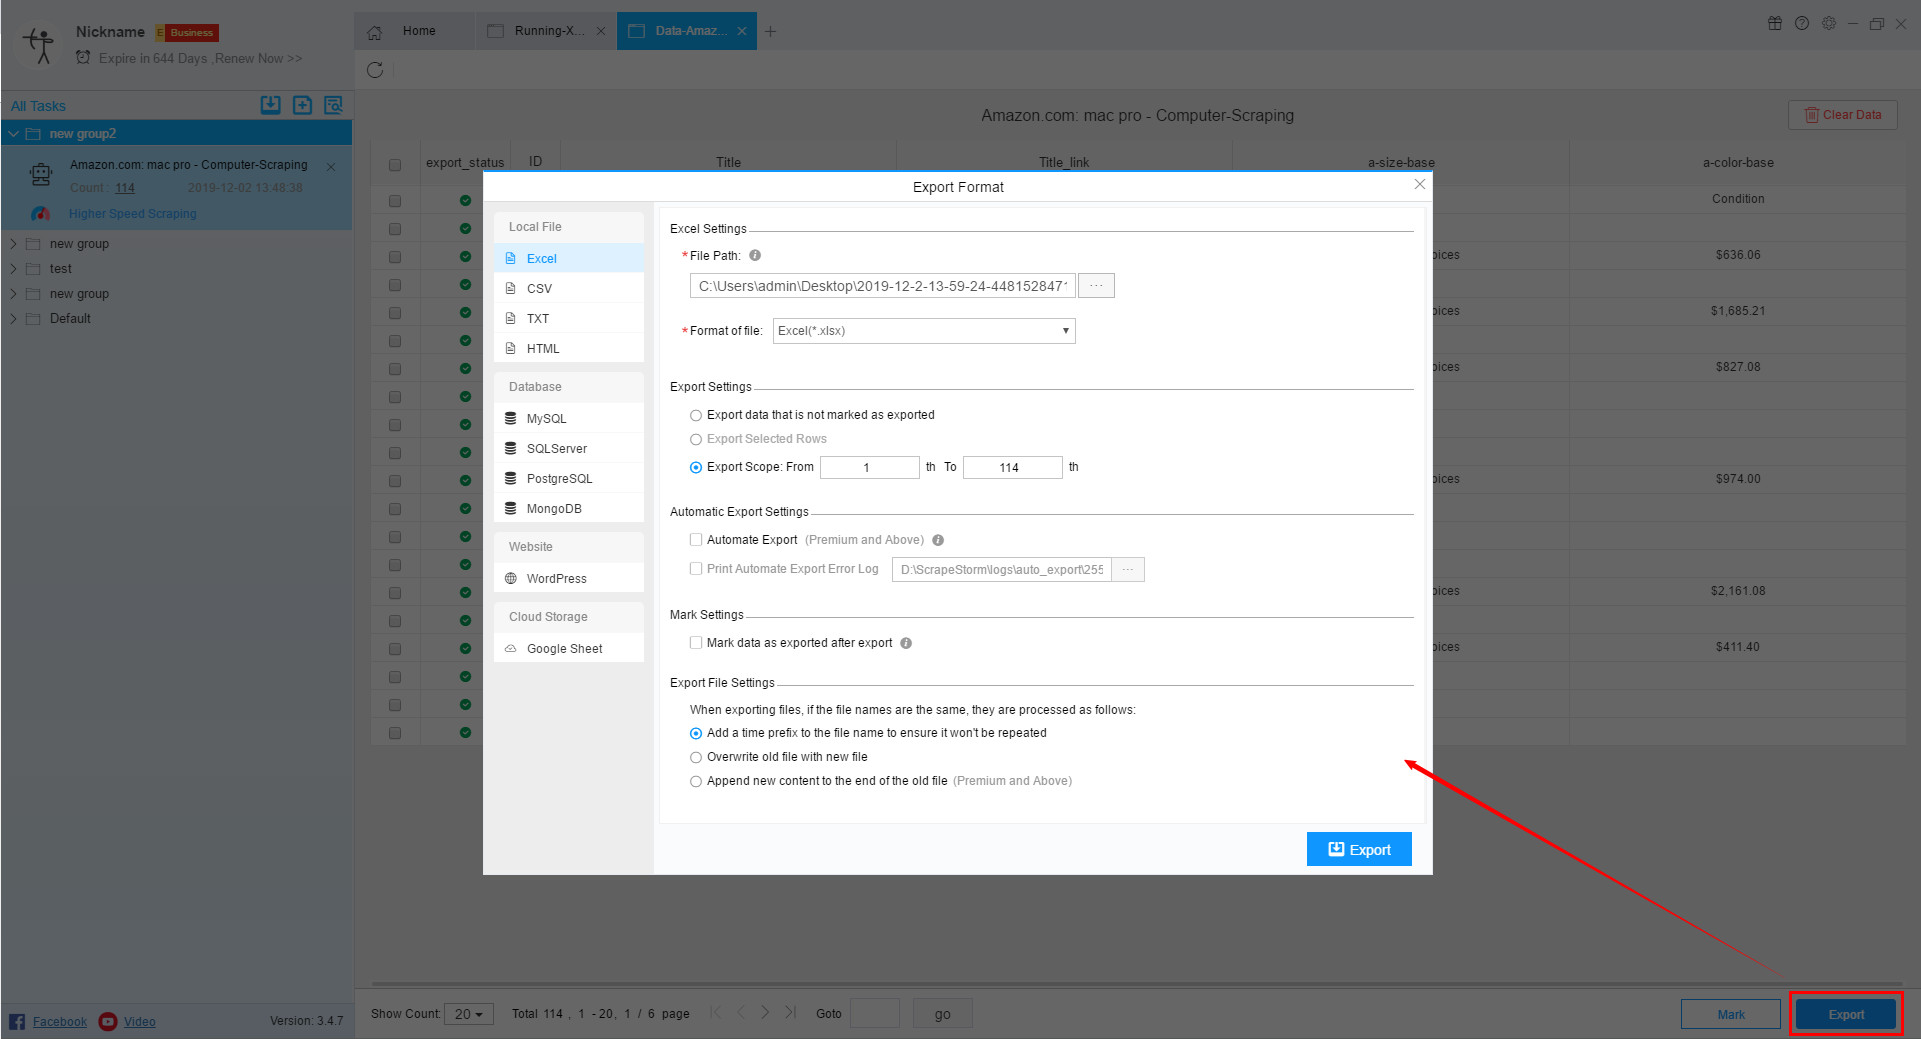
5. Export data to a file
ScrapeStorm supports exporting data to file formats including Excel, CSV, TXT and HTML.
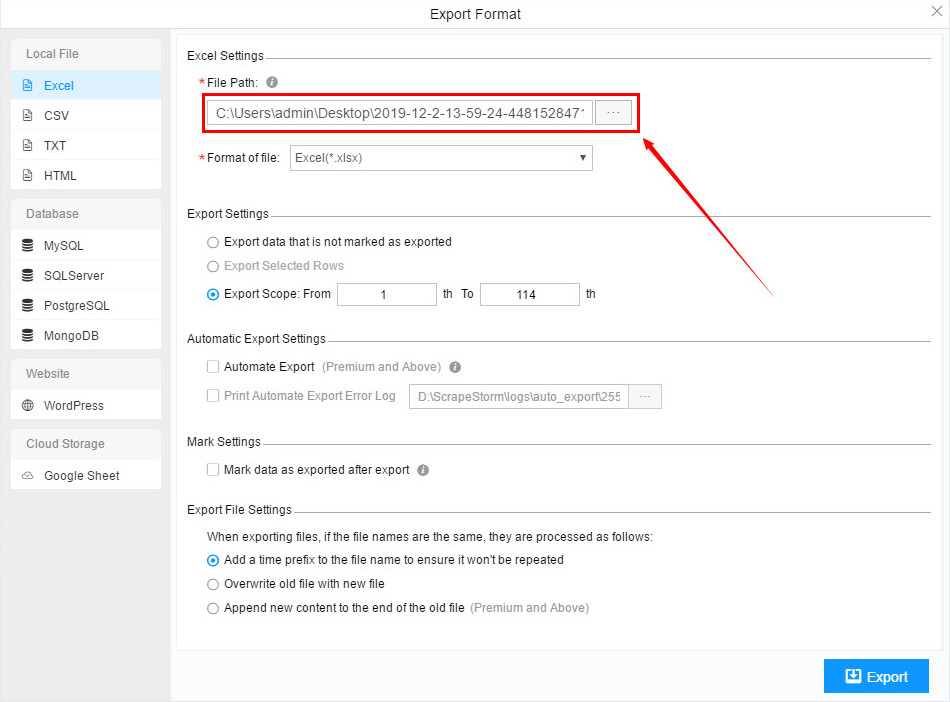
(1) File Path
We can choose the save path of the file and modify the saved file name.
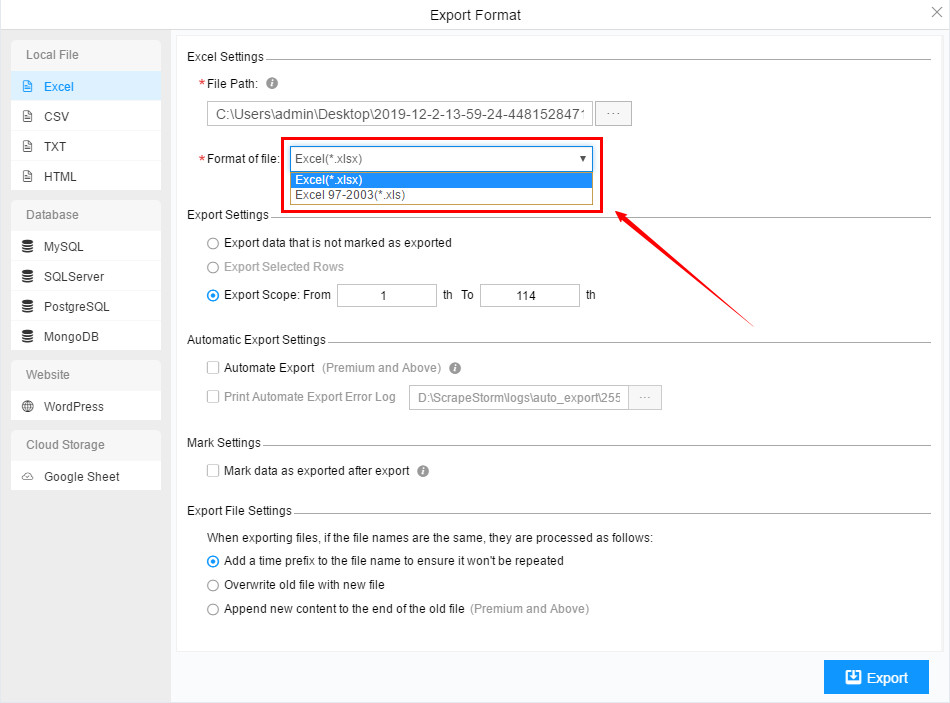
(2) Format of file
File format can choose excel or excel97-2003.
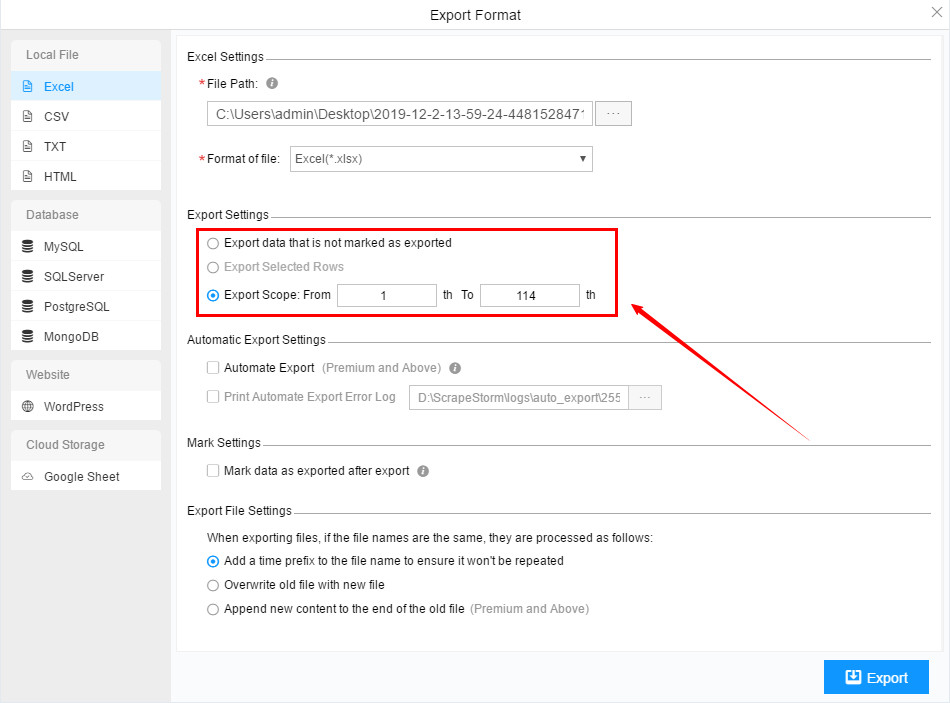
(3) Export Settings
Export settings can choose “Export all data that is not marked as exported”, “Export selected rows”, or set “Export scope”.
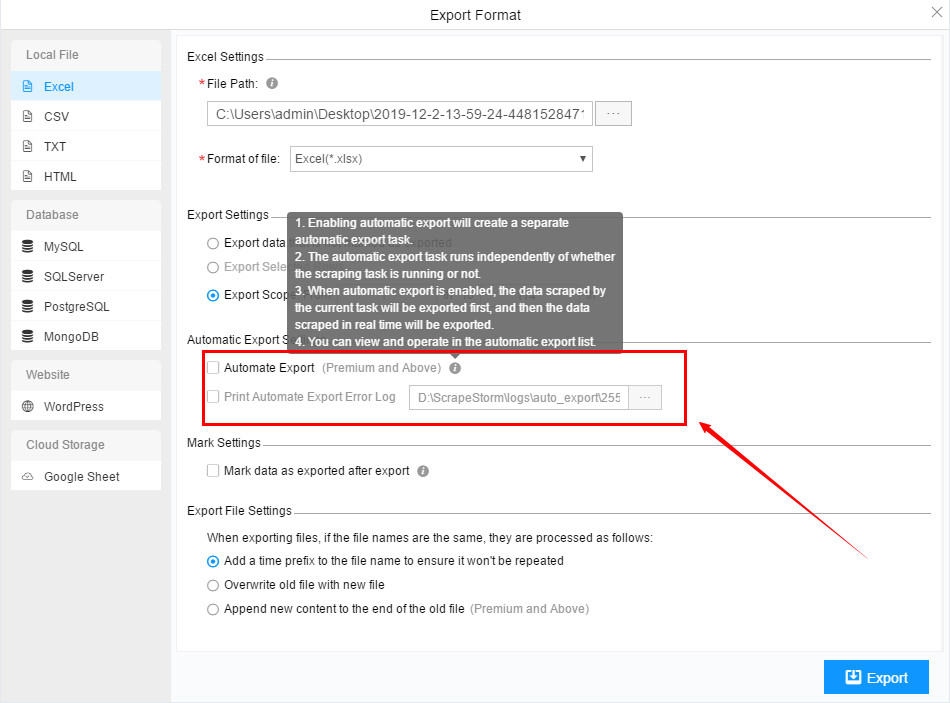
(4) Automatic Export Settings
If you need to set automatic export, it is recommended to use it during data scraping. If you encounter problems during the automatic export, you can select Print Automatic Export Error Log.
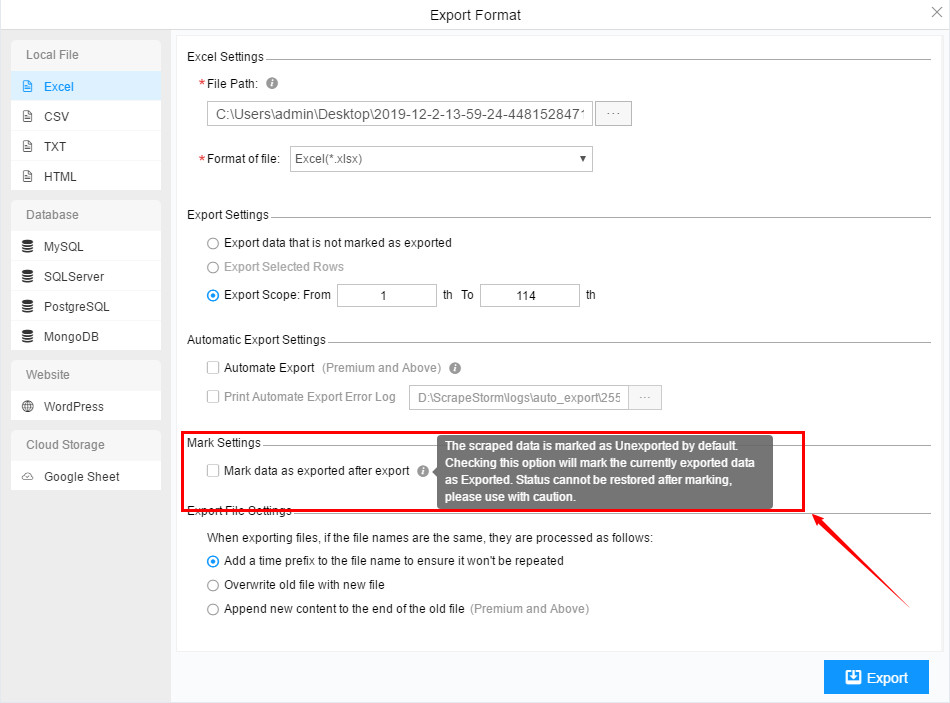
(5) Mark Settings
You can choose to mark the exported data as exported.
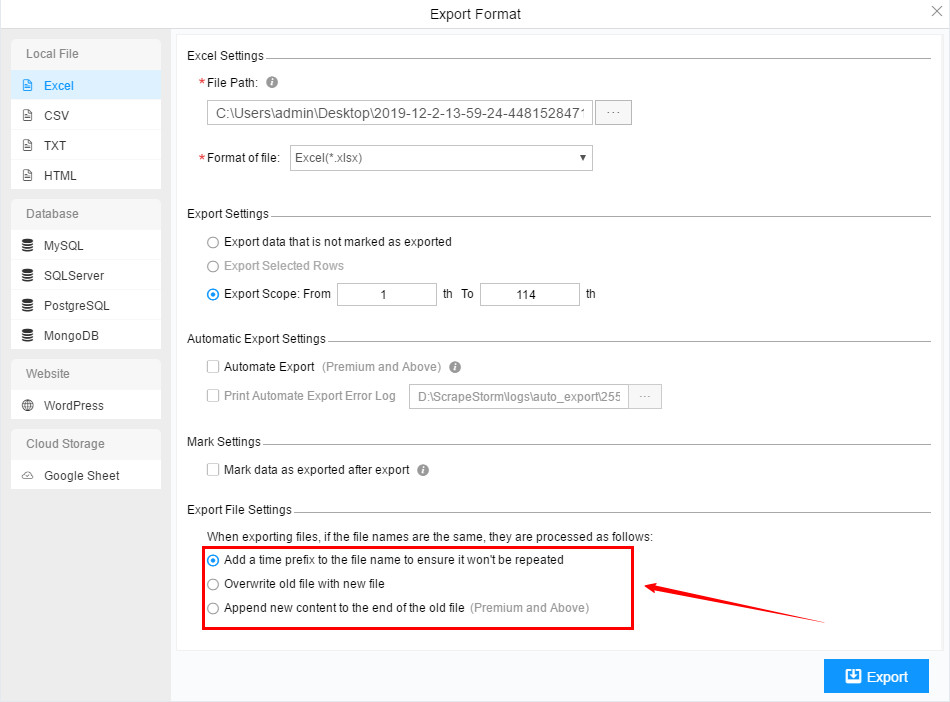
(6) Export File Settings
The settings of the exported file can be set according to your own needs, you can add a time prefix to the file name to ensure it won’t be repeated, you can also overwrite old file with new file, or append new content to the end of the old file.
6. Export to database and publish to website
For more details, please refer to the following tutorials: