【Smart Mode】Introduction to the task editing interface | Web Scraping Tool | ScrapeStorm
Abstract:This article will show you introduction to the task editing interface in Smart Mode. ScrapeStormFree Download
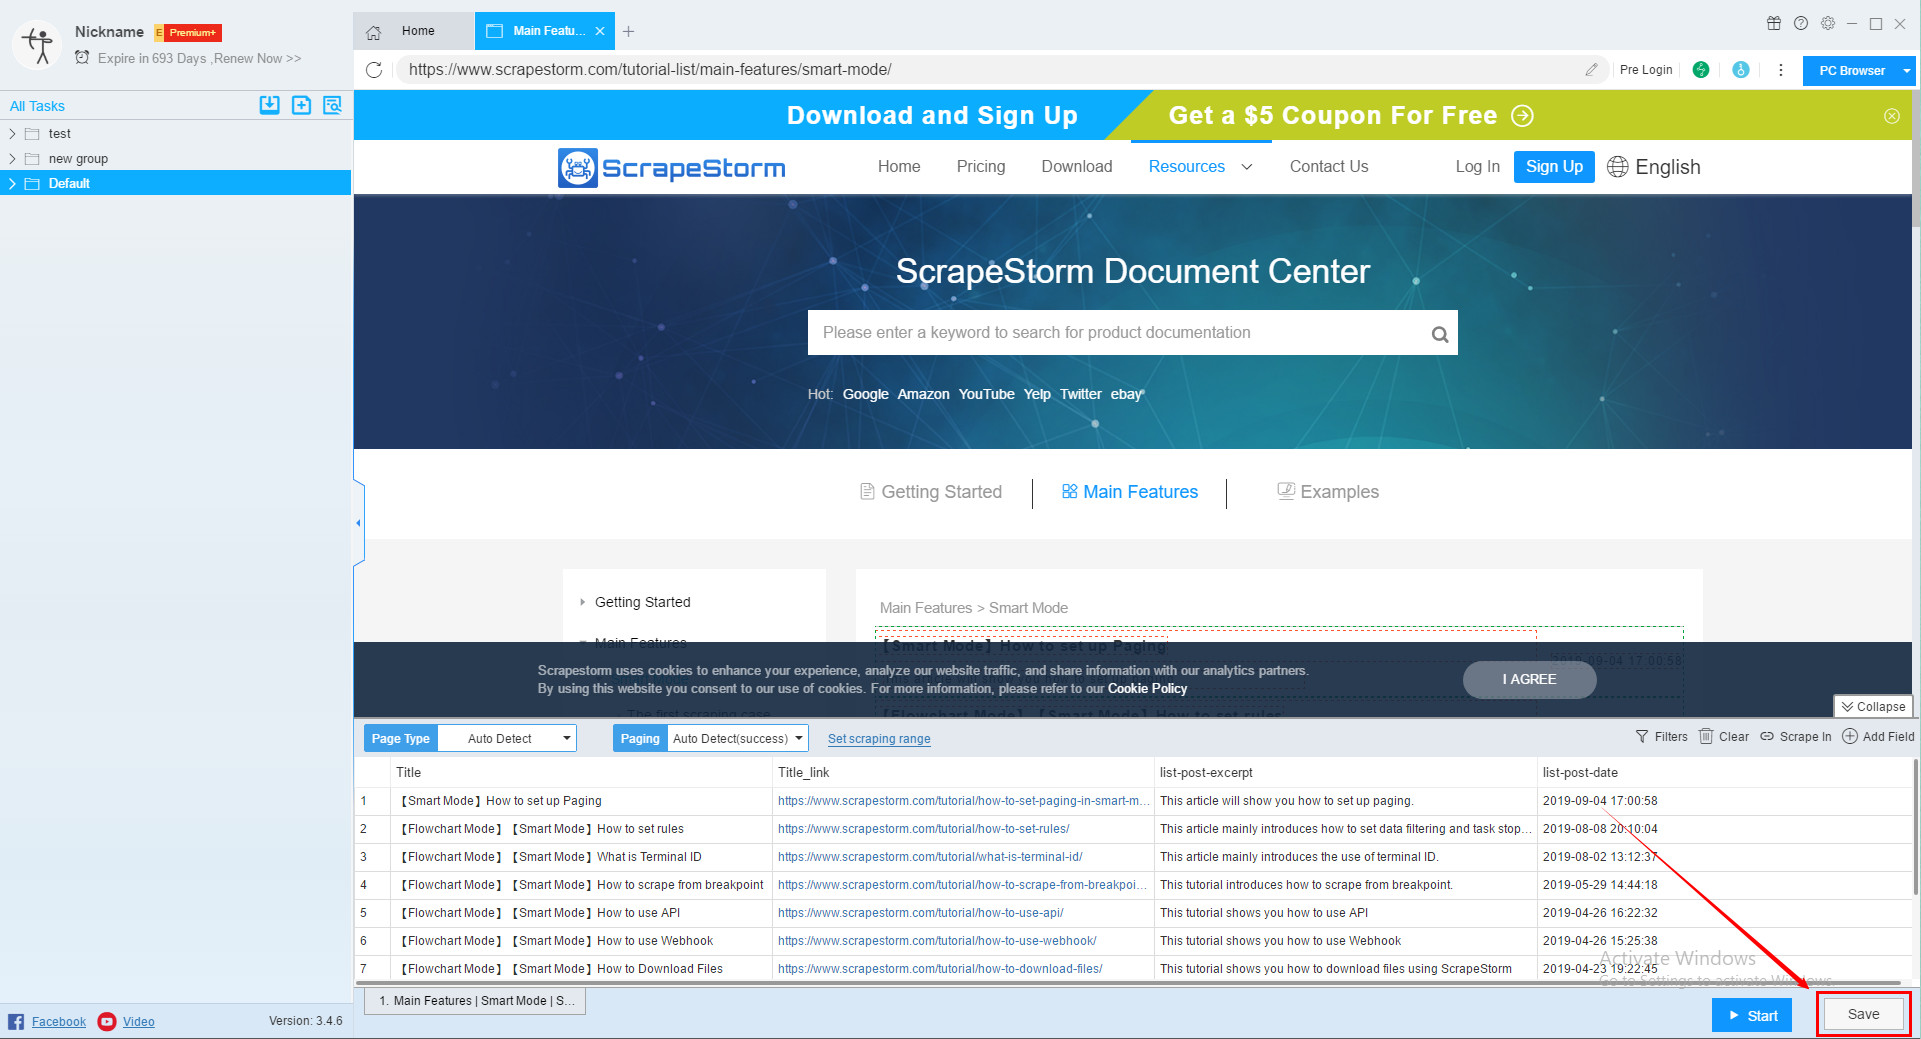
After the new smart mode task is created, the page will jump to the task editing interface. This tutorial will show you how to set the task in the smart mode task editing interface.
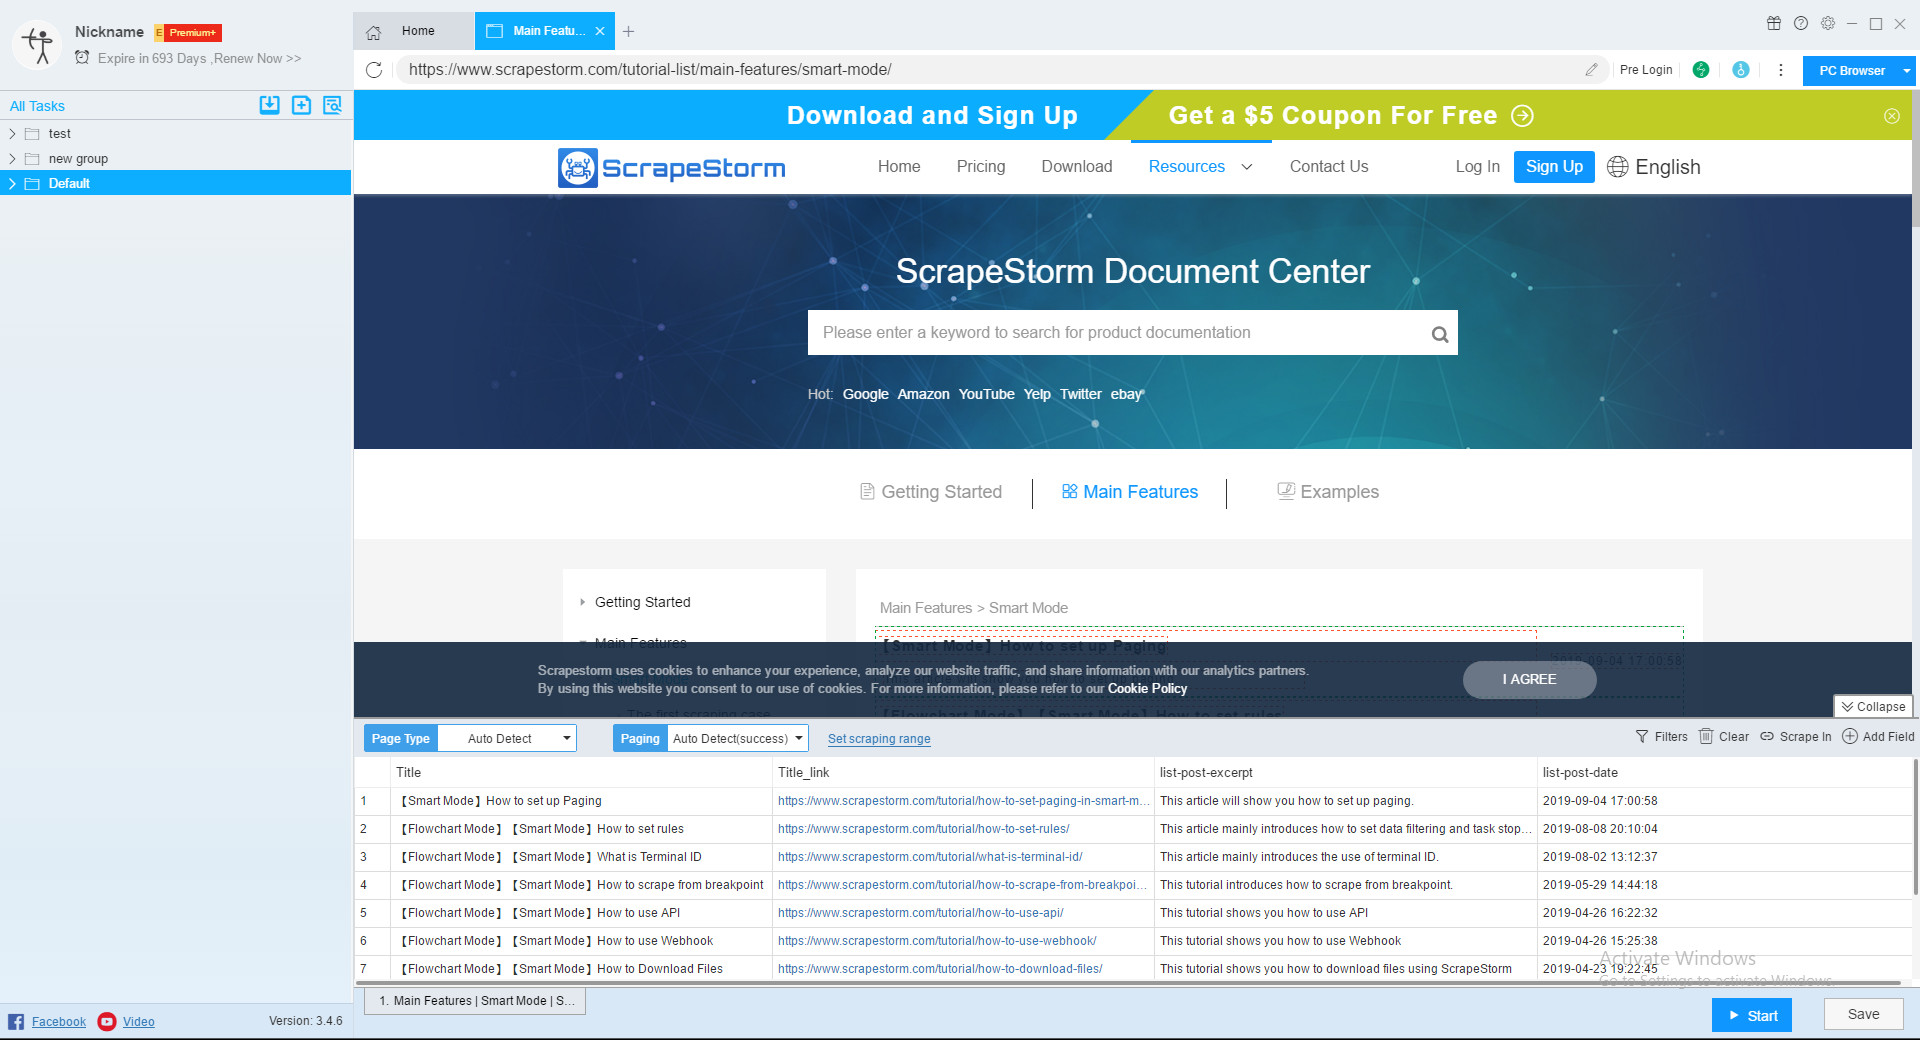
1. Refresh
Sometimes you may encounter the situation that the page can’t be loaded, and then you can refresh the page.
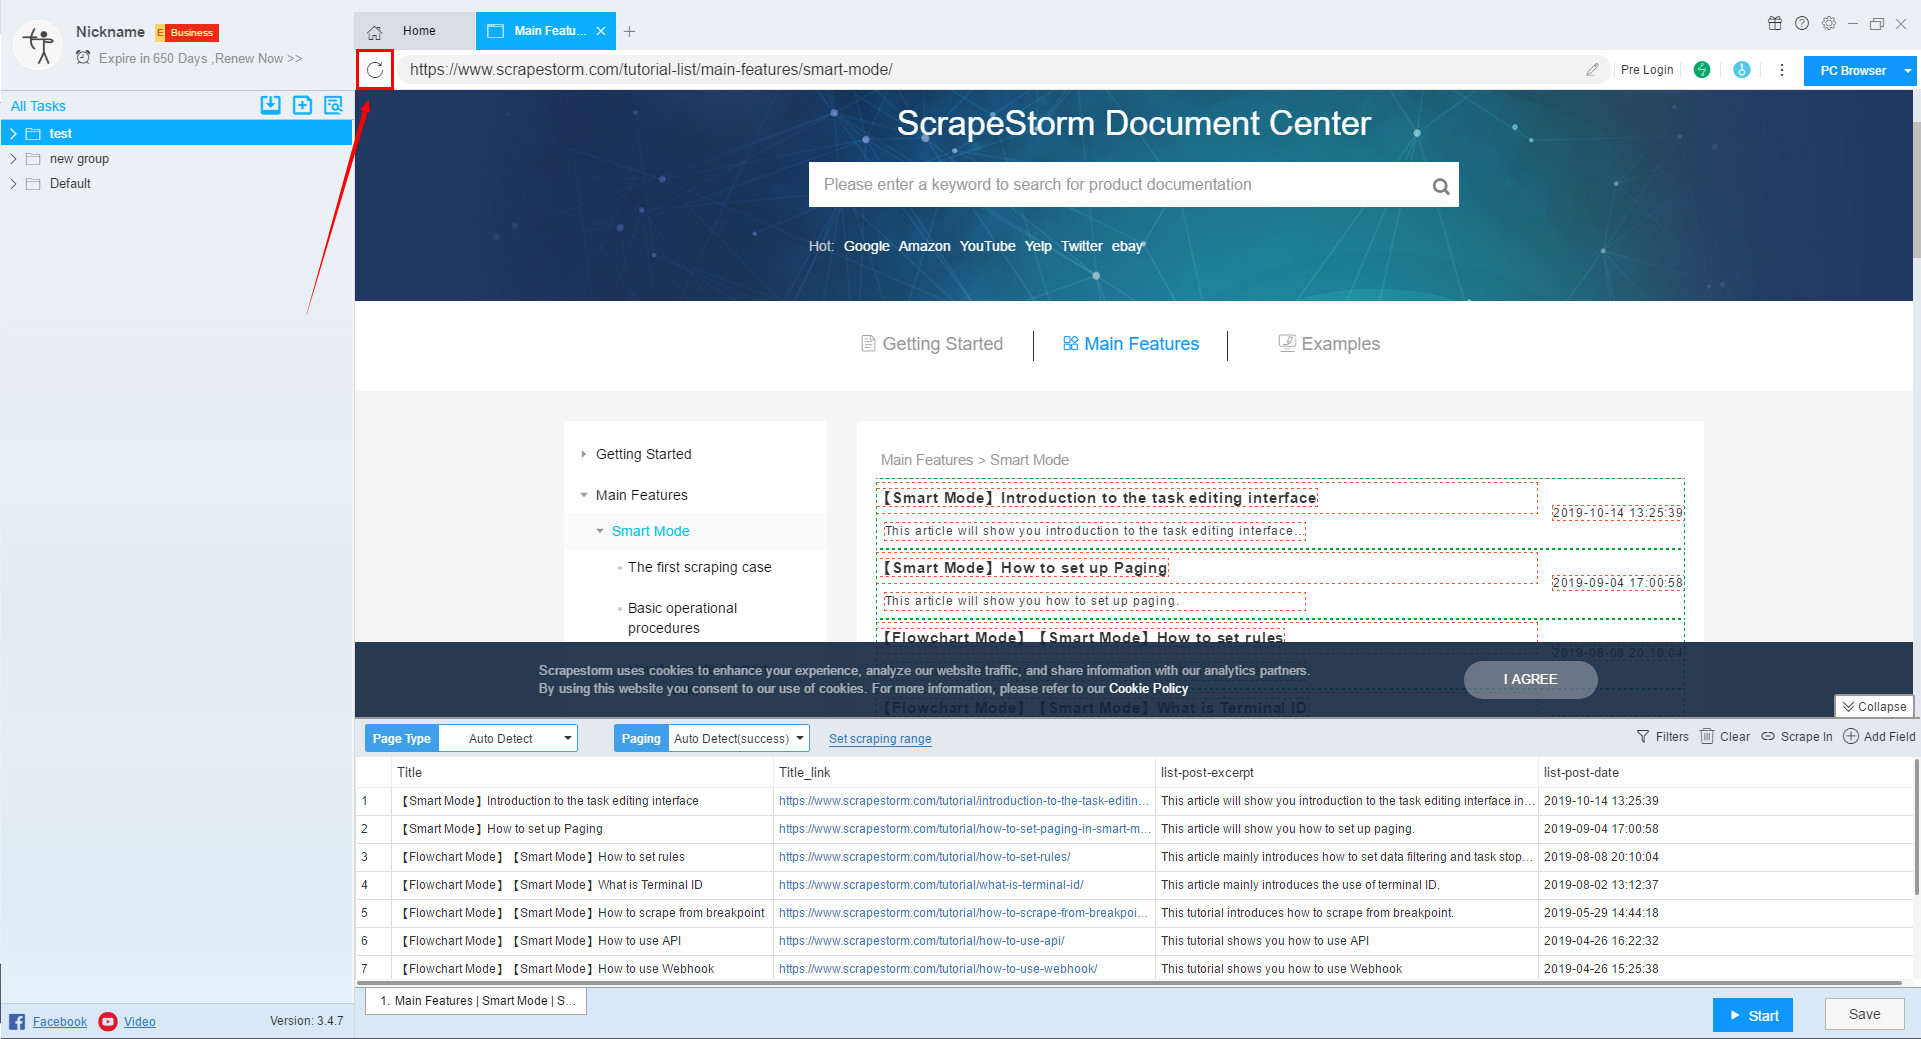
2. Edit URLs
Click here to edit the URL. If you have more than 200, please modify the local file directly.
Note: If you are importing a URL from a local file, the changes here will not affect the local file.
Click here to learn more about editing URLs.
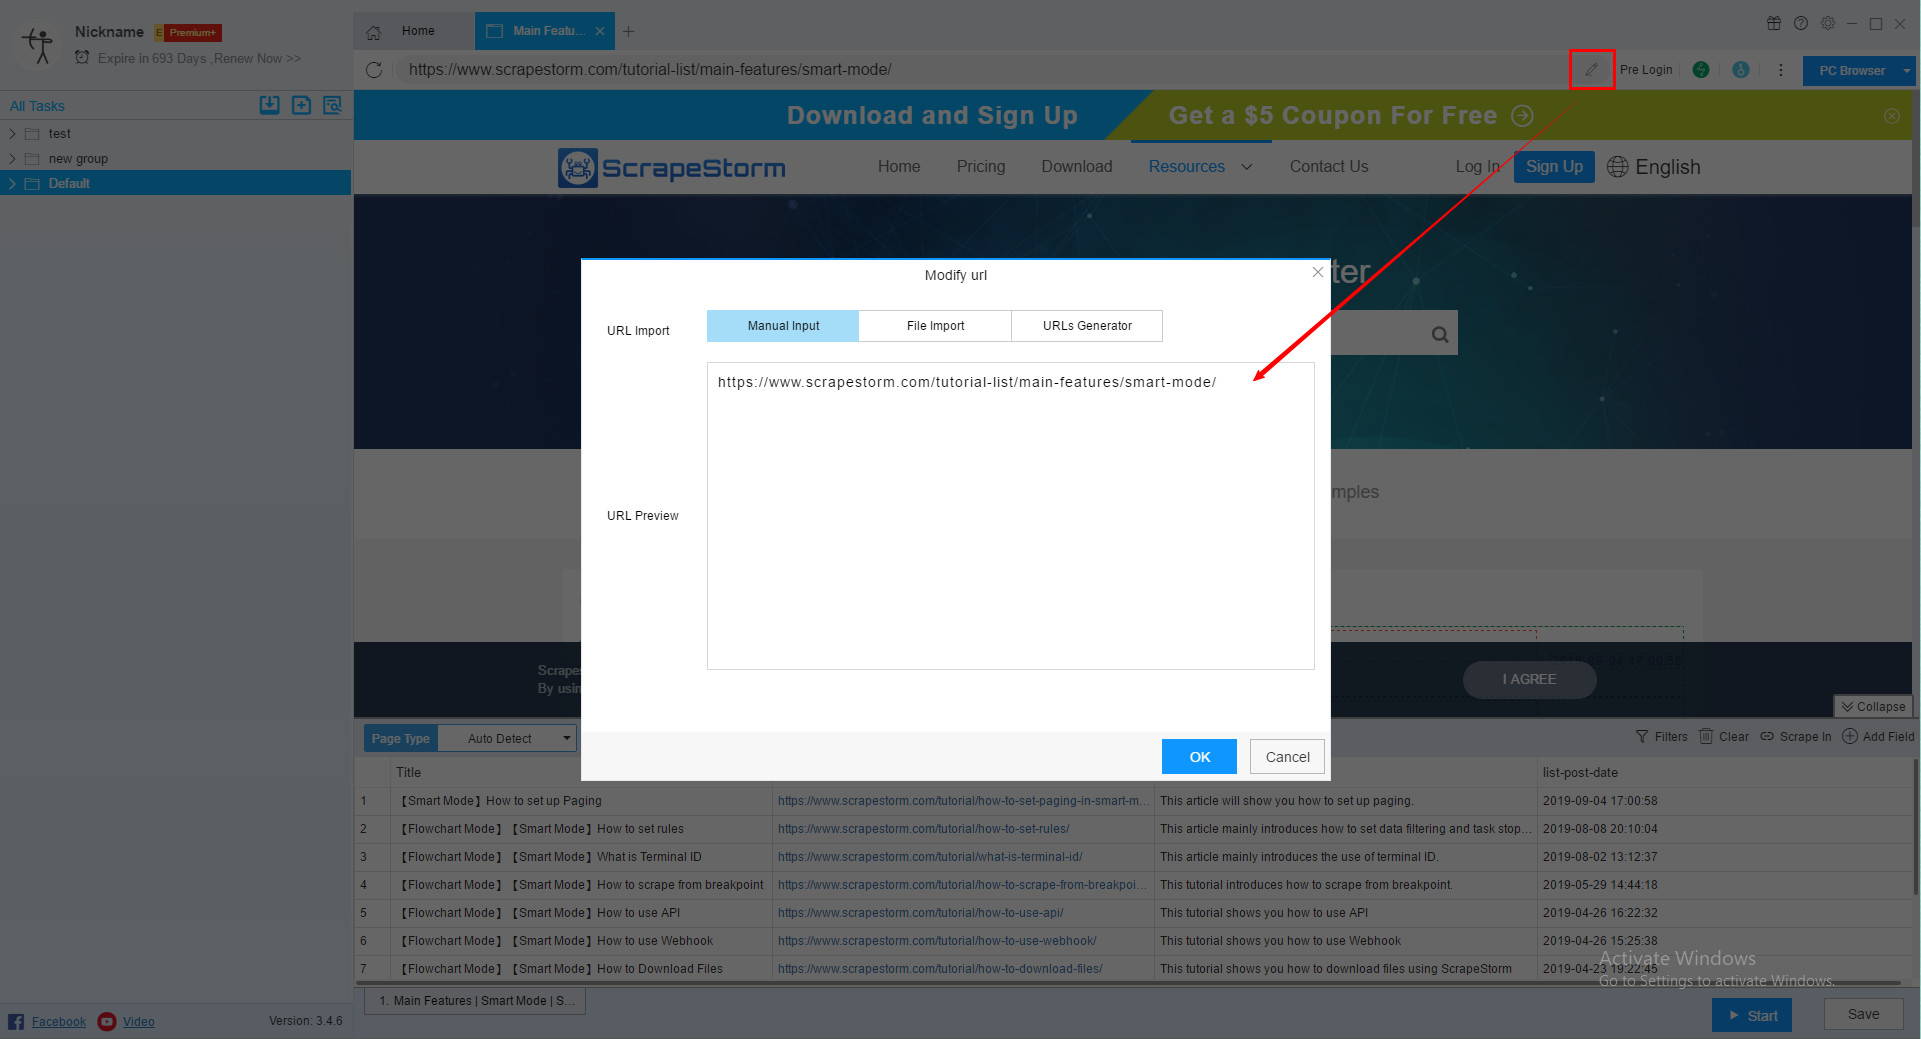
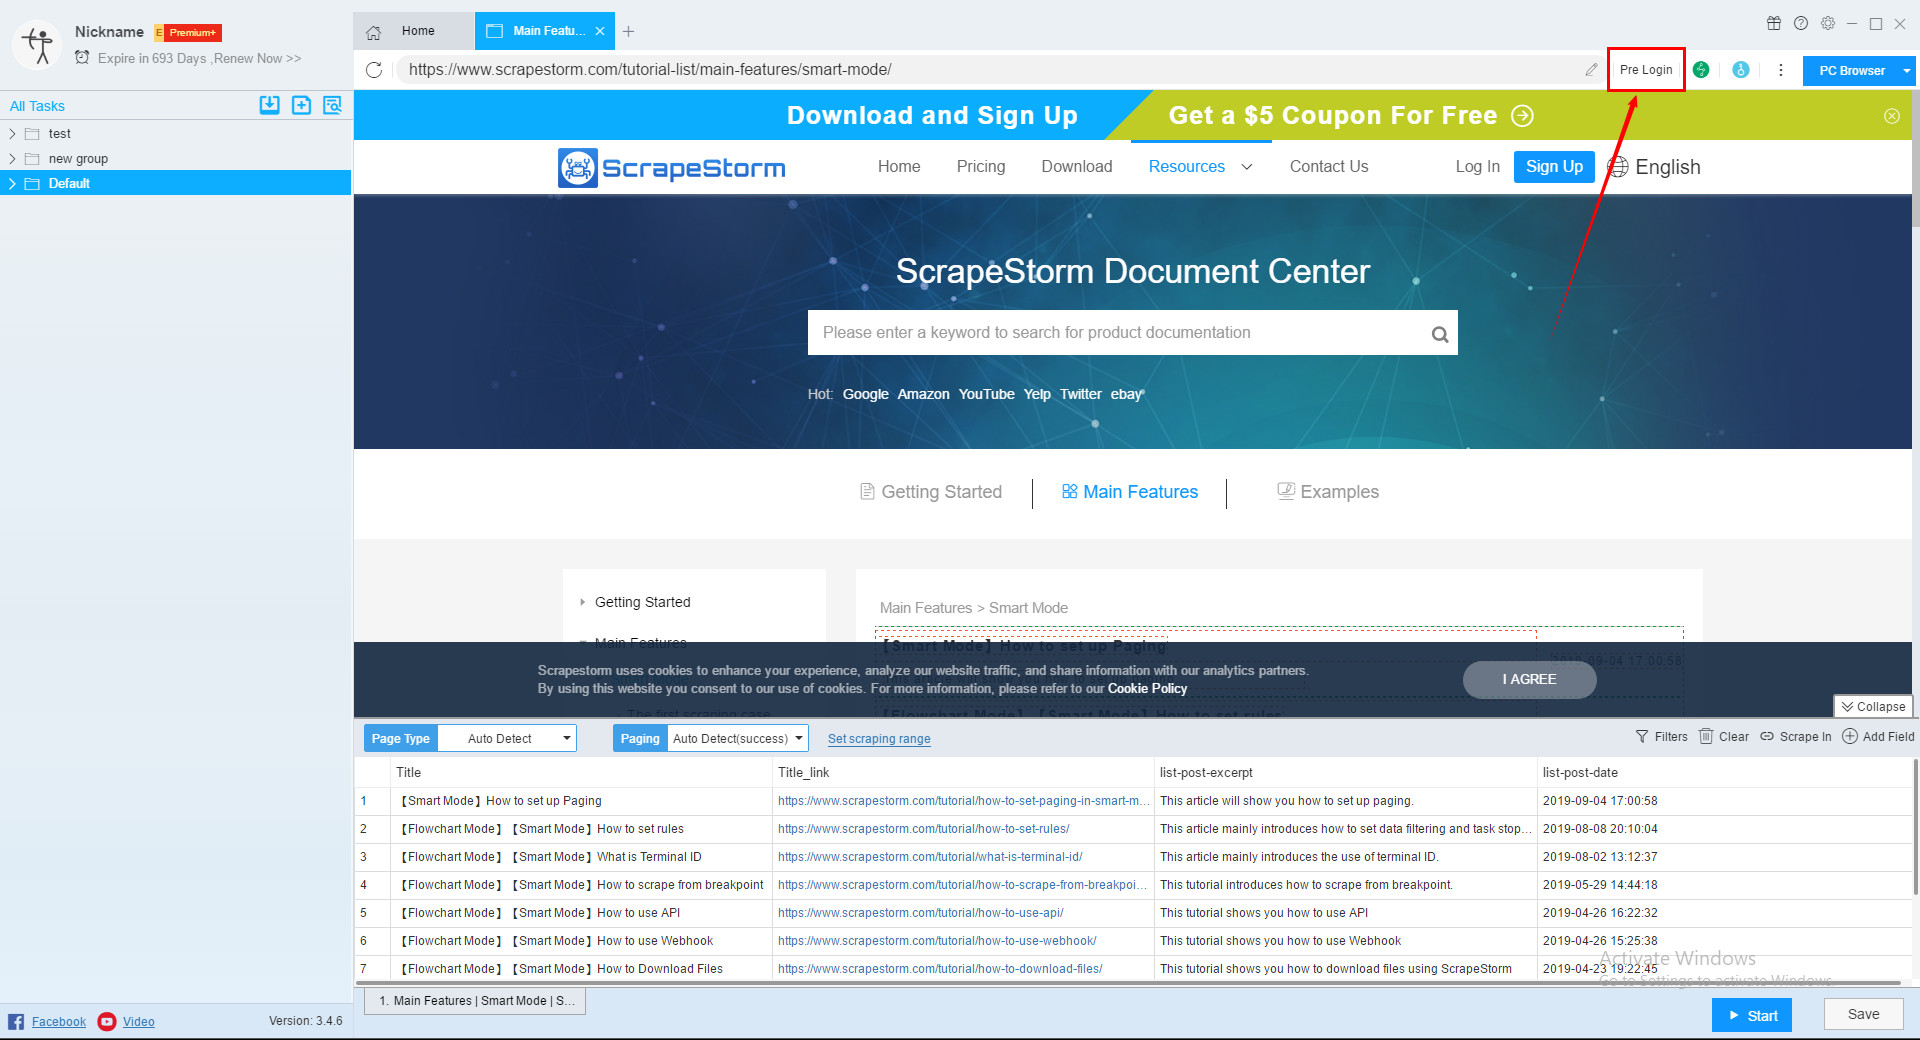
3. Pre Login
When you encounter a webpage that requires login, you can click this button to use the Pre Login function.
Click here to learn more about Pre Login.
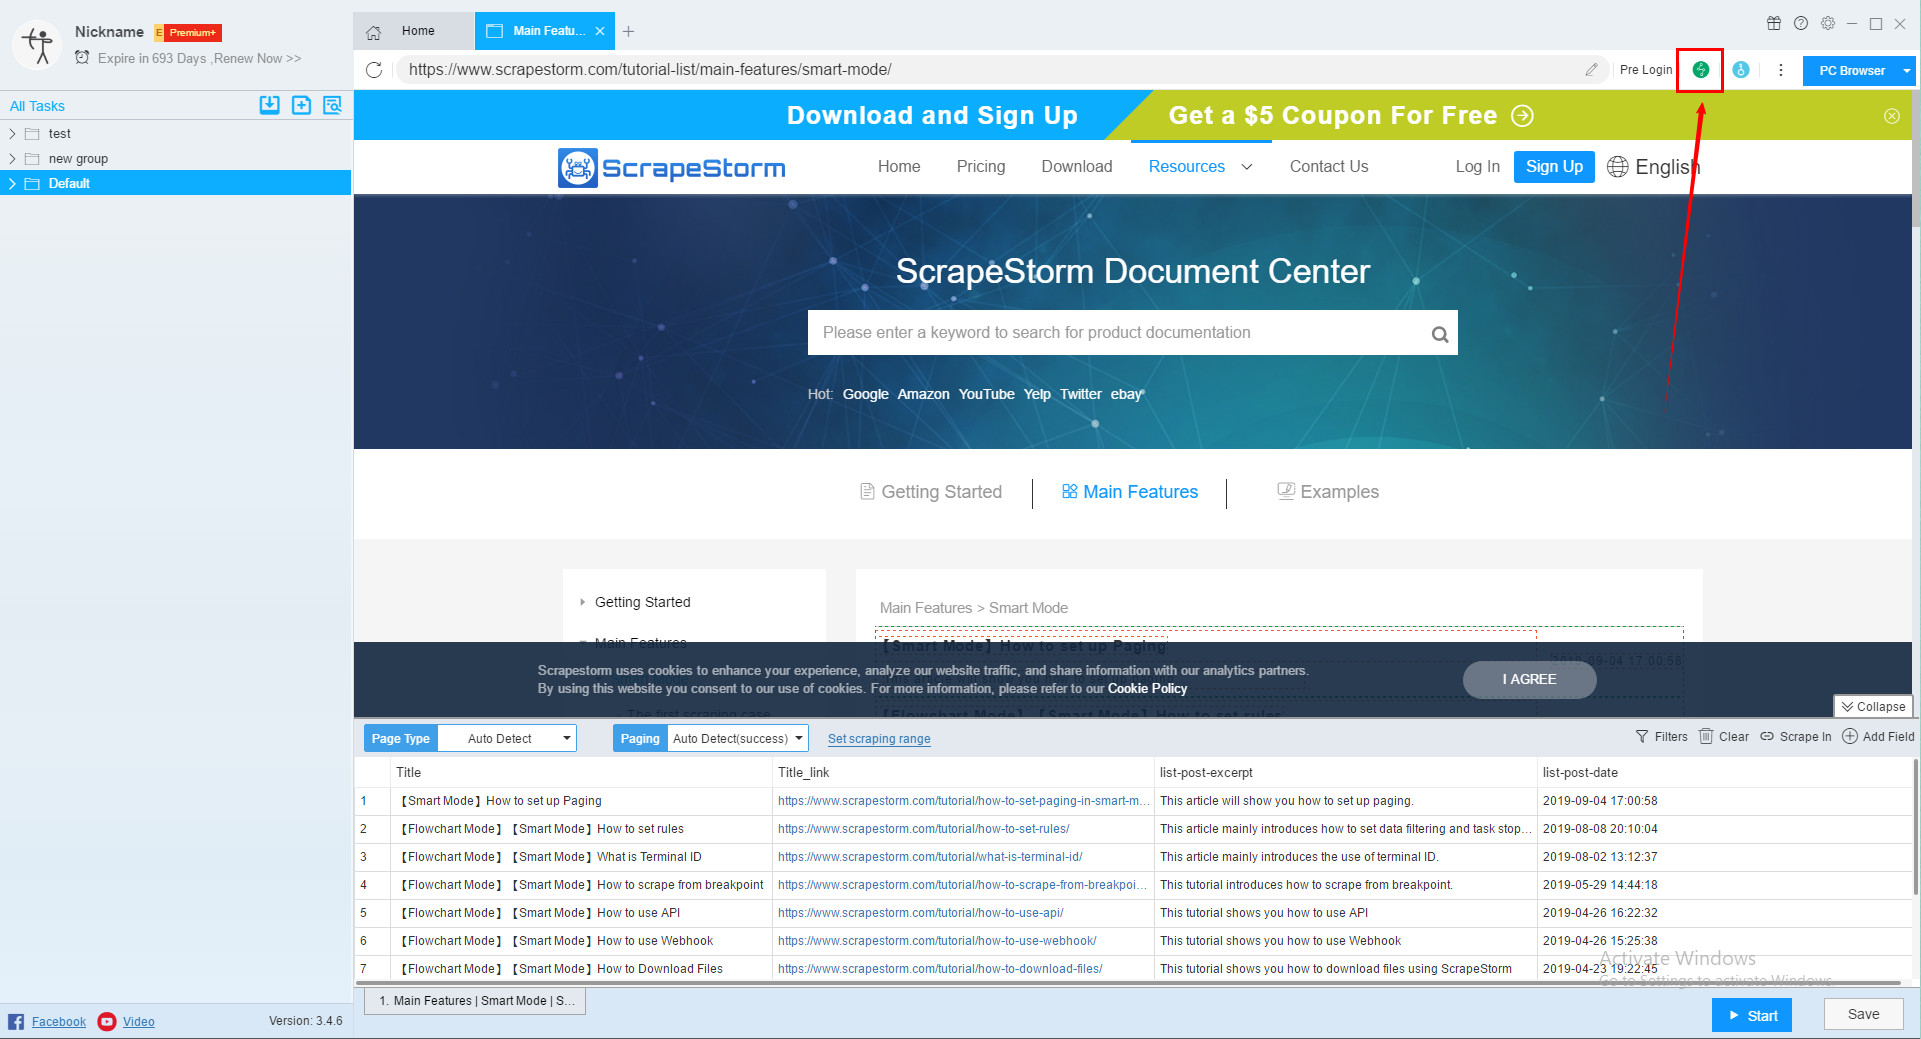
4. Pre-executed Operation
When you encounter a web page that requires pre-execution, you can click this button to use the pre-execution function.
The operation method in the pre-execution operation is similar to the setting of the flowchart, and the user can refer to the content of the flowchart.
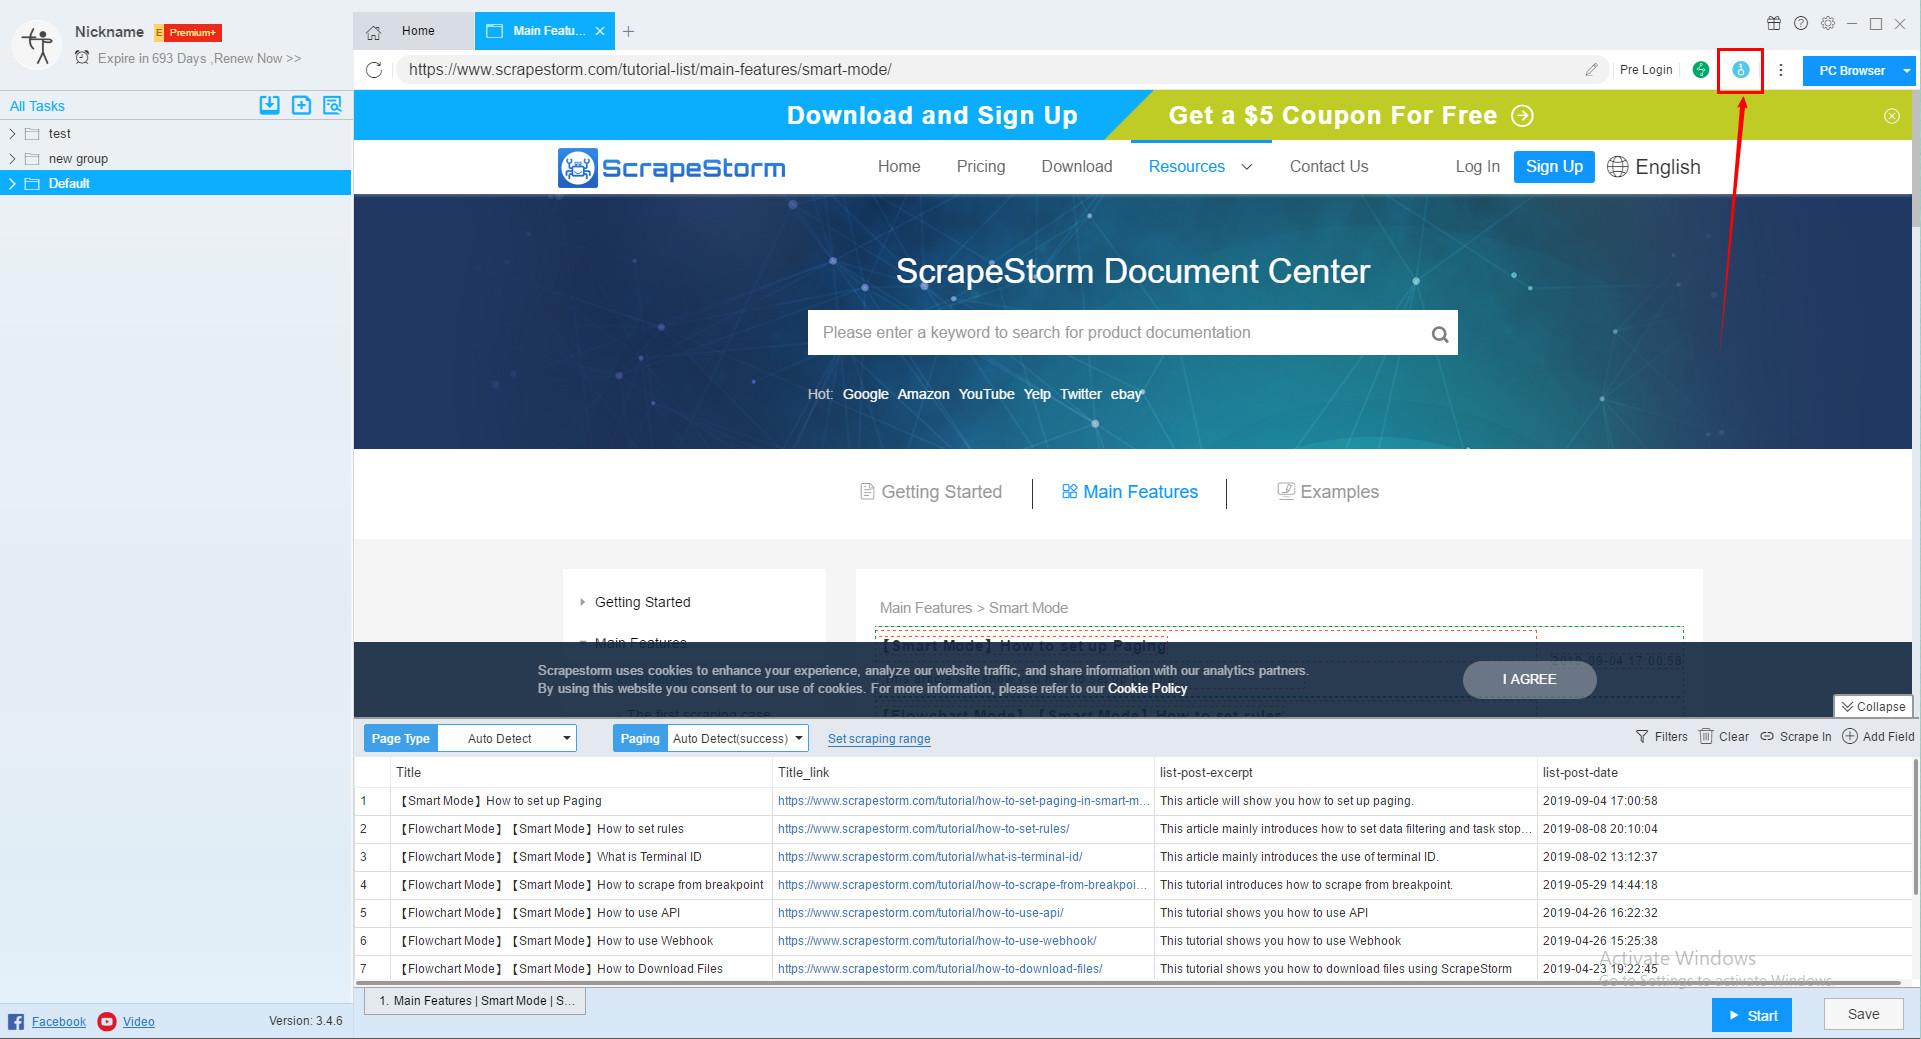
5. Solve Captcha
When you encounter captcha while editing a task, you can click this button to use the Solve Captcha function.
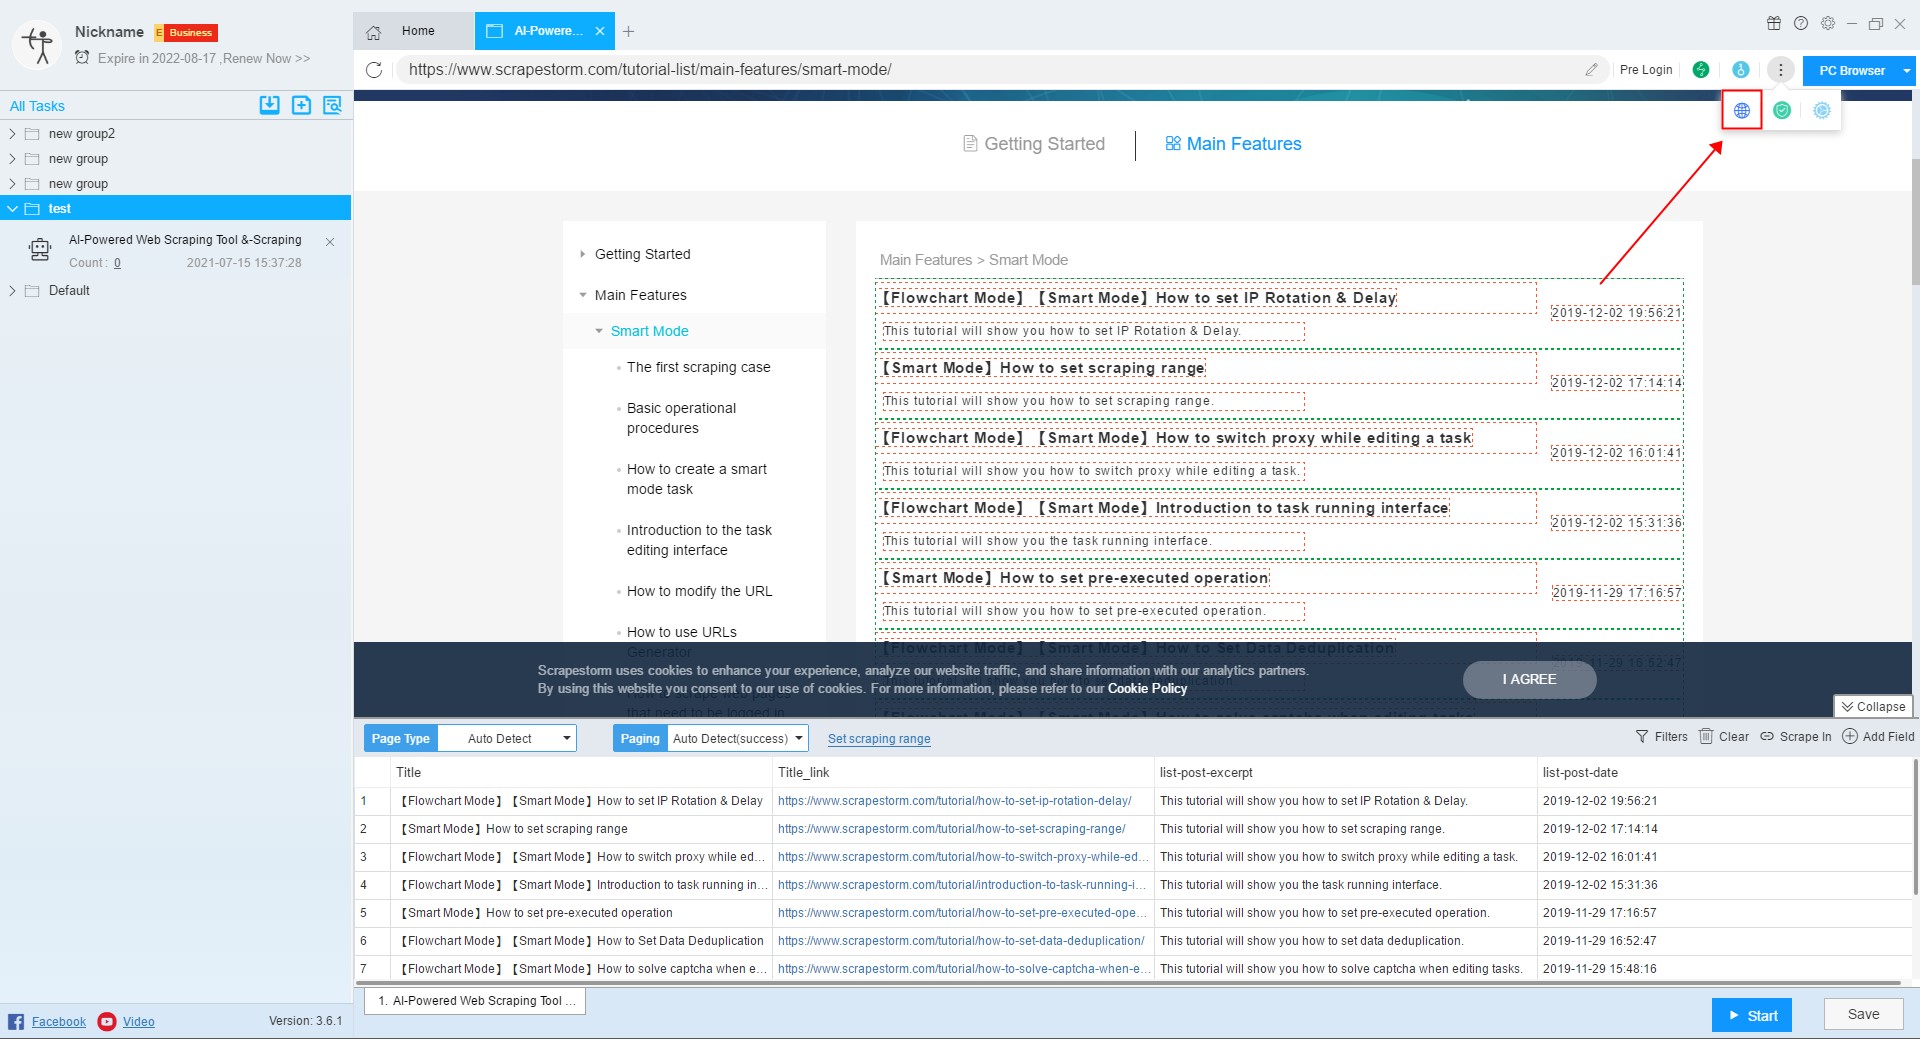
6. Open Proxy
When you encounter captcha or other anti-climbing on the home page, you can use the switch proxy function in addition to the solve captcha function.
Click here to learn more about Open Proxy.
7. Web Security Option
You can try this feature when you encounter a web page exception, but be aware that opening this option may cause some content on the page to not be scraped (such as content in an iframe).
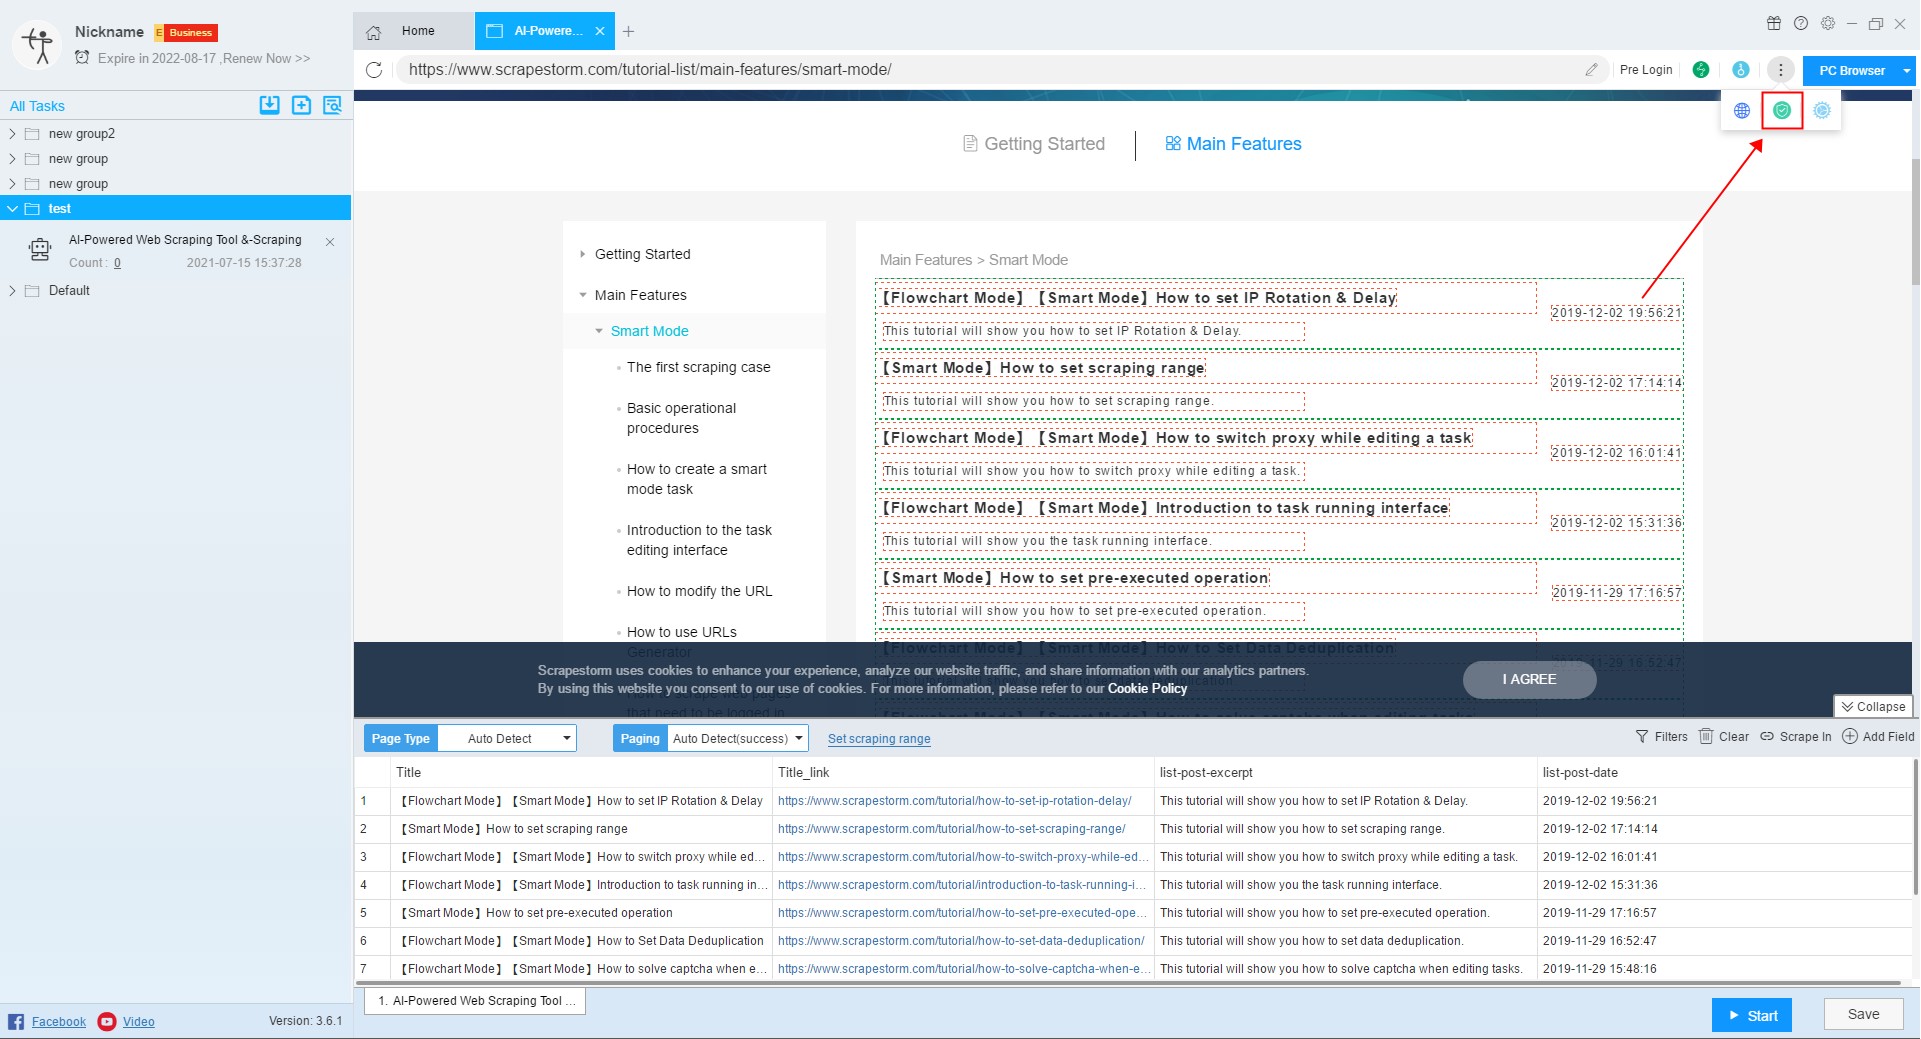
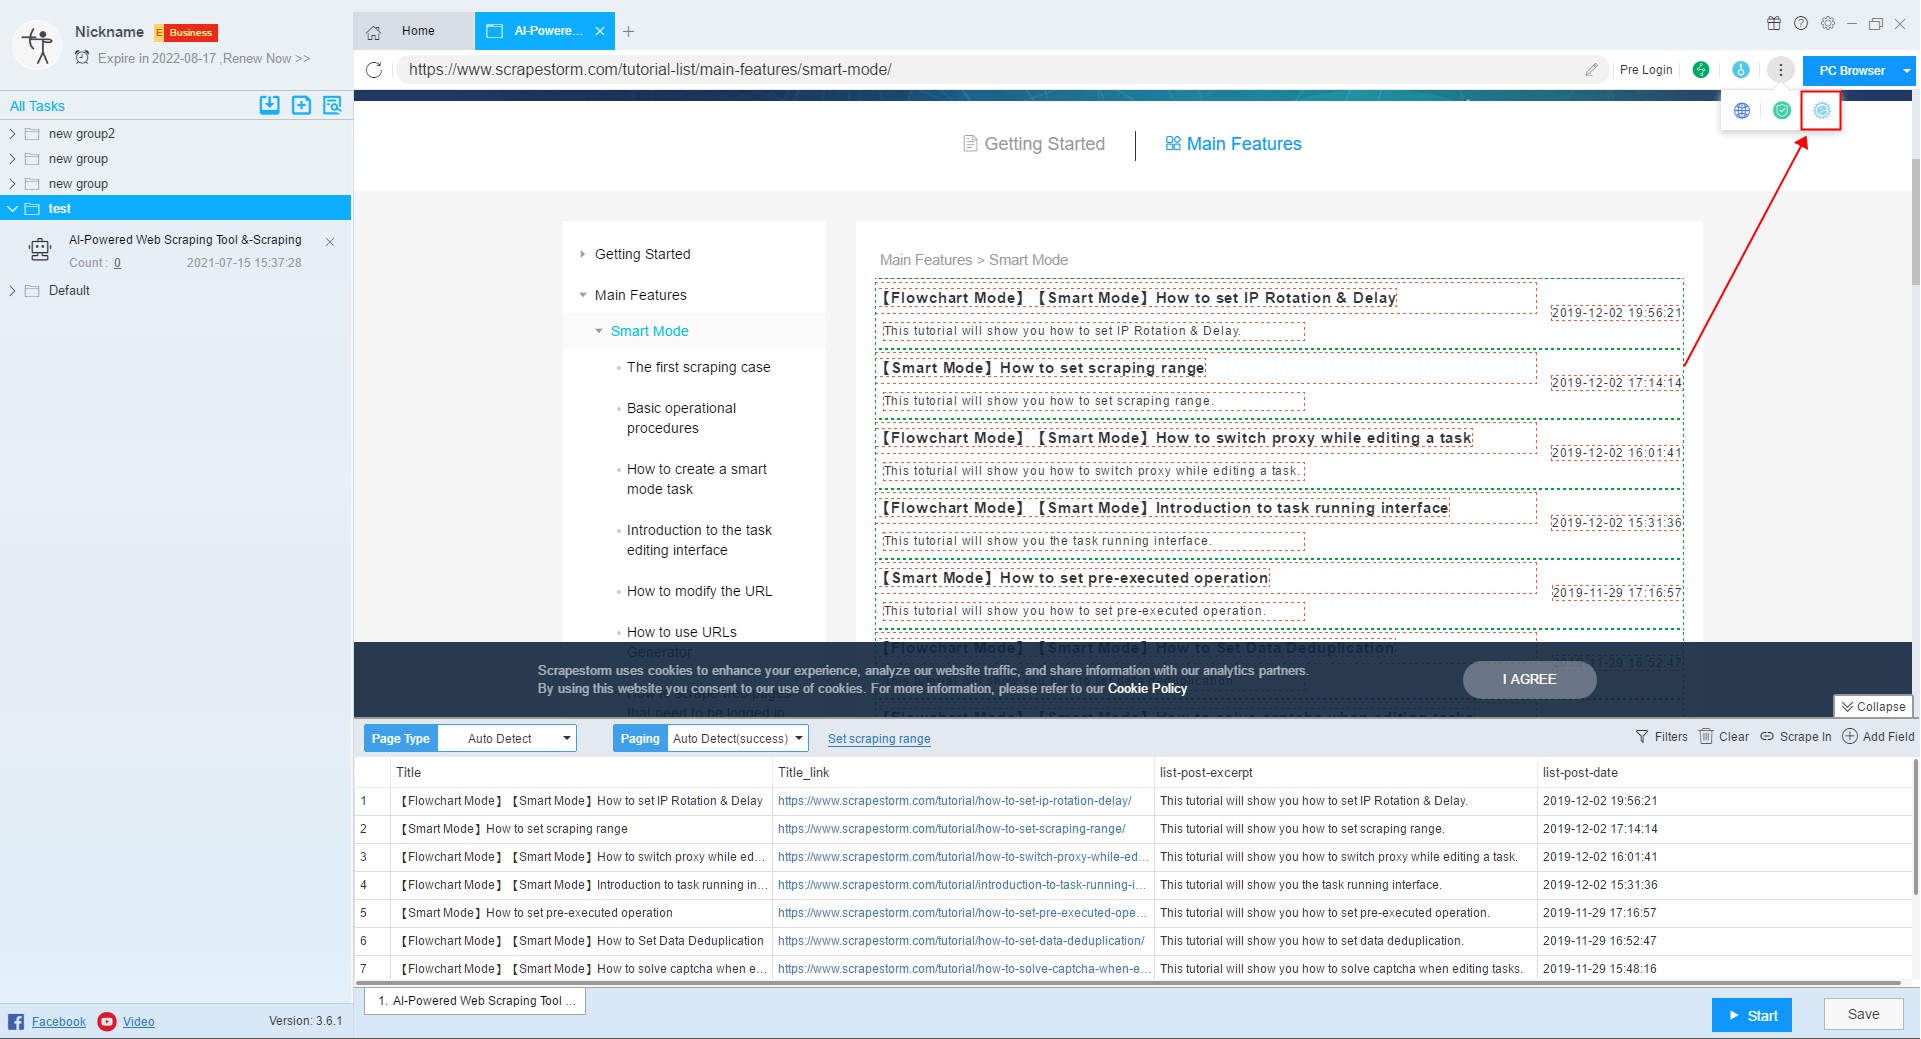
8. Advanced Settings
You can monitor pushStates and block URLs in the advanced settings.
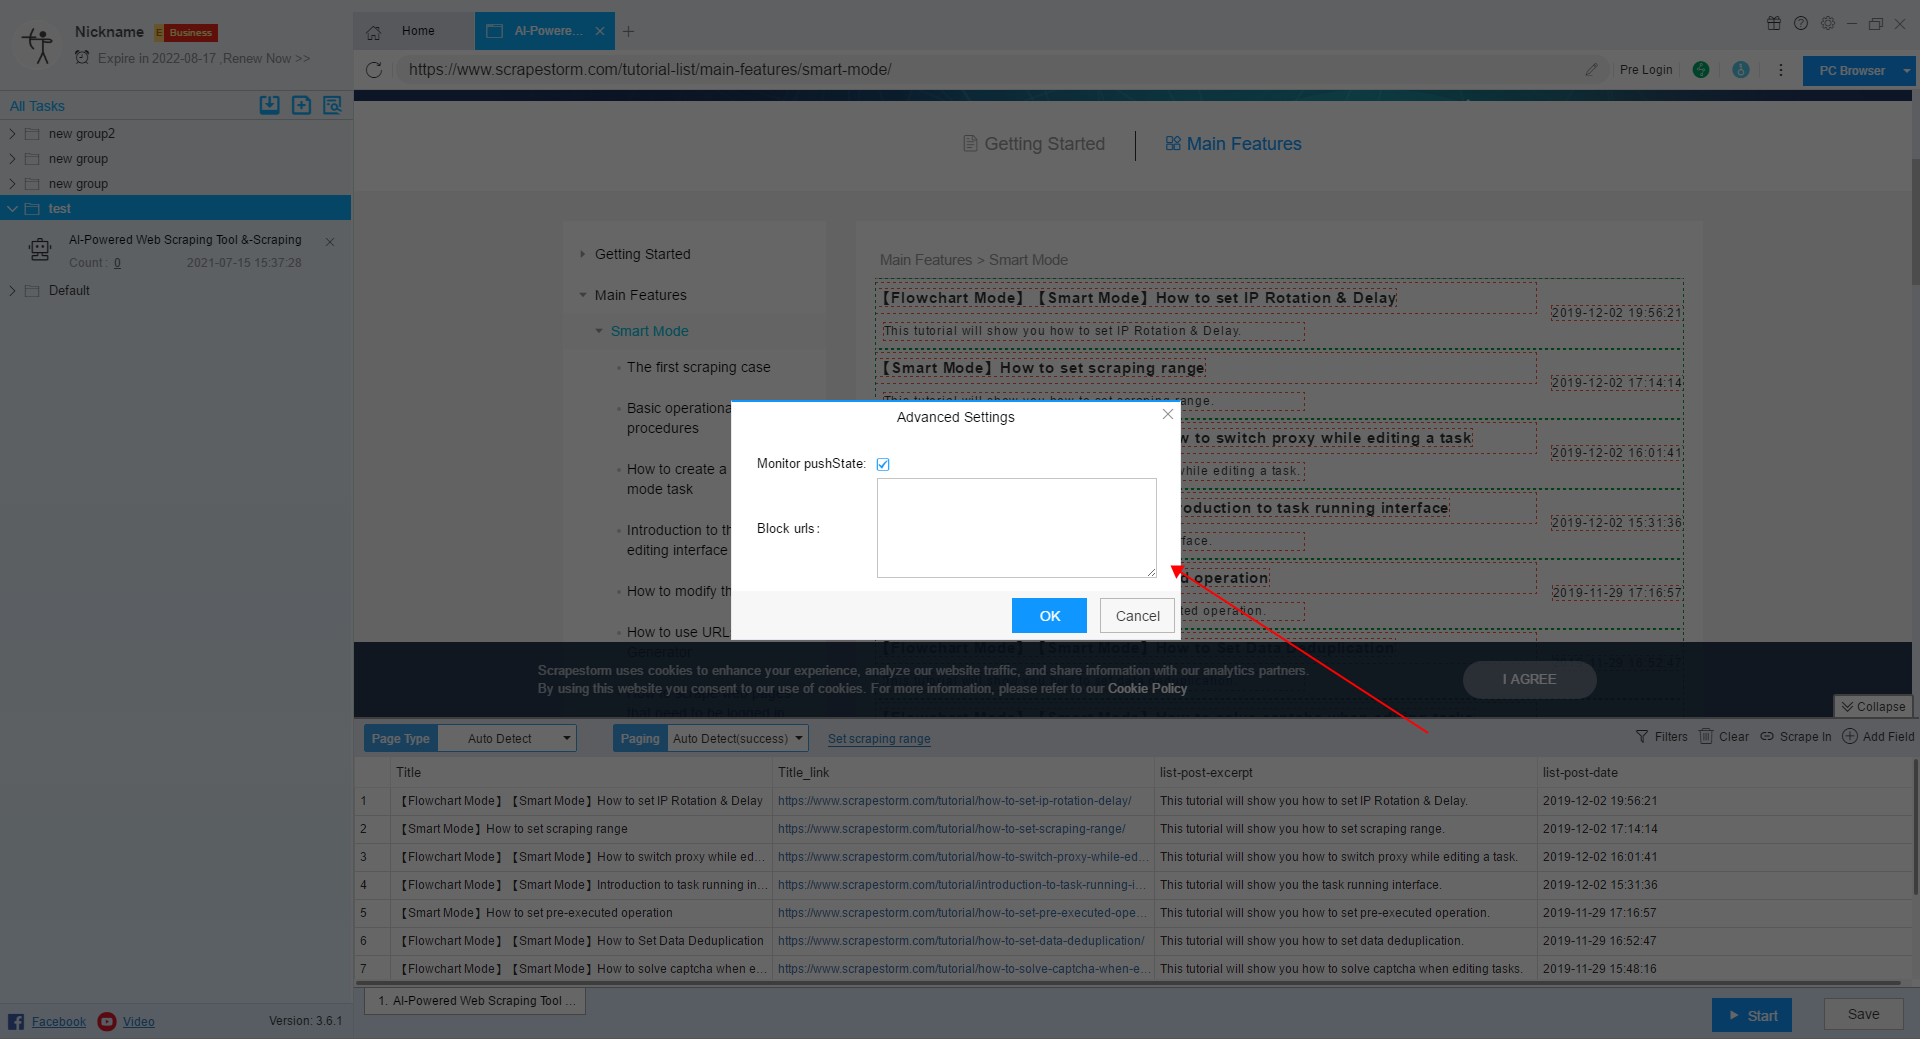
9. Switch Browser
Some webpages display different content on the computer and on the mobile phone. The software generally scraps the webpage of the computer version by default. If the user wants to scrape the webpage of the mobile version, it can be scraped by switching the browser mode.
Click here to learn more about switching browser mode.
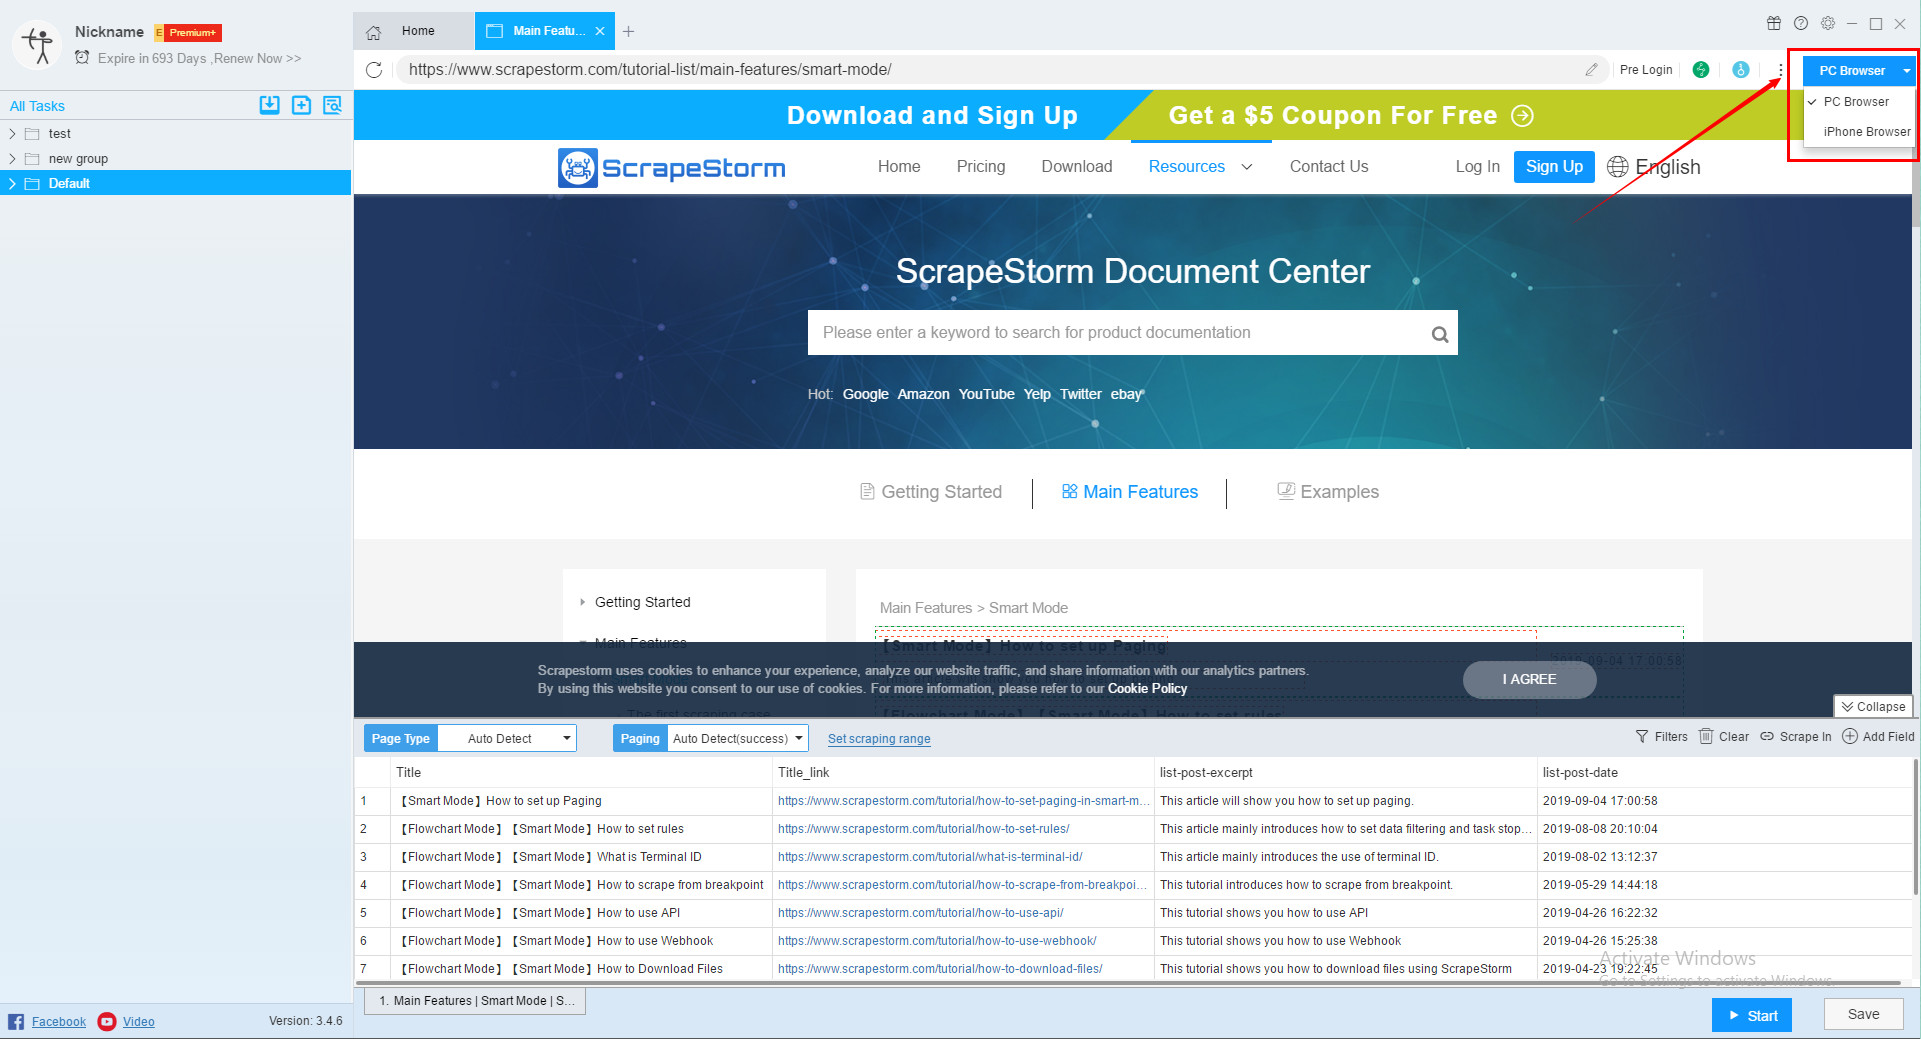
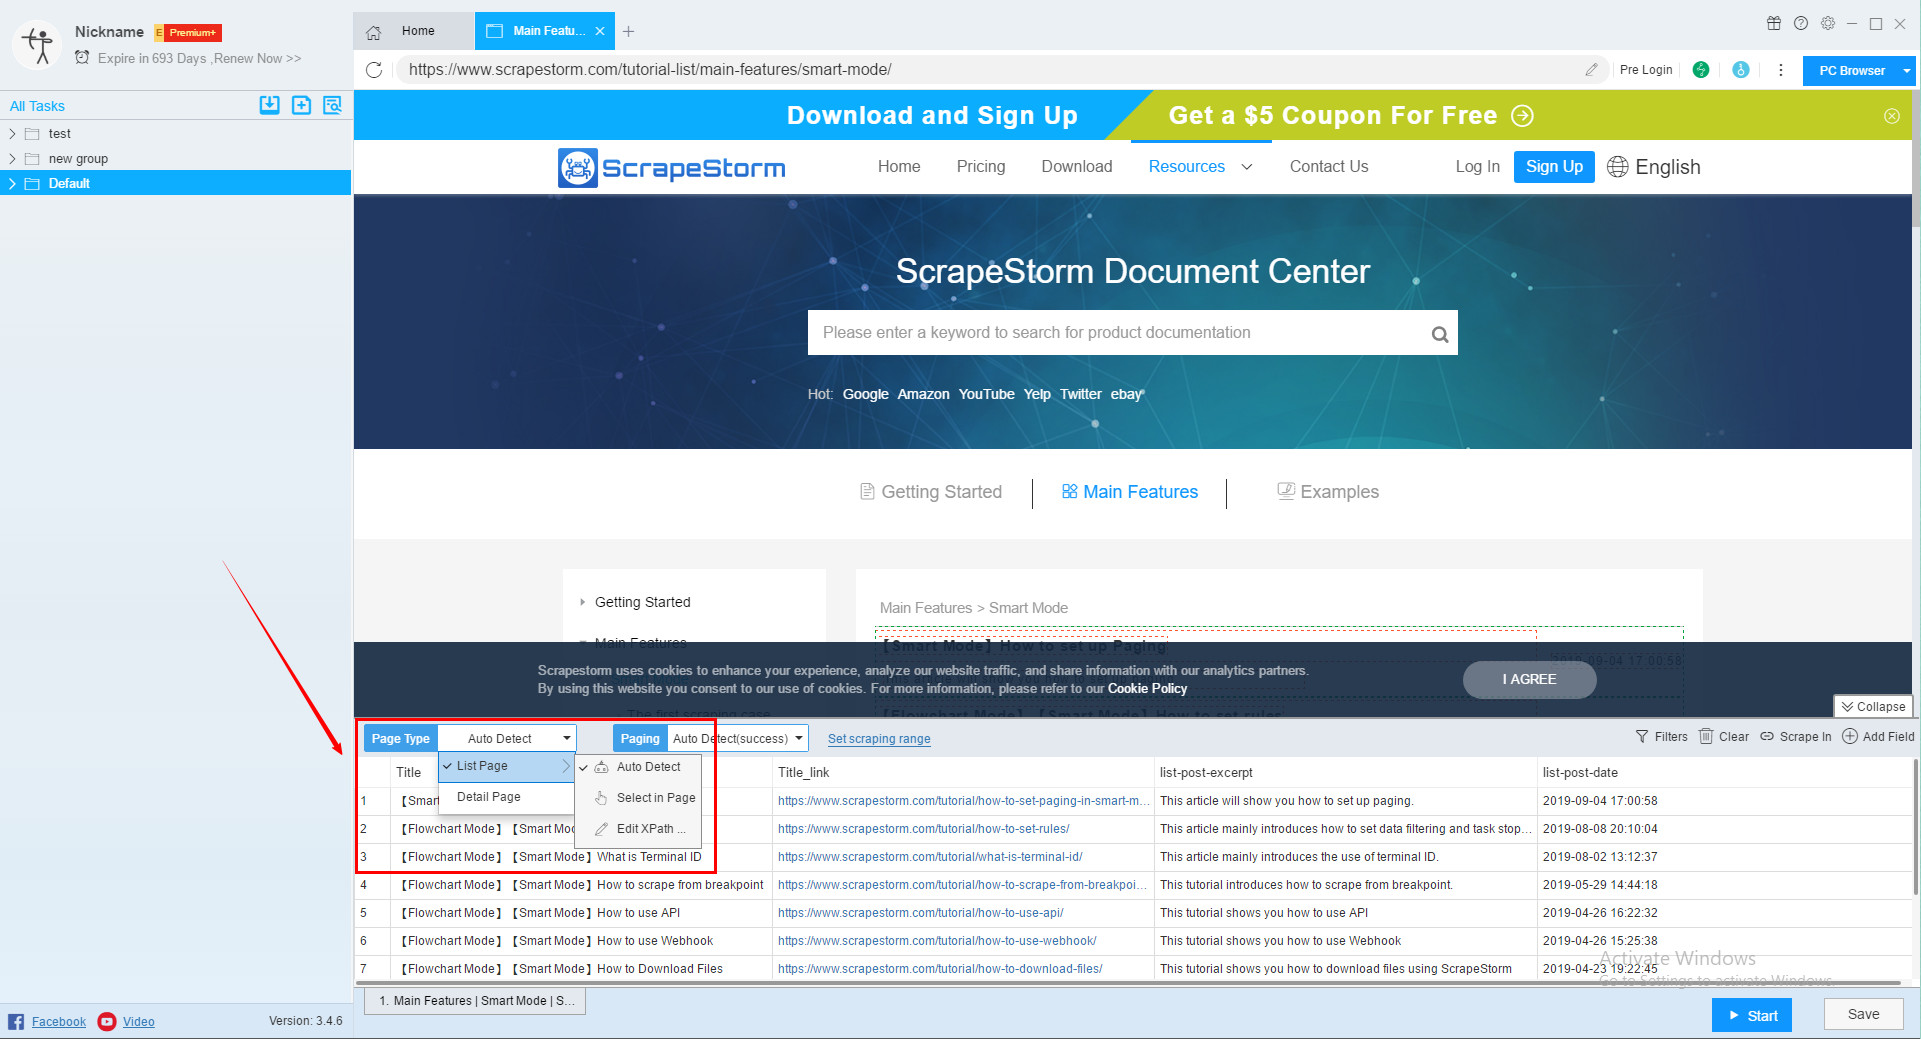
10. Set Pgae Type
The software generally recognizes the page type automatically. When encountering a web page that cannot be automatically recognized, it can manually identify or modify the xpath. Generally, the software recognizes the list mode page by default. If it is a Detail Page, you need to manually modify it.
Click here to learn more about setting up page type.
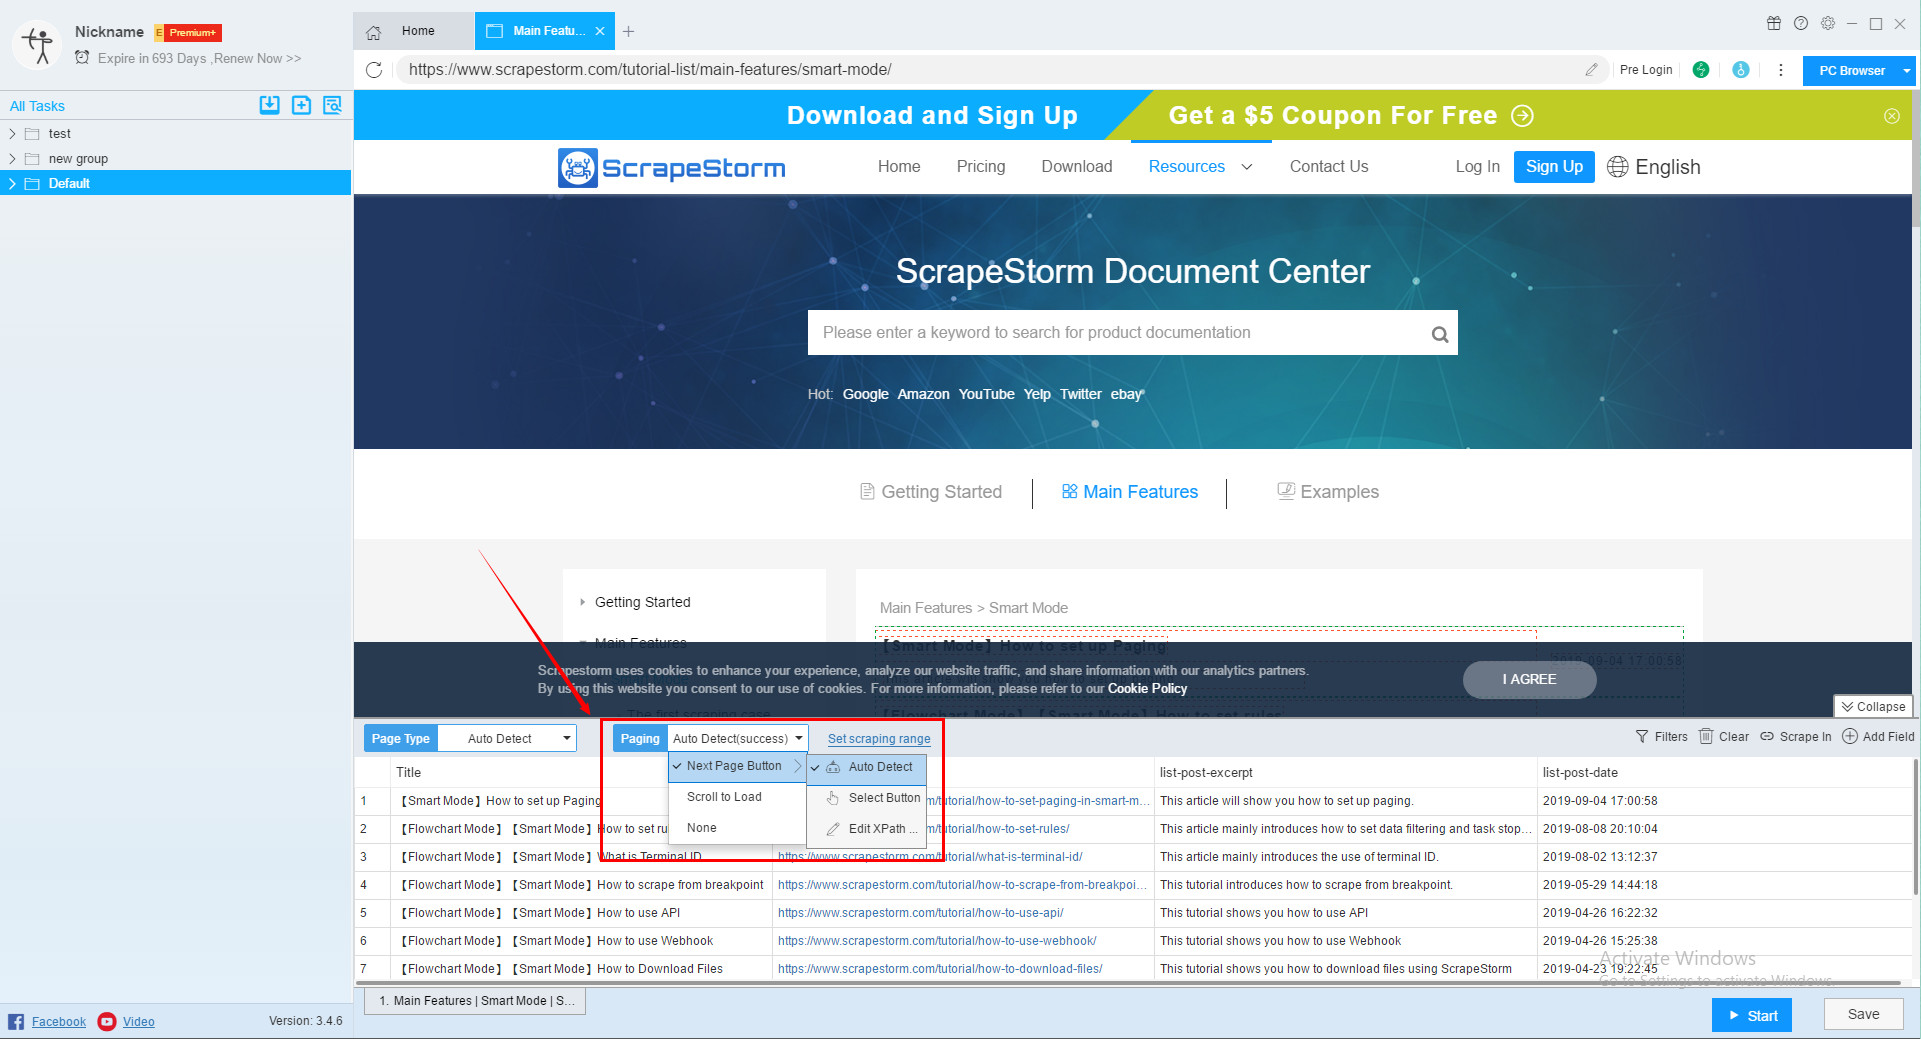
11. Set Paging
Software generally recognizes pagination automatically. If you encounter a page that cannot be automatically recognized, you can manually select the in page button or modify the xpath. If you encounter a page with a detail page type, you can select None.
Click here to learn more about setting up paging
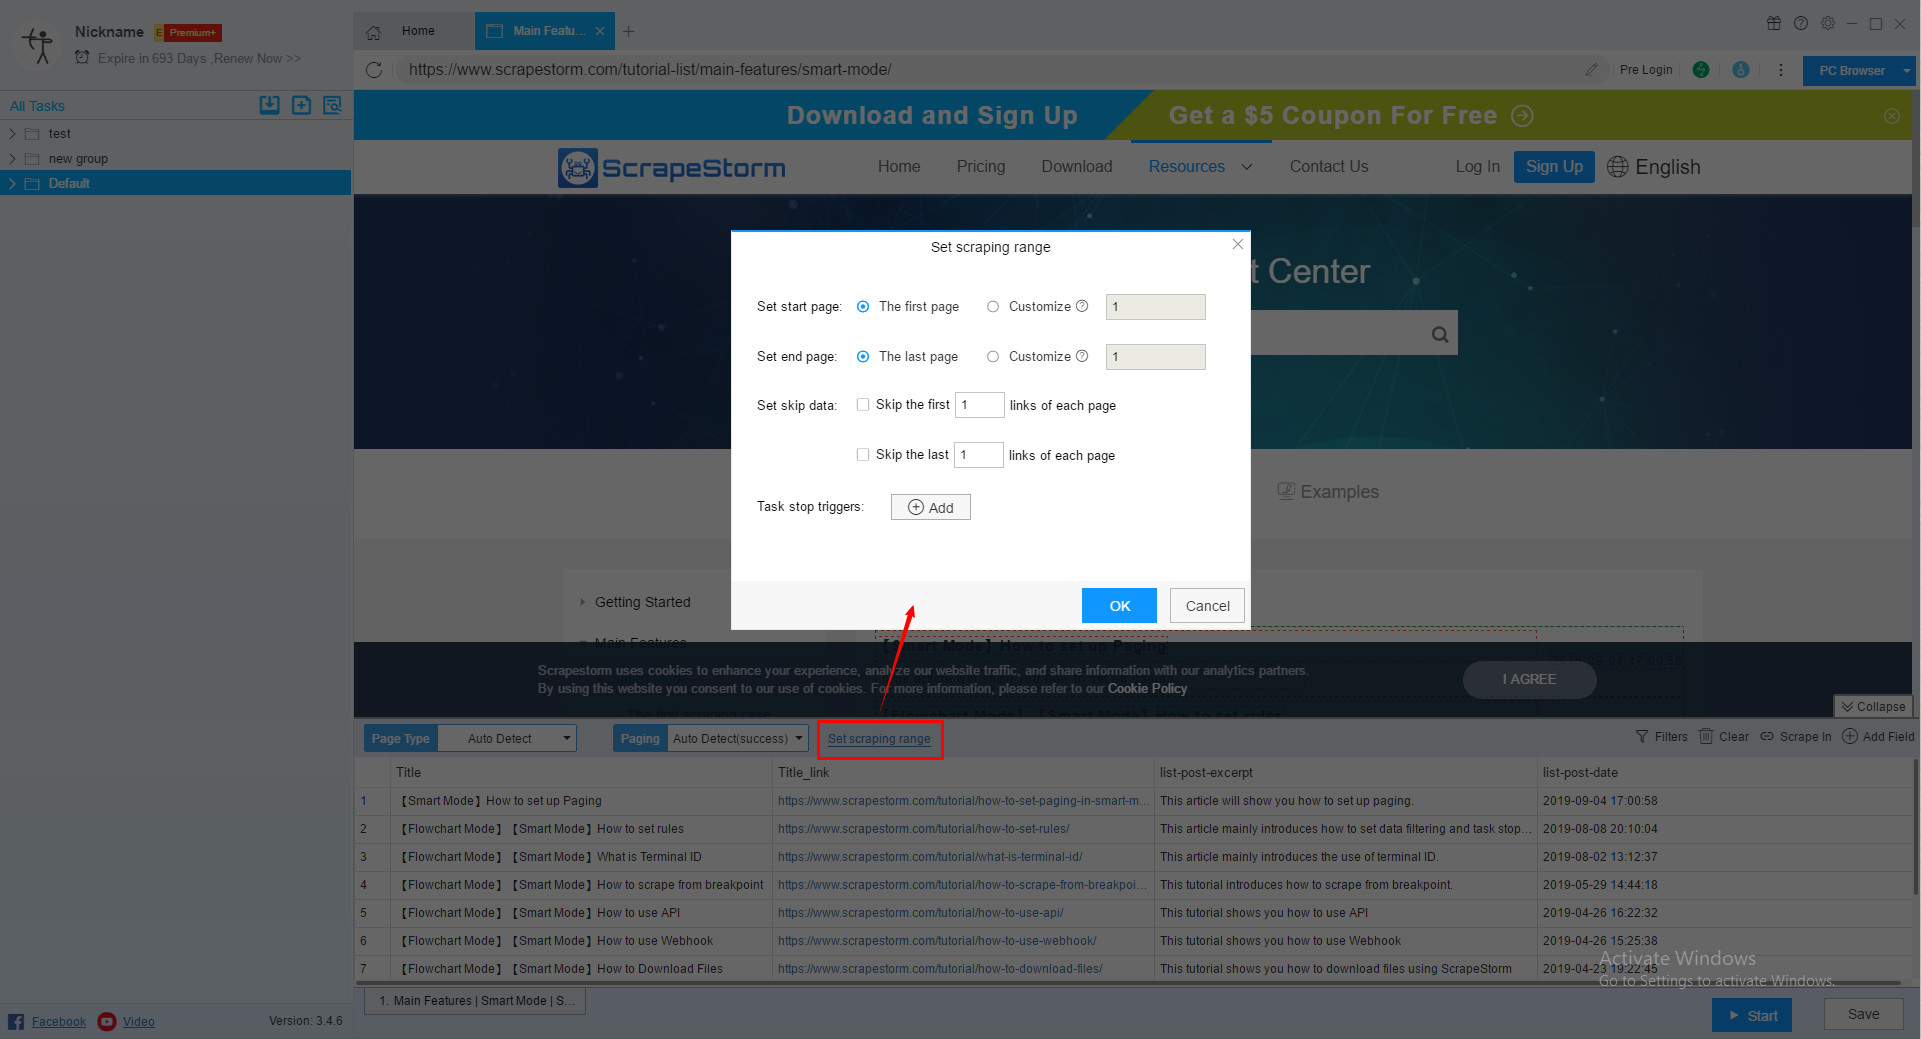
12.Set Scraping Range
You can use this function to set the start page and end page, as well as set skip data and task stop triggers.
Click here to learn more about setting scraping range.
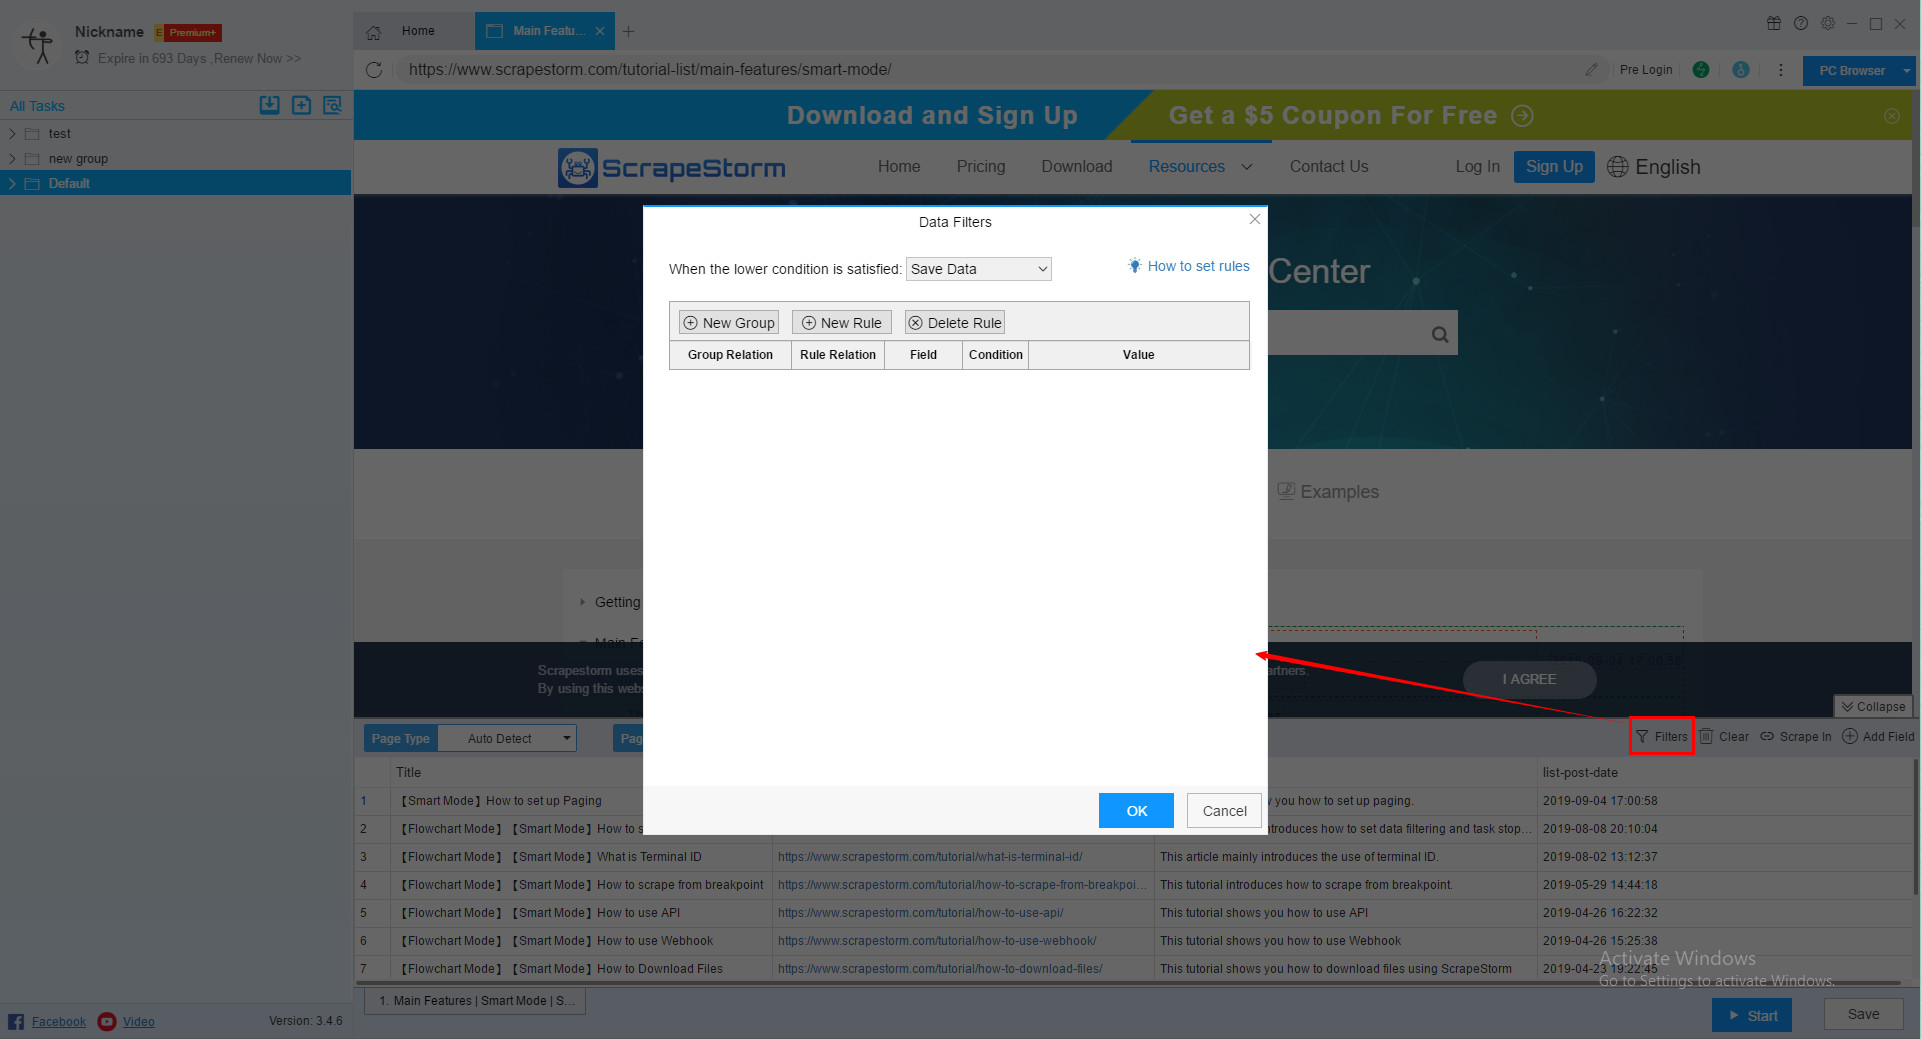
13. Filters
If you have data filtering requirements, you can click this button to filter the data.
Click here to learn more about data filtering.
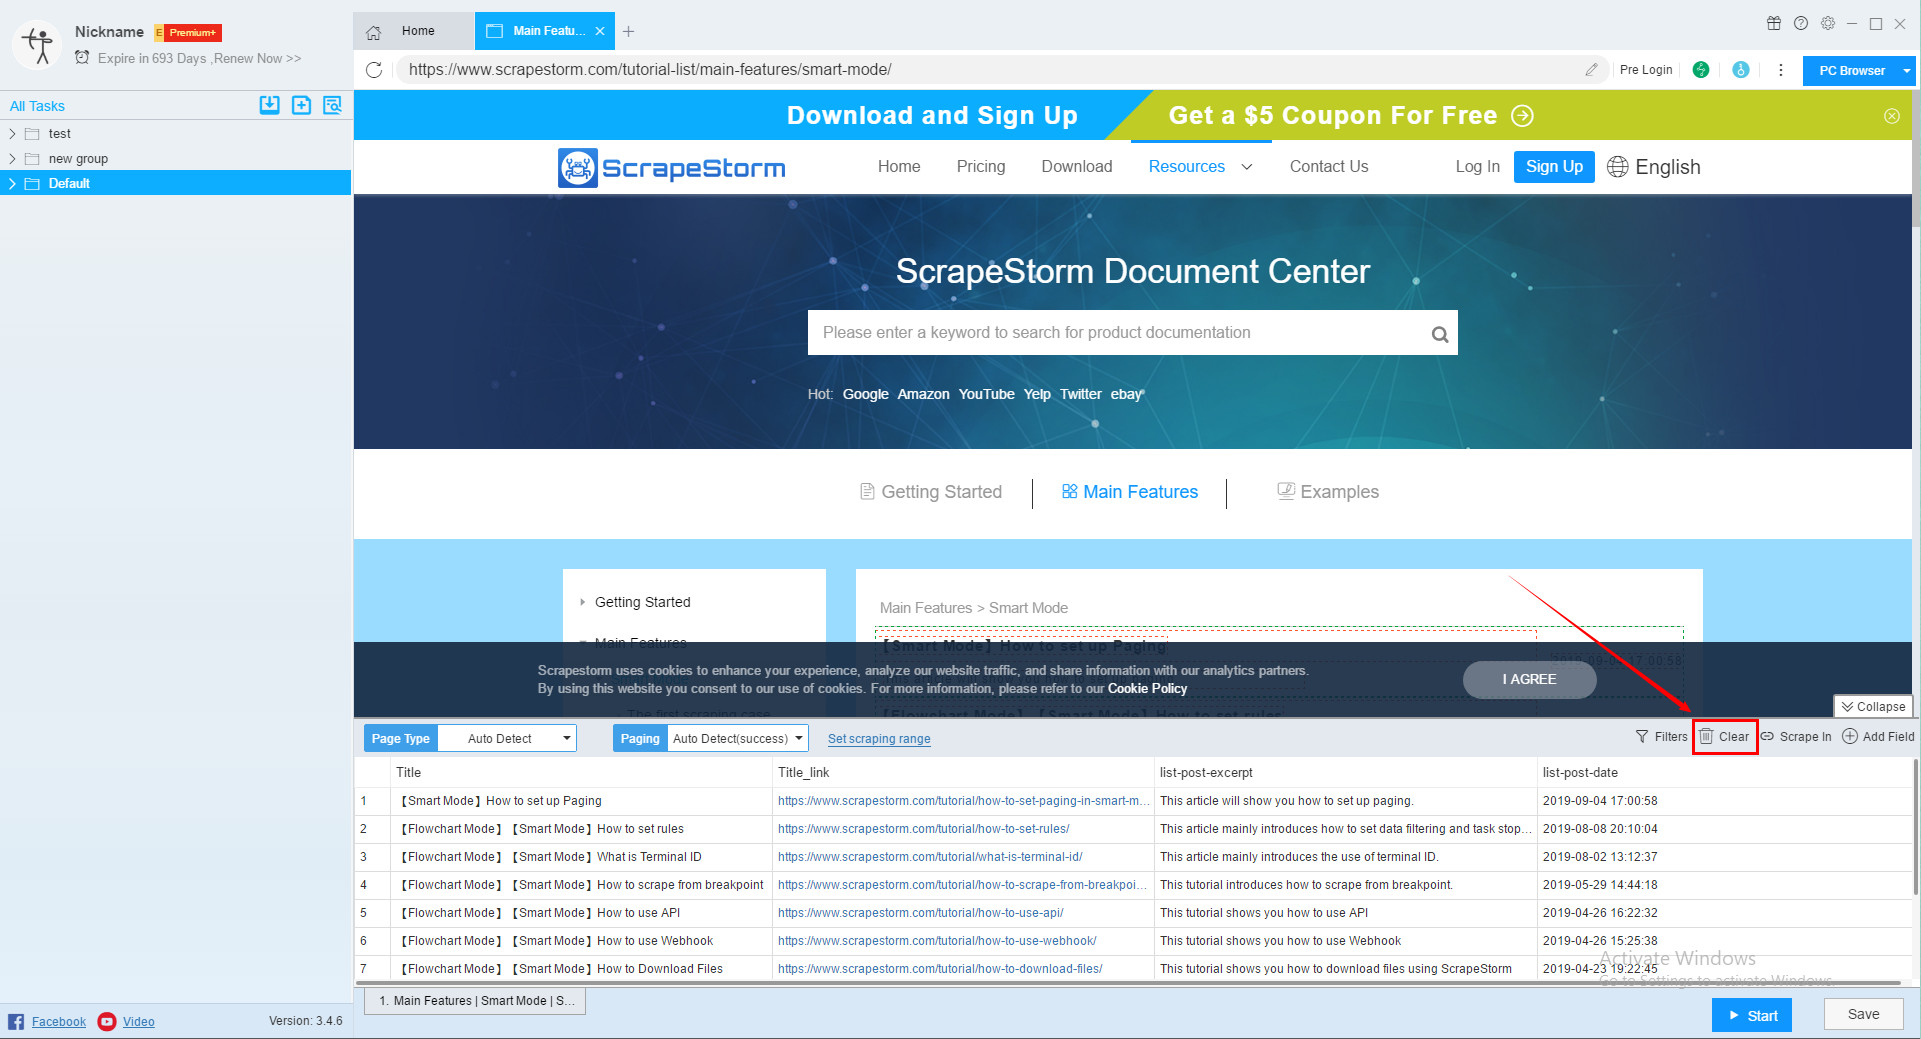
14. Clear
If you are not satisfied with the data automatically recognized by the software, you can use this function to clear all data, and then use the Add Field function to select the data you need.
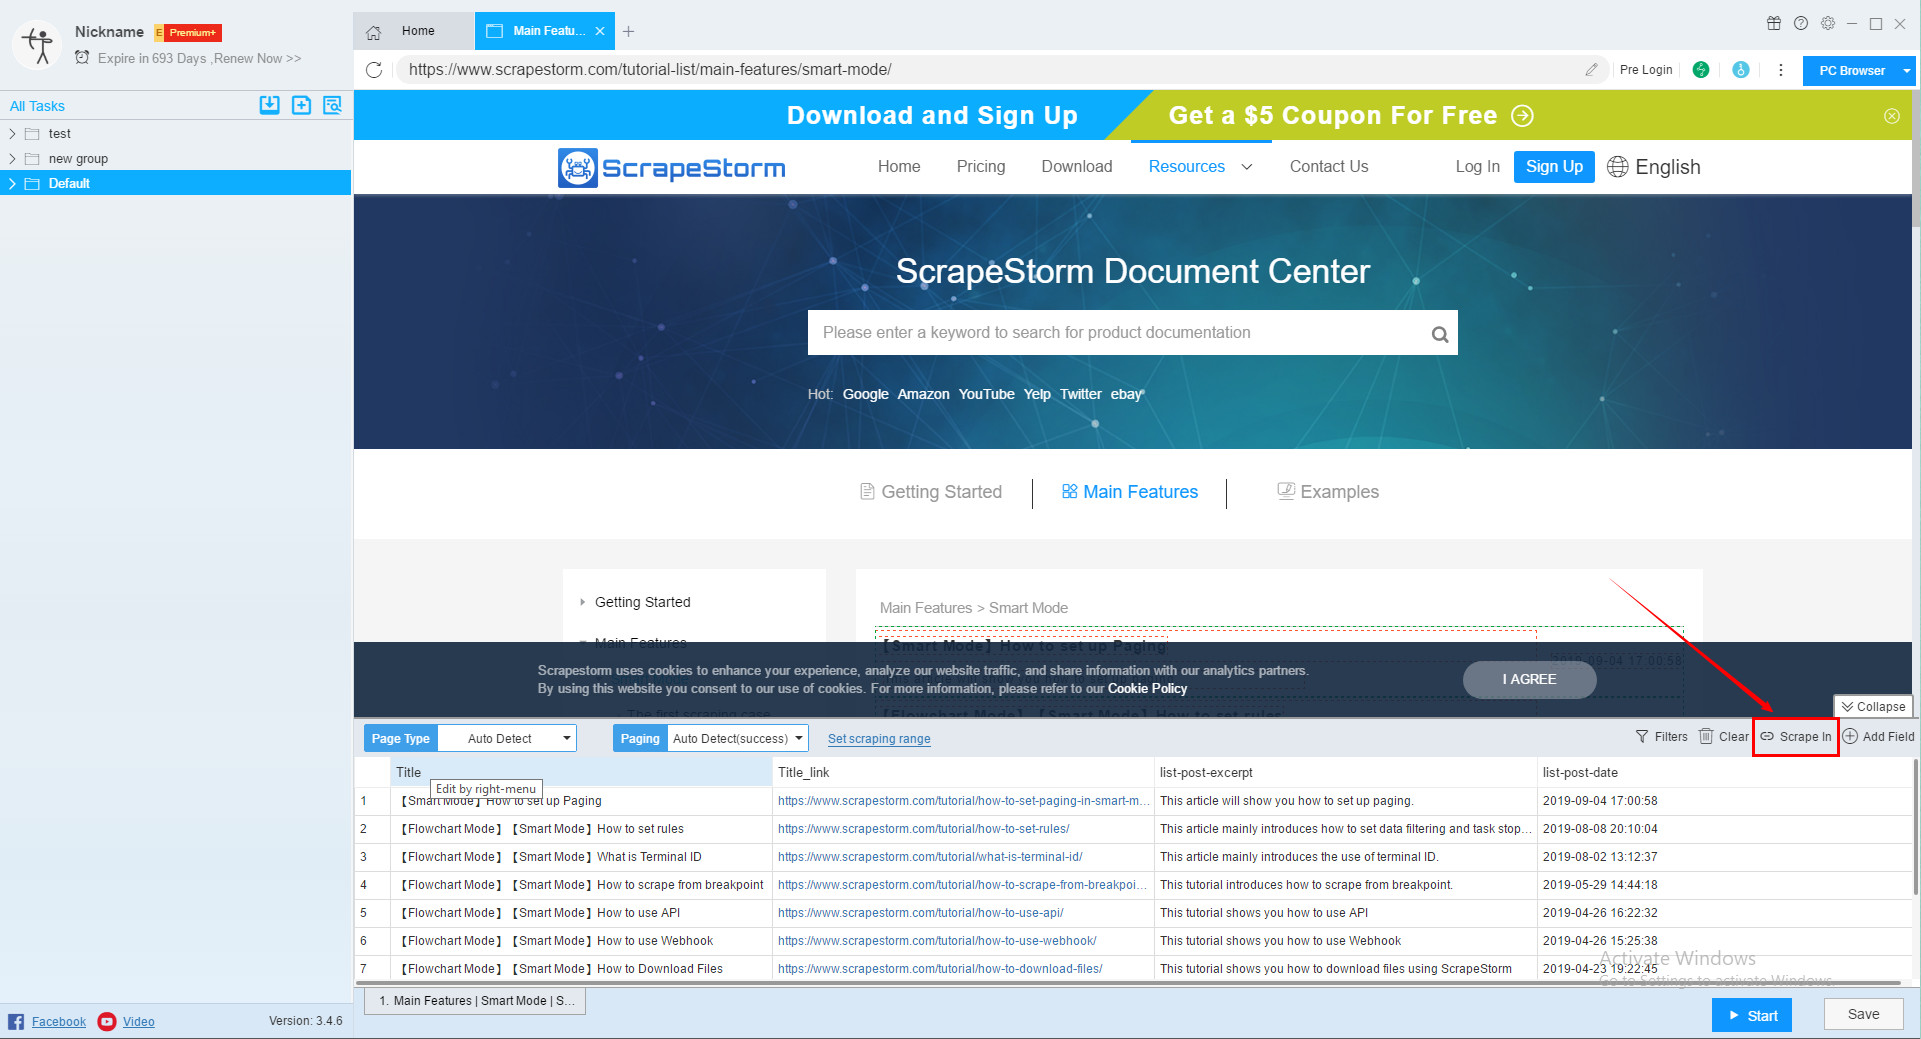
15. Scrape In
If you need to scrape the data on the detail page, you can use the Scrape In function to scrape.
Click here to learn more about Scrape In.
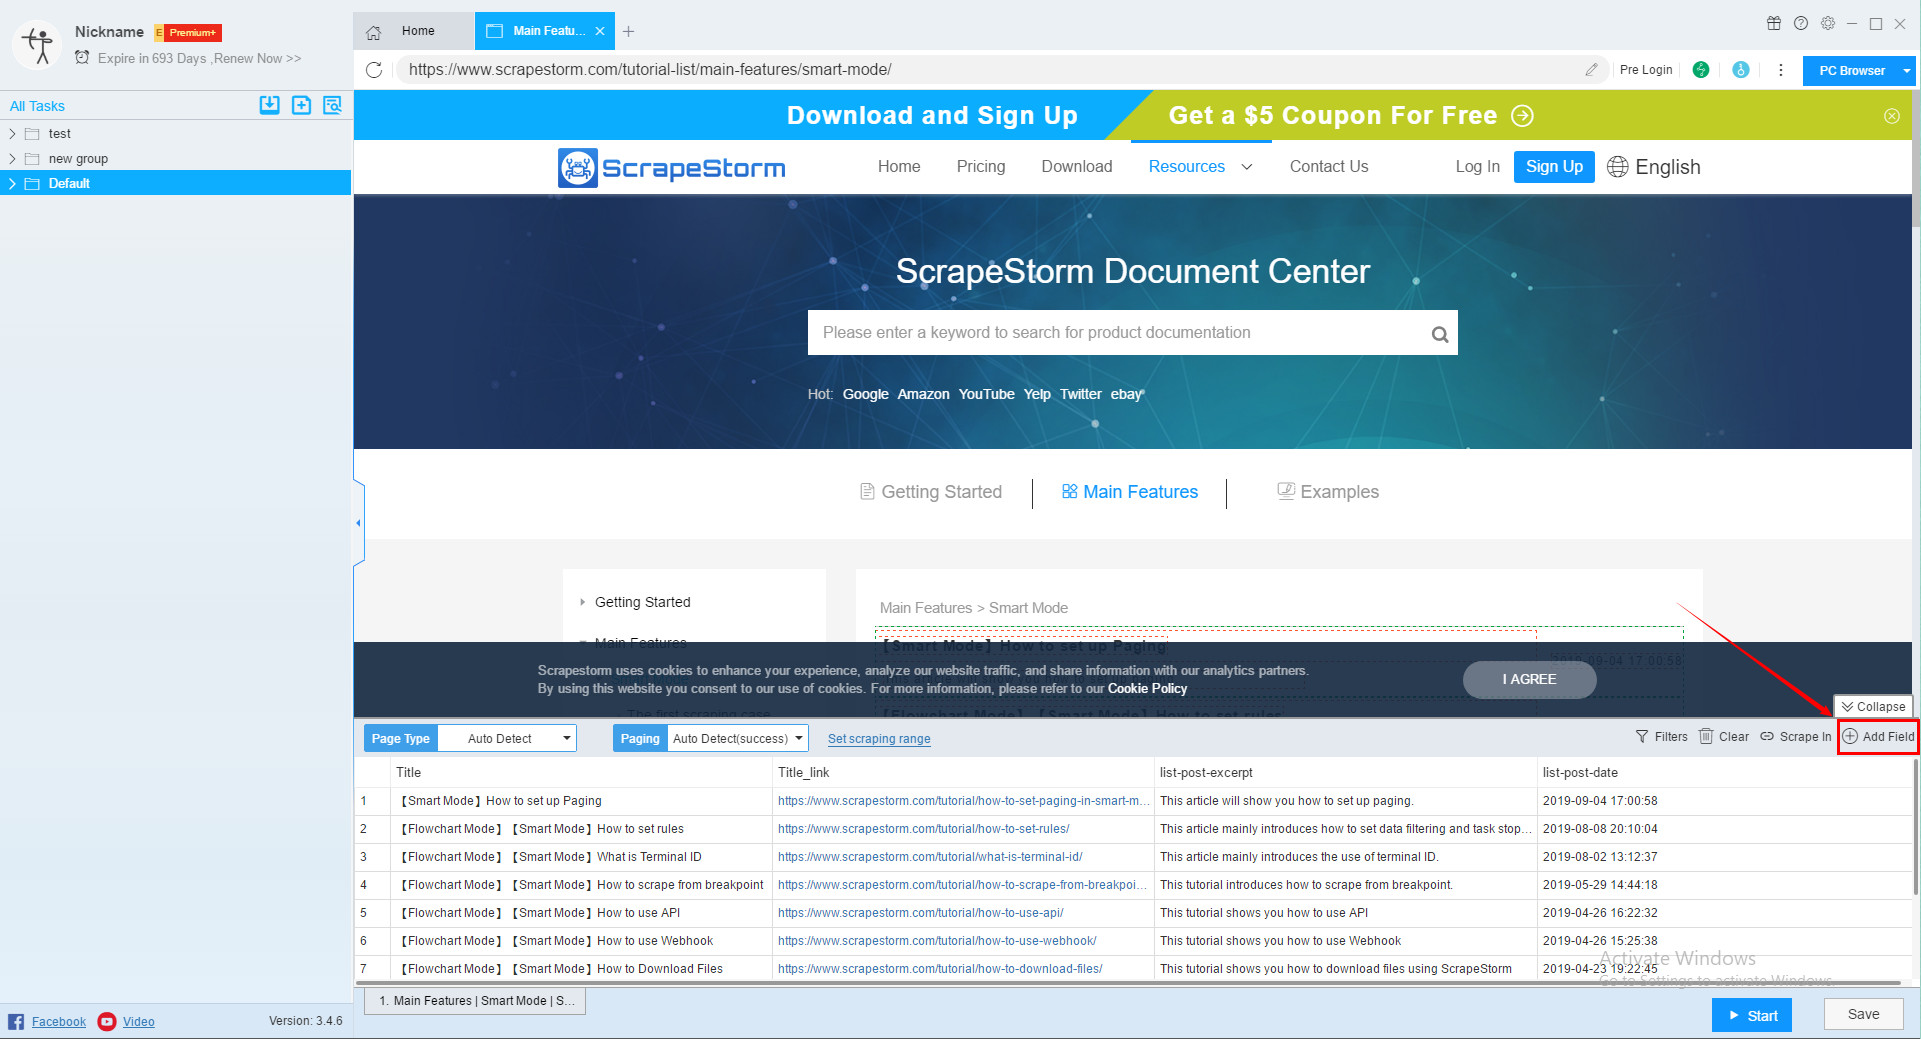
16. Add Field
You can use this feature if you need to add new fields.
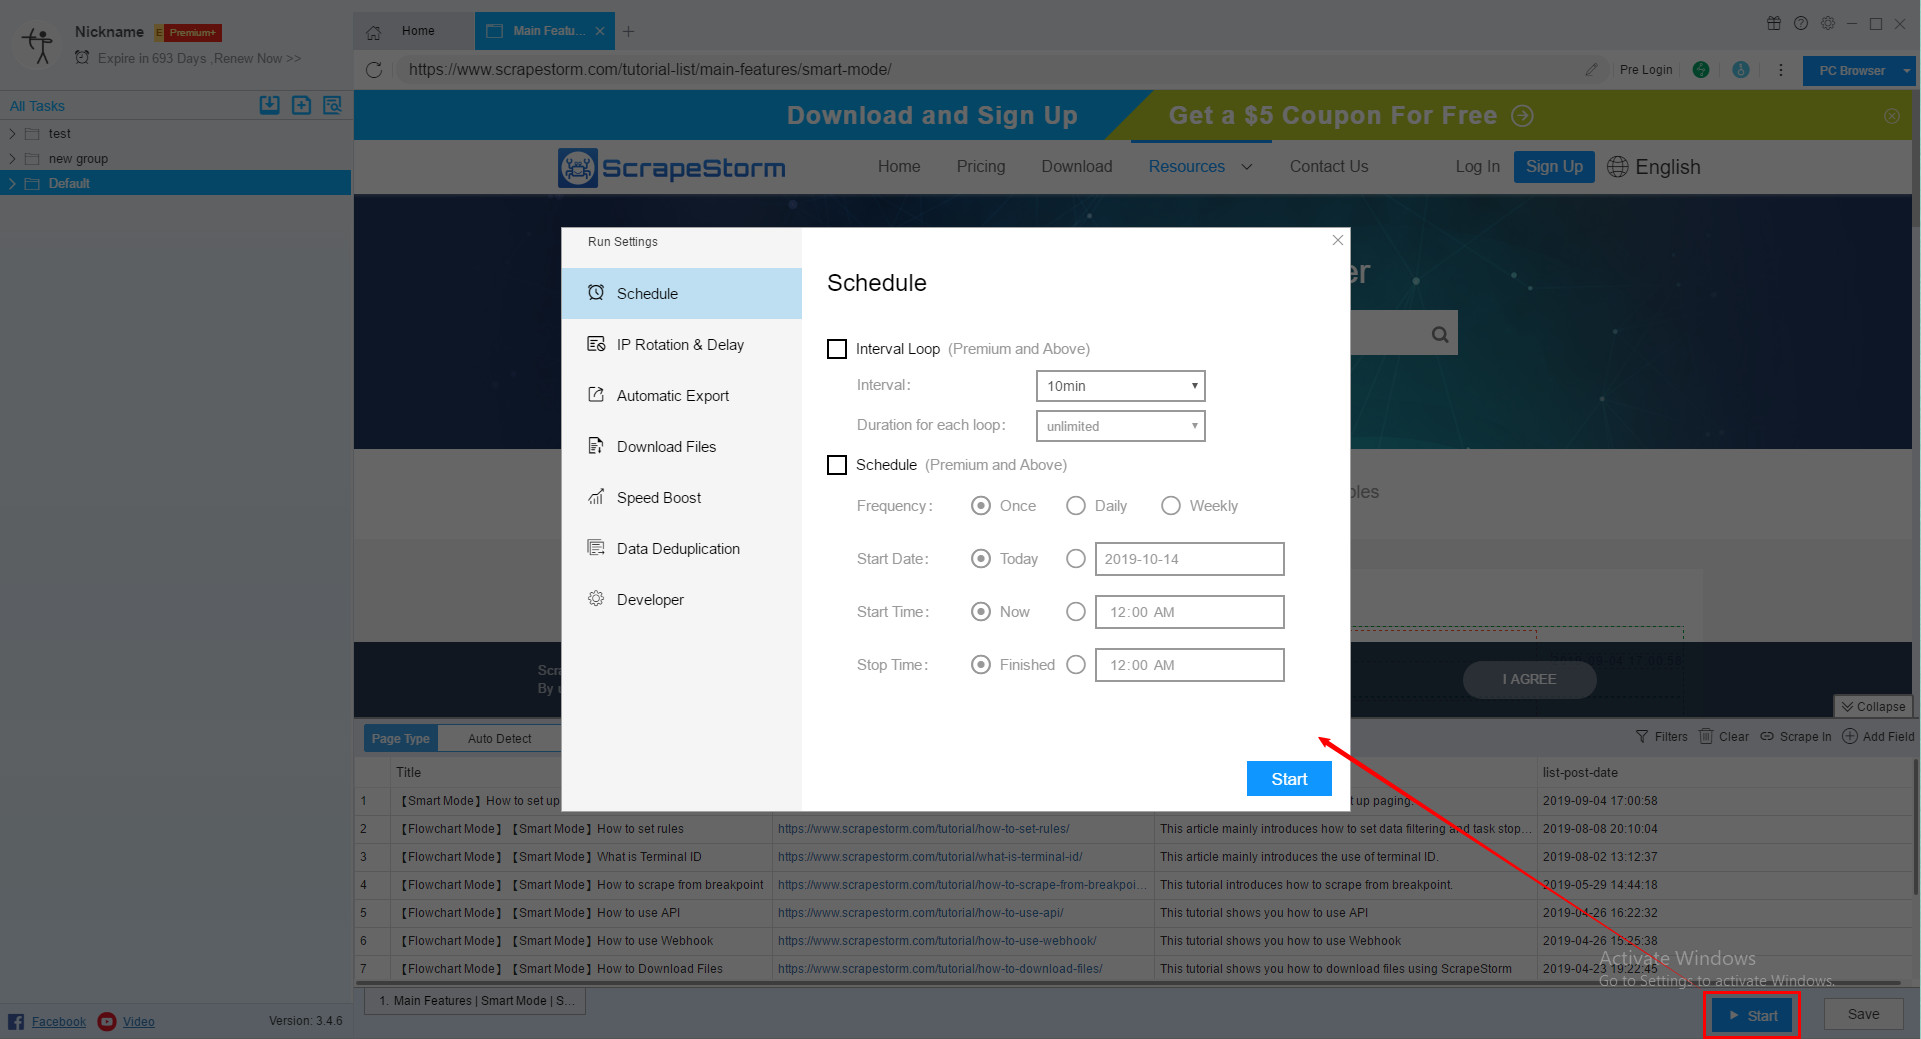
17. Start
After the task is set, you can click the Start button to jump to the run settings interface.
18. Save
In the process of setting up the task, in order to prevent the setting conditions from being lost, you can click the Save button to save the task conditions, and click the Start button to also save the condition.
